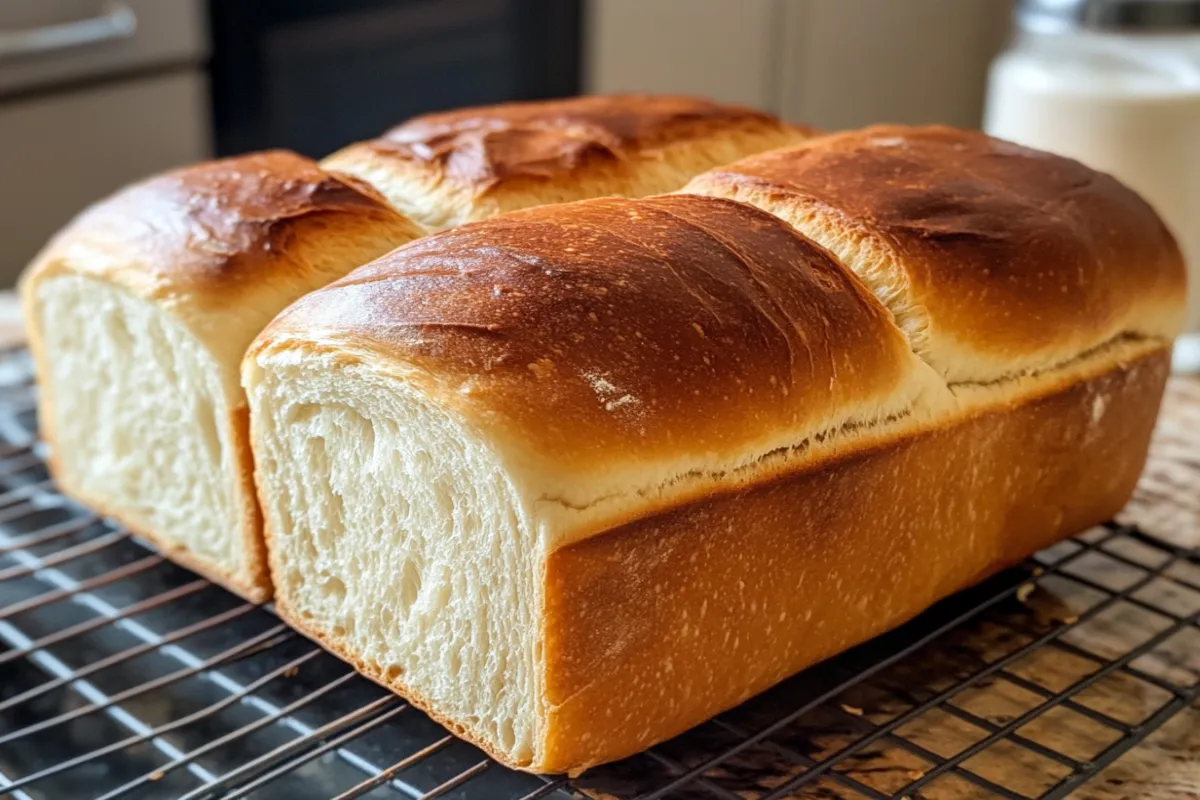
The Ultimate Guide to Making Sourdough Sandwich Bread
Sourdough sandwich bread combines the best qualities of sourdough and soft sandwich bread. Unlike traditional rustic sourdough, this version is made to be light, fluffy, and ideal for sandwiches, yet it retains the distinct flavor profile of sourdough. Whether you’re new to sourdough or a seasoned baker, this guide will walk you through the process from start to finish.
What Is Sourdough Sandwich Bread?
Sourdough sandwich bread differs from traditional sourdough in both crumb and crust. It features a soft, tender crumb that is easy to slice, making it perfect for sandwiches and toast. The tangy flavor comes from the sourdough starter, but the inclusion of fats such as butter or oil gives it a richer texture than rustic sourdough loaves.
The fermentation process enhances the bread’s digestibility and nutritional profile, lowering the glycemic index, which makes it a healthier option compared to commercially produced bread. You can read more about these health benefits in this article from Healthline.
Key Ingredients for Sourdough Sandwich Bread
To make sourdough sandwich bread, only a few basic ingredients are needed. However, the technique is what really elevates this bread to a superior level.
Step-by-Step Process for Making Sourdough Sandwich Bread
The process of making sourdough sandwich bread is broken down into simple steps. Each stage is critical to ensure your bread turns out soft, flavorful, and perfect for slicing.
1. Mixing and Autolyse
Start by mixing your sourdough starter, flour, and water until just combined. Then, let the dough rest for 30 minutes to an hour. This rest period, known as autolyse, allows the flour to absorb the water fully, improving gluten development.
2. Adding Salt, Butter, and Sweetener
After autolyse, add salt, butter, and your sweetener (honey or sugar). Knead the dough until everything is well incorporated. If using a stand mixer, this should take about 7 minutes on medium speed. By hand, it could take 10-15 minutes.
Tip: Use wet hands to handle the dough instead of adding extra flour, which can dry it out.
3. Bulk Fermentation
Once the dough is kneaded, transfer it to a greased bowl and cover it. Let it rise for 6-12 hours at room temperature. This phase is called bulk fermentation. During this time, the dough will rise and develop flavor.
Note: In warmer kitchens, the dough may only need 6-8 hours. In cooler environments, fermentation could take up to 12 hours. The goal is for the dough to double in size.
4. Shaping the Dough
Once the dough has finished its bulk rise, gently turn it out onto a lightly floured surface. Shape it into a loaf by flattening it into a rectangle and rolling it tightly into a log. Place it seam-side down in a greased loaf pan.
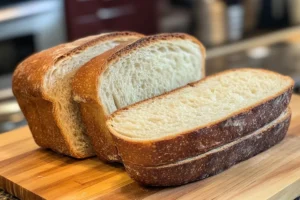
Second Proofing
How to Perform the Second Proofing
The second proofing, or final rise, occurs after shaping and before baking. It allows the dough to relax and rise again, giving the loaf its final shape and volume.
- Place in a Greased Loaf Pan: Shape the dough into a log and place it seam-side down into a greased loaf pan.
- Cover and Let Rise: Cover the dough loosely with a clean towel or plastic wrap to prevent it from drying out. Let the dough rise at room temperature for 2-4 hours, depending on the temperature and activity of your sourdough starter.
- Watch for Proper Rise: The dough should rise until it reaches about 1 inch above the rim of the pan.
Tip: To test if your dough is ready to bake, gently press a finger into the surface of the dough. If the indentation springs back slowly, the dough is ready. If it springs back quickly, give it more time.
Baking
Preheating the Oven
Preheat your oven to 375°F (190°C) before placing the dough in the oven. Preheating ensures the dough bakes at the correct temperature, allowing for proper rise and crust development.
Baking Time and Temperature
Once your oven is preheated, bake the bread for 40-45 minutes. The loaf should develop a golden brown crust, and the internal temperature should reach 195°F to 200°F.
Tip: If you prefer a shiny, golden crust, lightly brush the top of your dough with an egg wash (1 beaten egg mixed with a tablespoon of water or milk) before placing it in the oven.
Checking for Doneness
To ensure the bread is fully baked:
- Tap the bottom of the loaf. It should sound hollow.
- Check the internal temperature with a thermometer—it should read around 200°F.
Tip: If the loaf sounds hollow when you tap the bottom, it’s ready to come out of the oven.
Cooling and Storing
Cooling
After baking, allow the bread to cool in the pan for 10 minutes. This initial cooling helps firm up the loaf, making it easier to remove from the pan. Then transfer it to a wire rack and let it cool completely, typically for 1-2 hours. Cutting into the bread while it’s still warm can result in a gummy texture as the crumb hasn’t fully set.
Storing
Once cooled, store your bread in an airtight container at room temperature. Bread will stay fresh for 3-5 days. For long-term storage, slice and freeze the loaf.
Tips for Freezing:
- Place individual slices in a freezer-safe plastic bag, separated by parchment paper.
- Bread can be frozen for up to 3 months.
- To use, thaw the slices at room temperature or reheat them in a toaster.
Alternative Storage: If you live in a humid environment or want to preserve the crust’s softness, storing the bread in a plastic bag or bread box may help. This prevents moisture loss but can soften the crust over time.
Troubleshooting Common Issues
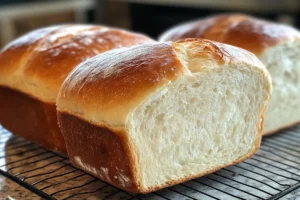
Baking sourdough sandwich bread can come with its challenges. Below are common issues and how to resolve them.
Why Is My Bread Dense?
Dense bread can result from:
- Underproofing: If the dough hasn’t risen enough, it won’t develop enough air pockets.
- Inactive starter: Ensure your sourdough starter is active and bubbly before using it.
My Dough Didn’t Rise Enough
This could be due to an inactive starter or a cold kitchen. Ensure your starter is fully active, and consider placing your dough in a warmer area during bulk fermentation.
Can I Use Whole Wheat Flour?
Yes, but whole wheat flour will make the bread denser. For best results, use no more than 50% whole wheat flour and the remaining 50% bread or all-purpose flour.
Variations on Sourdough Sandwich Bread
Whole Wheat Sourdough Sandwich Bread
For a healthier loaf, substitute half of the white flour with whole wheat flour. This will result in a slightly denser bread with a richer, nuttier flavor.
Seeded Sourdough Sandwich Bread
For added texture and flavor, mix in ¼ cup of seeds (such as sunflower, flax, or sesame) during the final mixing stage.
Sweet Sourdough Sandwich Bread
For a sweeter loaf, add raisins and cinnamon to the dough. This version is perfect for toasting with butter or making French toast.
Frequently Asked Questions
Can I Freeze Sourdough Sandwich Bread?
Yes, freezing sourdough sandwich bread is a great way to keep it fresh. Slice the loaf, store the slices in a freezer-safe bag, and defrost as needed.
How Can I Make My Bread Less Tangy?
The tangy flavorHere’s the final section of your FAQ and conclusion:
How Can I Make My Bread Less Tangy?
The tangy flavor comes from the fermentation process. If you prefer a milder taste, shorten the bulk fermentation time and feed your starter more frequently to reduce its acidity.
Can I Use All-Purpose Flour Instead of Bread Flour?
Yes, you can. However, bread flour has a higher protein content, which helps with gluten development, resulting in a chewier loaf. If you use all-purpose flour, your bread may be softer and less chewy.
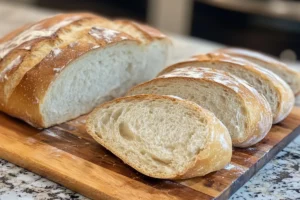
Conclusion
Making sourdough sandwich bread is a fun and rewarding process that combines the health benefits of sourdough with the softness of a traditional sandwich loaf. With the tips and techniques outlined in this guide, you’ll be well on your way to baking the perfect loaf every time. Whether you’re looking for a versatile bread for sandwiches or toast, or simply want to improve your baking skills, sourdough sandwich bread is an excellent recipe to master.
Print
sourdough sandwich bread
- Author: iyma hernandes
Description
“Learn to bake soft, fluffy sourdough sandwich bread with step-by-step instructions, tips, and variations for perfect results.”
Ingredients
1. Sourdough Starter
A lively, bubbly sourdough starter is essential. This mixture of flour and water, which cultivates wild yeast and bacteria, is what naturally leavens your bread. If you’re new to sourdough, you can check out this sourdough starter guide for tips on maintaining it.
2. Bread Flour vs. All-Purpose Flour
For sourdough sandwich bread, bread flour is preferred due to its higher protein content, which helps develop more gluten. Gluten provides the bread’s structure and makes it chewier.
However, all-purpose flour can also work if you’re looking for a softer loaf. A 50-50 mixture of bread flour and all-purpose flour offers a good balance between structure and softness.
3. Water
Water is the main hydrating agent in bread making. The right hydration level will yield a soft crumb without making the dough too sticky.
4. Butter or Oil
Fat differentiates sourdough sandwich bread from rustic sourdough. It enriches the dough, making it softer and providing a tender crumb.
5. Honey or Sugar
Both honey and sugar add a touch of sweetness, feeding the yeast during fermentation, and helping the dough rise properly.
Instructions
1. Sourdough Starter
A lively, bubbly sourdough starter is essential. This mixture of flour and water, which cultivates wild yeast and bacteria, is what naturally leavens your bread. If you’re new to sourdough, you can check out this sourdough starter guide for tips on maintaining it.
2. Bread Flour vs. All-Purpose Flour
For sourdough sandwich bread, bread flour is preferred due to its higher protein content, which helps develop more gluten. Gluten provides the bread’s structure and makes it chewier.
However, all-purpose flour can also work if you’re looking for a softer loaf. A 50-50 mixture of bread flour and all-purpose flour offers a good balance between structure and softness.
3. Water
Water is the main hydrating agent in bread making. The right hydration level will yield a soft crumb without making the dough too sticky.
4. Butter or Oil
Fat differentiates sourdough sandwich bread from rustic sourdough. It enriches the dough, making it softer and providing a tender crumb.
5. Honey or Sugar
Both honey and sugar add a touch of sweetness, feeding the yeast during fermentation, and helping the dough rise properly.
Notes
After baking, allow the bread to cool in the pan for about 10 minutes. This initial cooling period helps the loaf firm up, making it easier to remove from the pan. Once removed, transfer the bread to a wire rack and allow it to cool completely, typically for about 1-2 hours. Cutting into the bread while it’s still warm can result in a gummy texture, as the crumb hasn’t fully set.

