
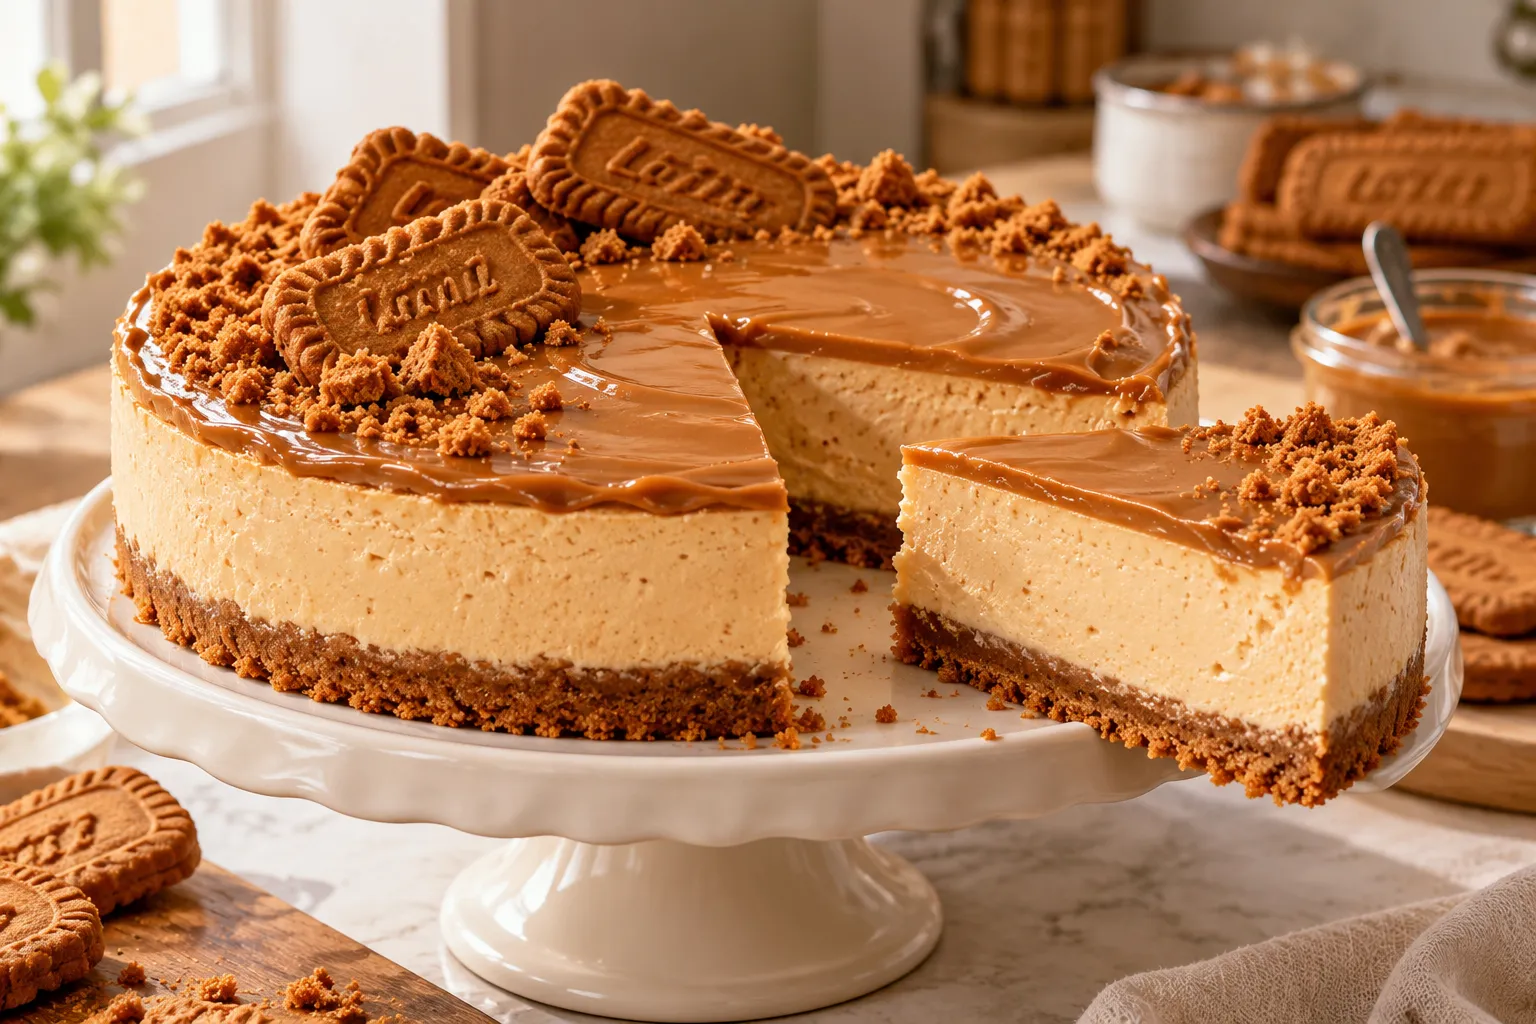
If you love the caramelized flavor of Lotus Biscoff cookies, this No-Bake Lotus Biscoff Cheesecake is a dessert you need to try. It features a buttery cookie crust, a smooth and creamy cheesecake filling, and a glossy layer of melted Biscoff spread on top. Every bite combines a crunchy biscuit base with a light, velvety filling and a delicious caramel-cookie flavor.
The best part? You don’t need an oven, complicated baking techniques, or a water bath. This cheesecake comes together with simple ingredients and sets in the refrigerator, making it an excellent dessert for birthdays, dinner parties, holidays, or weekend treats.
Whether you’re a cheesecake enthusiast or simply looking for an impressive dessert that is easy to prepare ahead of time, this Lotus Biscoff cheesecake is sure to become a favorite.
Why You’ll Love This No-Bake Lotus Biscoff Cheesecake
- No oven required: The cheesecake sets in the refrigerator, making preparation straightforward.
- Rich Biscoff flavor: Lotus Biscoff cookies and cookie butter give the dessert its distinctive caramelized taste.
- Creamy texture: Cream cheese and whipped cream create a smooth, airy filling.
- Beautiful presentation: The golden Biscoff topping and cookie decorations make it look bakery-worthy.
- Make-ahead friendly: Prepare it the day before your event and let it chill overnight.
- Perfect for special occasions: Its elegant appearance makes it ideal for celebrations and dinner parties.
Ingredients for No-Bake Lotus Biscoff Cheesecake
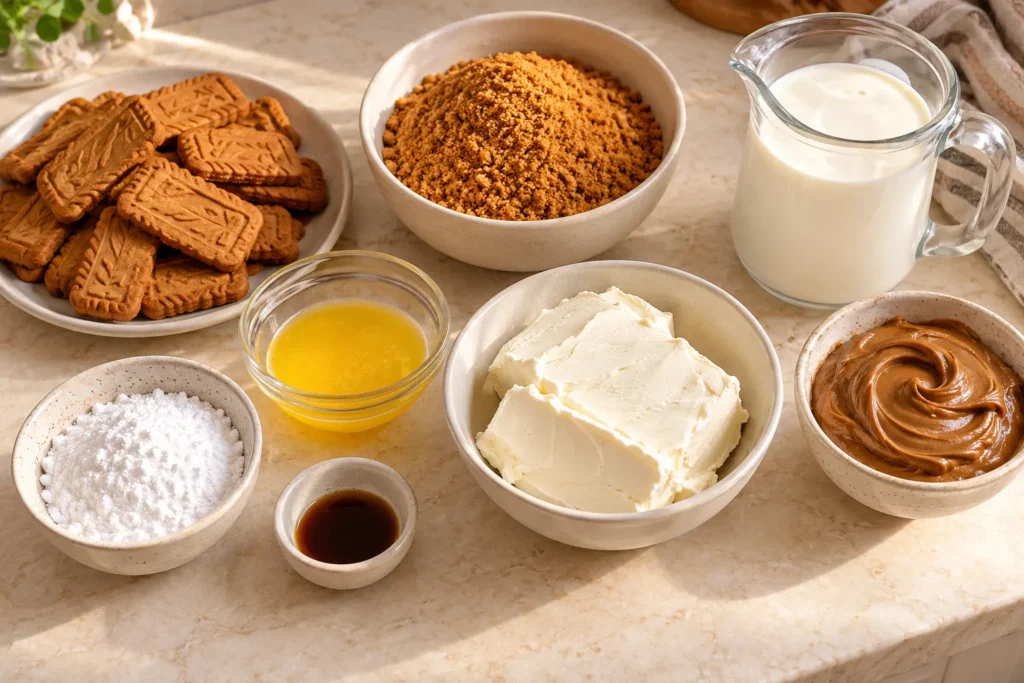
This recipe makes one 8-inch (20 cm) cheesecake, serving approximately 10–12 people.
For the Biscoff Cookie Crust
| Ingredient | Amount |
|---|---|
| Lotus Biscoff cookies | 250 g (about 30 cookies) |
| Unsalted butter, melted | 100 g |
For the Creamy Cheesecake Filling
| Ingredient | Amount |
|---|---|
| Full-fat cream cheese, softened | 500 g |
| Heavy whipping cream, cold | 250 ml |
| Biscoff spread | 200 g |
| Powdered sugar | 50 g, optional to taste |
| Vanilla extract | 1 teaspoon |
For the Biscoff Topping
| Ingredient | Amount |
|---|---|
| Biscoff spread | 150 g |
| Lotus Biscoff cookies | 4–6, for decoration |
Ingredient Notes
Lotus Biscoff cookies: These caramelized biscuits create the signature crust. If you cannot find them, another caramelized biscuit can work, although the flavor will be different.
Cream cheese: Use full-fat block cream cheese or a thick cream cheese suitable for cheesecake. Avoid watery varieties, which may prevent the filling from setting properly.
Heavy whipping cream: Use cold cream with a fat content of around 35% or higher where available. It should whip to stiff peaks to help give the filling structure.
Biscoff spread: Smooth spread works particularly well for the filling and topping. Crunchy spread is also an option if you enjoy extra texture.
Powdered sugar: Biscoff spread is already sweet, so the sugar is optional. Taste the filling before adding the full amount.
How to Make No-Bake Lotus Biscoff Cheesecake
Step 1: Prepare the Cookie Crust
Place the Lotus Biscoff cookies in a food processor and pulse until they become fine crumbs. If you don’t have a food processor, put the cookies in a sealed food bag and crush them with a rolling pin.
Transfer the crumbs to a mixing bowl and pour in the melted butter. Stir until the crumbs are evenly coated and resemble damp sand.
Line the bottom of an 8-inch springform pan with baking paper. Pour in the crumb mixture and press it firmly into an even layer using the back of a spoon or the bottom of a flat glass.
Pay particular attention to the edges so the crust holds together when sliced.
Place the pan in the refrigerator for at least 20–30 minutes while you prepare the filling.
Step 2: Beat the Cream Cheese
Place the softened cream cheese in a large mixing bowl. Beat with an electric mixer on medium speed until smooth and creamy, scraping down the sides of the bowl as needed.
Add the Biscoff spread, vanilla extract, and powdered sugar if using. Continue beating until everything is evenly combined.
The mixture should be thick, smooth, and free of cream cheese lumps.
Avoid beating excessively, as incorporating too much air can make the filling less stable.
Step 3: Whip the Heavy Cream
In a separate clean bowl, pour in the cold heavy whipping cream.
Beat with an electric mixer until stiff peaks form. When you lift the beaters, the cream should hold its shape without looking grainy or separated.
Start at medium speed and increase gradually. Watch carefully near the end, because overwhipped cream can become grainy.
Step 4: Fold the Whipped Cream into the Filling
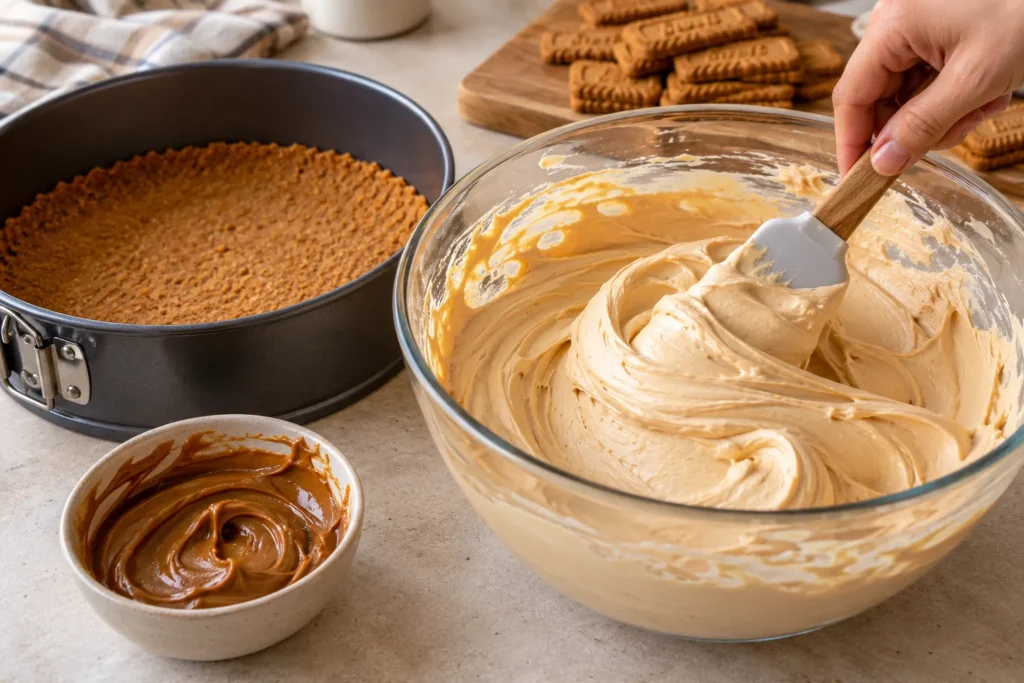
Add about one-third of the whipped cream to the Biscoff cream cheese mixture and gently fold it in using a silicone spatula.
Add the remaining whipped cream in two batches, folding gently after each addition. Use broad movements from the bottom of the bowl toward the top.
This method helps preserve the air in the whipped cream, giving the cheesecake a lighter texture.
Continue folding until no obvious white streaks remain, but stop as soon as the mixture is uniform.
Step 5: Fill the Cheesecake Pan
Remove the chilled cookie crust from the refrigerator.
Spoon the cheesecake filling over the crust and spread it evenly with a spatula. Gently tap the pan on the counter a couple of times to release any large air pockets.
Smooth the top for a clean finish.
Cover the pan and refrigerate the cheesecake for at least 6–8 hours, preferably overnight. This gives the filling time to firm up so that the cheesecake can be sliced neatly.
Step 6: Prepare the Biscoff Topping
Once the cheesecake has chilled and become firm, place the topping Biscoff spread in a microwave-safe bowl.
Microwave in short intervals of about 10–15 seconds, stirring between each interval, until the spread is just fluid enough to pour.
Alternatively, warm it gently in a heatproof bowl over warm water.
Allow the spread to cool slightly before pouring it over the cheesecake. It should be pourable but not hot, as excessive heat may soften the filling.
Spread it evenly across the top, allowing it to reach the edges for a smooth finish.
Step 7: Decorate and Chill Again
Arrange whole or crushed Lotus Biscoff cookies around the top of the cheesecake. You can also sprinkle a few fine cookie crumbs in the center for extra texture.
Return the cheesecake to the refrigerator for another 20–30 minutes, or until the topping is set.
Step 8: Release and Slice
Carefully run a thin knife around the inside edge of the springform pan before releasing the sides.
For clean slices, use a sharp knife warmed under hot water and wiped dry between cuts.
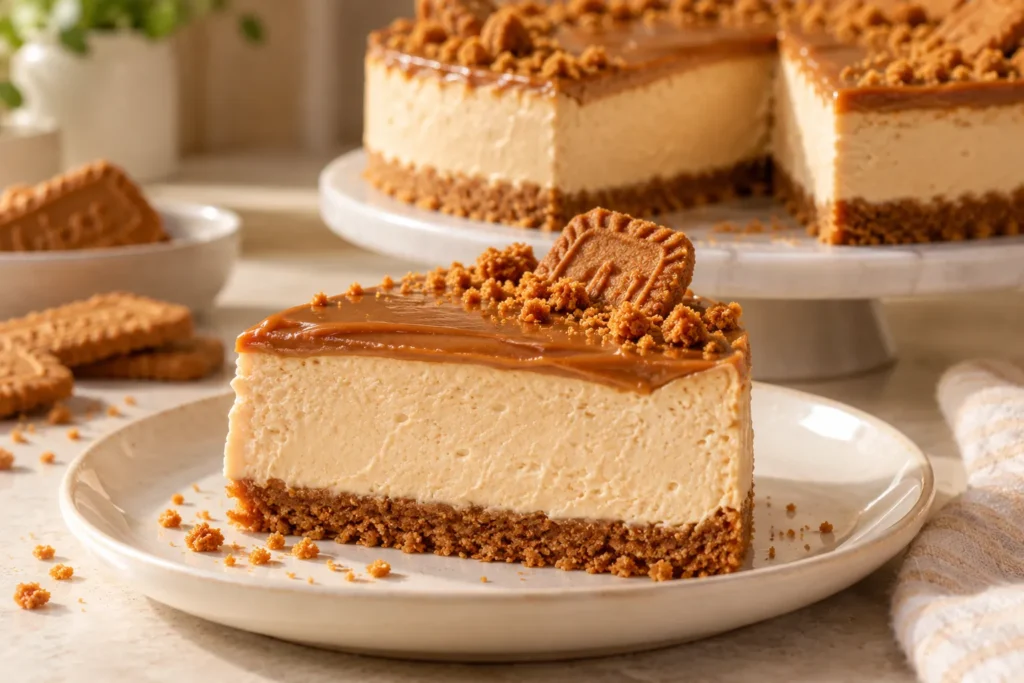
The finished cheesecake should have a firm cookie crust, a creamy pale caramel-colored filling, and a smooth golden-brown Biscoff topping.
Serve chilled for the best texture and flavor.
Tips for the Best No-Bake Biscoff Cheesecake
1. Use full-fat cream cheese. A thick, full-fat cream cheese gives the filling a richer flavor and more reliable structure.
2. Keep the whipping cream cold. Cold cream whips more easily and helps the cheesecake set properly.
3. Press the crust firmly. A compact base is less likely to crumble when the cheesecake is sliced.
4. Don’t rush the chilling time. The cheesecake needs several hours to firm up. Overnight chilling is ideal, especially if you want neat slices.
5. Fold gently. Overmixing after adding whipped cream can reduce the lightness of the filling.
6. Don’t overheat the Biscoff spread. Warm it only until it becomes pourable. A very hot topping can soften the cheesecake underneath.
7. Use a springform pan. It makes releasing the chilled cheesecake much easier than using a regular cake pan.
8. Taste before adding sugar. The cookie butter and biscuits already contribute plenty of sweetness.
Delicious Variations
White Chocolate Biscoff Cheesecake
Melt about 100 g of white chocolate and let it cool until lukewarm before mixing it into the cream cheese and Biscoff filling. White chocolate adds sweetness and richness, so reduce or omit the powdered sugar. Allow the chocolate to cool enough that it doesn’t melt the filling ingredients.
Mini No-Bake Biscoff Cheesecakes
Prepare the crust and filling in individual dessert cups or small ring molds. Divide the cookie crumbs evenly, press them down, and add the filling.
Chill until firm, then finish each portion with a little melted Biscoff spread and cookie crumbs. Smaller portions may set sooner than a whole cheesecake.
Chocolate Biscoff Cheesecake
Add a thin layer of melted dark chocolate over the cookie crust and chill it until firm before adding the cheesecake filling. You can also decorate the finished cheesecake with dark chocolate shavings for a chocolate-and-caramel combination.
Biscoff Cheesecake with a Crunchy Base
For additional texture, use crunchy Biscoff spread in the filling or mix a small amount of finely chopped Biscoff cookies into the cream cheese mixture. Fold gently so the filling remains light.
Salted Caramel Biscoff Cheesecake
Drizzle a small amount of salted caramel sauce over each slice just before serving. The salty caramel flavor complements the sweet, spiced biscuit filling.
How to Store No-Bake Lotus Biscoff Cheesecake
Refrigerator: Store the cheesecake covered in the refrigerator for approximately 3–4 days. Keep it chilled between servings and avoid leaving it at room temperature for extended periods because it contains dairy.
Freezer: You can freeze the cheesecake for up to about 2 months for best quality. For easier serving, freeze it without the final cookie decorations, wrap it well, and thaw it overnight in the refrigerator.
Leftover slices: Place slices in airtight containers to protect them from absorbing other refrigerator odors. Add any crunchy cookie decorations shortly before serving if you want them to retain their texture.
Frequently Asked Questions
Can I make Lotus Biscoff cheesecake without gelatin?
Yes. This recipe relies on whipped cream, full-fat cream cheese, and refrigeration rather than gelatin. The cream must be whipped to stiff peaks, and the cheesecake needs enough chilling time to firm up.
Why is my no-bake cheesecake too soft?
A soft filling can result from using cream cheese that is too loose, underwhipped cream, overmixing, or insufficient chilling. Use thick full-fat cream cheese, whip the cream properly, fold gently, and refrigerate overnight when possible.
Can I use crunchy Biscoff spread?
Yes. Crunchy Biscoff spread works well and gives the filling a little extra texture. Smooth spread is preferable if you want a completely silky consistency.
Can I make this cheesecake the day before serving?
Absolutely. Making it the day before is one of the best ways to ensure the filling has enough time to set. Add the warmable topping once the cheesecake is firm, then refrigerate until serving.
Can I make it without a springform pan?
Yes. You can assemble it in a deep pie dish or individual dessert glasses. If using a regular cake pan, line it carefully with baking paper so you can lift the cheesecake out more easily.
Why is my Biscoff topping too thick?
The spread may need a little more gentle warming. Heat it in short intervals and stir until it becomes pourable. Avoid adding too much liquid, which can affect the topping’s texture.
How do I prevent the crust from crumbling?
Make sure the cookie crumbs are fine and thoroughly mixed with melted butter. Press the mixture firmly into the pan and chill it before adding the filling.
Is Lotus Biscoff cheesecake very sweet?
It is a naturally sweet dessert because both the biscuits and spread contain sugar. You can omit the powdered sugar from the filling and use a thin topping layer if you prefer a less sweet cheesecake.
Final Thoughts
This No-Bake Lotus Biscoff Cheesecake is an easy yet impressive dessert that brings together a buttery cookie crust, a creamy Biscoff filling, and a glossy caramelized biscuit topping.
Because it requires no baking, it’s a convenient choice for celebrations, dinner parties, or days when you want a homemade dessert without turning on the oven. With a little preparation and enough time in the refrigerator, you’ll have a cheesecake that’s creamy, flavorful, and easy to serve.
For the best results, use full-fat cream cheese, whip the cream until it holds stiff peaks, and chill the cheesecake overnight. Finish with crushed Biscoff cookies or extra cookie butter for a dessert that looks as delicious as it tastes.