
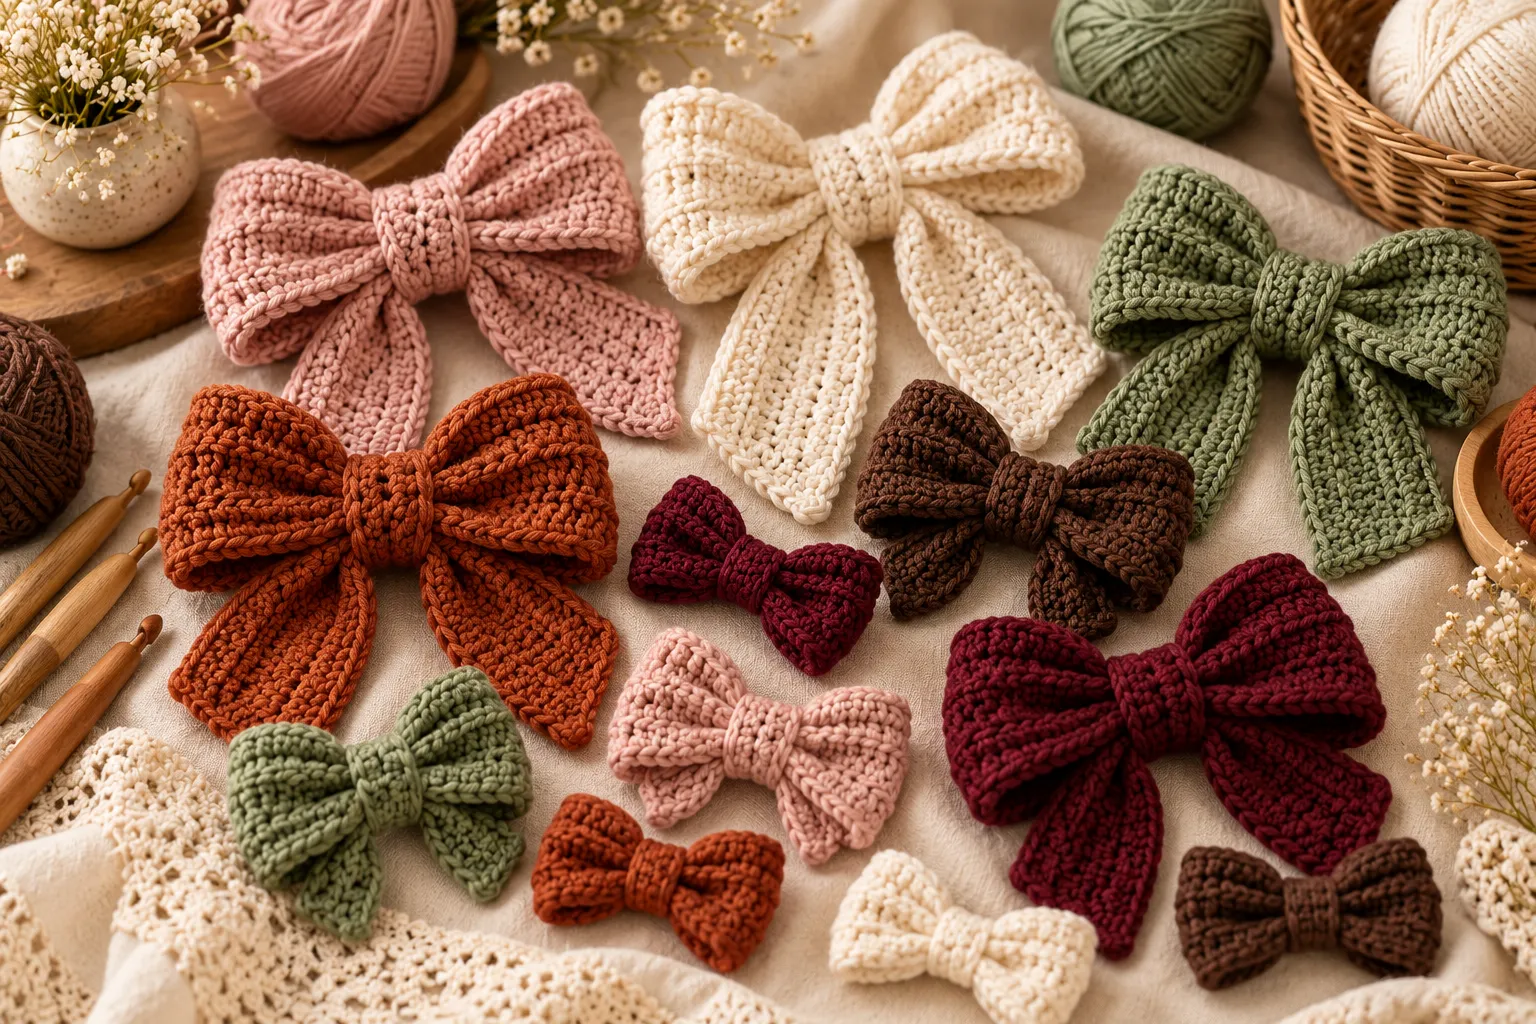
Crochet bows are one of the quickest ways to turn a simple piece of yarn into a beautiful handmade accessory. Whether you want to decorate a crochet headband, hair clip, gift package, baby outfit, handbag, cardigan, or seasonal project, a small crochet bow can add an elegant finishing touch.
This easy crochet bow pattern uses basic stitches and a simple rectangular construction, making it an excellent project for beginners. Once you understand the basic shape, you can easily change the size, yarn, colors, and finishing style to create bows for almost any project.
In this tutorial, you’ll learn how to crochet a classic bow, create different sizes, add texture, attach the bow to accessories, and customize it for different occasions.
Safety note: If making bows for babies or young children, securely attach every component and avoid loose or detachable embellishments. Small accessories can present a choking hazard.
Why You’ll Love This Crochet Bow Pattern
This project is especially beginner-friendly because it doesn’t require complicated shaping.
The basic bow consists of:
- A simple crochet rectangle
- A center section
- A small crochet band
- A secure finishing seam
You can make a bow in just one color or combine several colors.
The pattern is also useful for using leftover yarn from larger crochet projects.
This pattern is great for:
- Beginners
- Scrap yarn projects
- Hair accessories
- Crochet headbands
- Gift wrapping
- Baby accessories
- Crochet bags
- Cardigans
- Dresses
- Seasonal decorations
- Handmade gifts
- Craft fairs
Materials You’ll Need
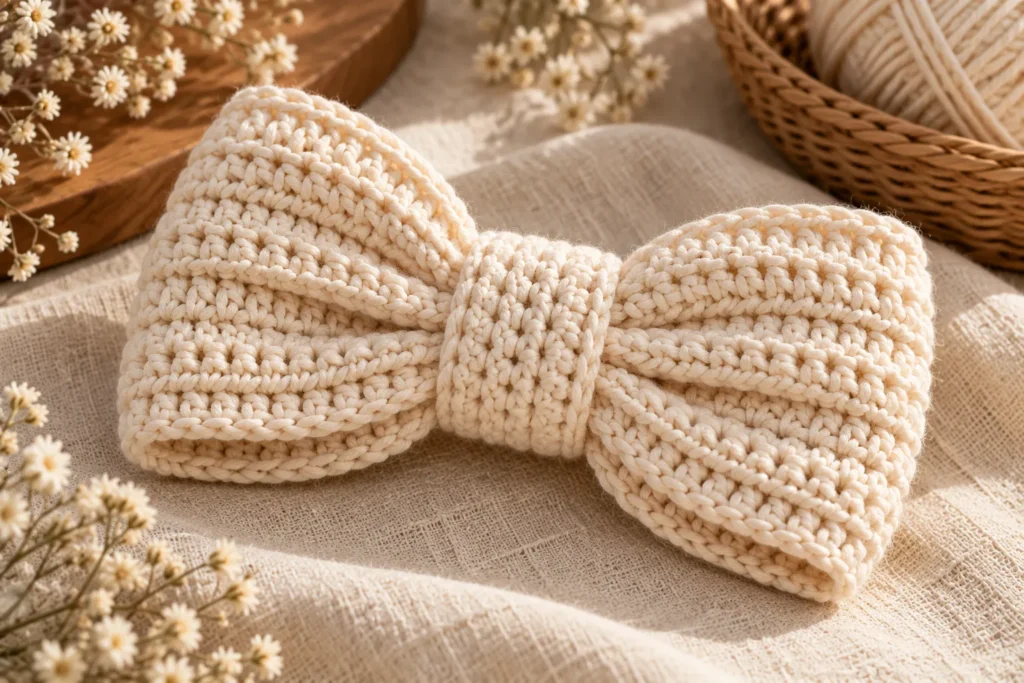
Yarn
Almost any yarn can work for this project.
For a small decorative bow, lightweight or medium-weight yarn is particularly easy to handle.
Good choices include:
- Cotton yarn
- Cotton-acrylic blends
- Soft acrylic
- Bamboo blends
- Lightweight wool
- Worsted-weight yarn
For a structured bow, cotton is an excellent choice because it holds its shape well.
For a softer bow, acrylic or a blend can create a more flexible result.
Crochet Hook
Choose a hook appropriate for your yarn.
For example:
3.0–4.0 mm works well for many lightweight and medium-weight yarns.
If your bow looks too loose, try a smaller hook.
If the fabric feels too stiff, use a slightly larger hook.
Additional Supplies
You’ll also need:
- Yarn needle
- Scissors
- Measuring tape
- Stitch marker if desired
- Hair clip, headband, or other attachment if needed
Crochet Abbreviations
| Abbreviation | Meaning |
|---|---|
| ch | Chain |
| sc | Single crochet |
| hdc | Half double crochet |
| dc | Double crochet |
| sl st | Slip stitch |
| st | Stitch |
| rep | Repeat |
| BLO | Back loop only |
Basic Crochet Bow Pattern
The easiest version is made from a rectangle.
You can use single crochet for a firm bow or half double crochet for a slightly softer texture.
Finished Size
The basic bow can be approximately:
10–12 cm wide × 6–8 cm tall
However, this is completely customizable.
You can make:
- Tiny bows
- Mini hair bows
- Medium accessory bows
- Oversized statement bows
Step 1: Make the Foundation Chain
For a medium bow, begin with approximately:
ch 20–25
The number of chains determines the length of the rectangle.
For a wider bow, increase the number of chains.
For a smaller bow, reduce the number.
Step 2: Work the First Row
Work single crochet across the foundation chain.
Chain 1 and turn.
Continue working rows of single crochet.
Keep your tension consistent.
Step 3: Build the Rectangle
Continue crocheting until your piece forms a rectangle.
For example:
Row 1: sc across
Row 2: ch 1, turn, sc across
Rows 3–8: repeat Row 2
You can add more rows for a larger bow.
The finished rectangle should have enough height to create a full bow shape.
Step 4: Finish the Rectangle
Once you’ve reached the desired size, cut the yarn.
Leave a long tail if you plan to use it to create the center of the bow.
Weave in any unnecessary ends.
Don’t worry if the rectangle doesn’t look like a bow yet.
The magic happens during assembly.
Step 5: Shape the Bow
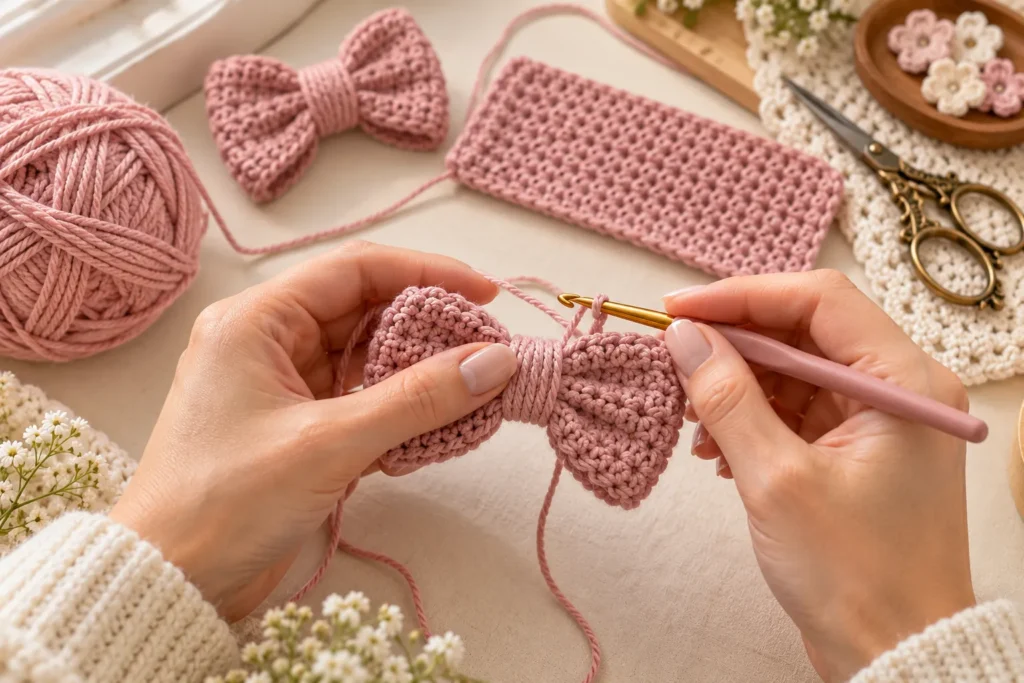
Place the rectangle flat.
Pinch the center with your fingers.
Bring the upper and lower portions toward the middle.
The fabric should naturally begin to form two loops.
Adjust both sides until they are approximately symmetrical.
Creating More Defined Loops
For a fuller bow, pinch the center more tightly.
For a flatter bow, use a softer pinch.
You can also create gentle folds on both sides.
Step 6: Make the Center Band
The center band is what transforms the rectangle into a recognizable bow.
Chain approximately:
ch 6–10
depending on the size of your bow.
Work several rows of single crochet.
The finished band should be long enough to wrap comfortably around the center of the bow.
Alternative: Wrap With Yarn
For an extremely simple version, you don’t need to crochet a separate band.
Use a long yarn tail to wrap tightly around the center several times.
Then secure the yarn at the back.
This creates a clean minimalist finish.
Step 7: Attach the Center
Wrap your crochet center band around the middle of the bow.
Sew the ends together at the back.
Use a yarn needle and matching yarn.
Secure the stitches firmly.
The bow should now hold its shape.
Step 8: Shape the Finished Bow
Gently pull the two loops into position.
Make sure:
- Both loops are similar in size
- The center is straight
- The bottom edges are aligned
- The bow isn’t twisted
Your basic crochet bow is now complete.
Easy Crochet Bow With Half Double Crochet
If you prefer a slightly softer texture, substitute half double crochet for single crochet.
The process remains the same.
The result has:
- More drape
- Slightly larger stitches
- Faster construction
- A softer appearance
This version is especially attractive for clothing and headbands.
Ribbed Crochet Bow
You can create a completely different texture by working through the back loops only.
Use:
hdc BLO
for every row.
This creates beautiful horizontal ridges.
A ribbed bow works especially well in:
- Burgundy
- Forest green
- Cream
- Chocolate brown
- Dusty pink
- Mustard
Mini Crochet Bow
For a tiny decorative bow, reduce both dimensions.
Try a foundation chain of approximately:
ch 10–12
Then work only a few rows.
A mini bow is perfect for:
- Hair clips
- Crochet flowers
- Doll clothes
- Small bags
- Gift wrapping
- Cardigans
Oversized Crochet Bow
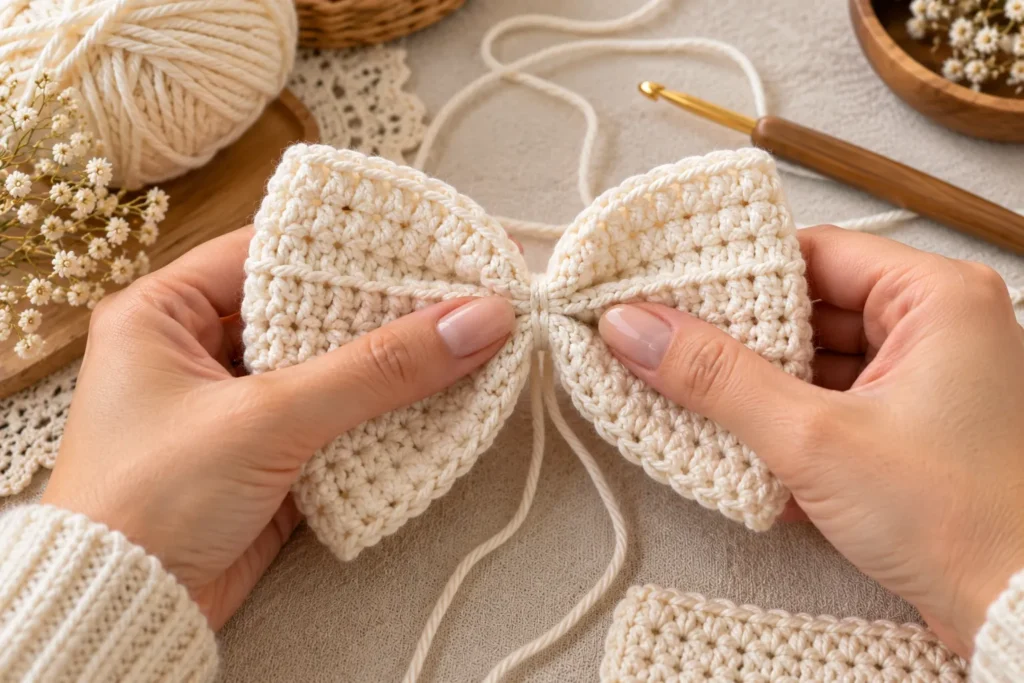
For a statement bow, increase the dimensions dramatically.
Try:
ch 30–40
and work more rows.
Use bulky or super bulky yarn for an especially dramatic result.
An oversized bow can become the focal point of:
- A headband
- A handbag
- A cardigan
- A winter hat
Crochet Bow With Pointed Ends
Instead of leaving the rectangle with straight ends, you can create a more decorative silhouette.
After completing the main rectangle, add a border.
At each end, work decreases toward the center.
This creates a subtle pointed shape.
Another option is to fold the ends diagonally and secure them.
Crochet Bow With Scalloped Edging
For a feminine design, add a decorative border.
Try a simple scallop:
sc, skip 2 stitches, 5 dc in next stitch, skip 2 stitches
Repeat around the edge.
The scallops create a delicate decorative finish.
Two-Tone Crochet Bow
Two colors can make a simple bow much more interesting.
Option 1: Contrasting Center
Crochet the main bow in cream.
Use rust or burgundy for the center band.
Option 2: Striped Bow
Alternate two colors every two rows.
Option 3: Colored Edging
Make the entire bow in one color and add a contrasting border.
Beautiful combinations include:
| Main Color | Accent |
|---|---|
| Cream | Rust |
| Dusty Pink | Ivory |
| Forest Green | Cream |
| Sage | Beige |
| Burgundy | Camel |
| Lavender | White |
| Chocolate | Oatmeal |
Crochet Bow Hair Clip
One of the most popular uses for a crochet bow is a hair accessory.
What You’ll Need
In addition to your crochet bow:
- Metal snap clip
- Hair barrette
- Strong sewing thread or yarn
How to Attach It
Place the clip horizontally across the back of the bow.
Sew it securely to the center.
Check the attachment before using the accessory.
The clip should remain firmly attached without pulling the crochet fabric excessively.
Crochet Bow Headband
A crochet bow looks beautiful attached to a simple headband.
You can use:
- Crochet headband
- Fabric headband
- Plastic headband
- Knitted ear warmer
Sew the bow securely to the center or slightly off-center.
For a more modern look, position the bow toward one side.
Crochet Bow for Baby Accessories
Small crochet bows can decorate:
- Baby cardigans
- Crochet dresses
- Baby hats
- Headbands
- Blankets
- Gift sets
For babies, prioritize safety over decoration.
Avoid:
- Loose beads
- Small buttons
- Detachable pearls
- Long ribbons
- Poorly secured clips
Inspect the bow regularly for loose yarn or attachments.
Crochet Bow for Gift Wrapping
You don’t need to use crochet bows only for clothing.
A handmade yarn bow can become a beautiful reusable gift decoration.
Attach it to:
- Gift boxes
- Crochet baskets
- Handmade bags
- Baby shower gifts
- Christmas presents
Choose yarn colors that complement the wrapping paper.
A cream crochet bow on kraft paper creates a beautiful handmade aesthetic.
Crochet Christmas Bow
Change the color palette to create a festive version.
Try:
Red + cream
Forest green + gold
Burgundy + ivory
White + silver-gray
You can also add a small crochet holly leaf.
Crochet Valentine’s Bow
For Valentine’s Day, try:
- Dusty pink
- Red
- Burgundy
- Cream
A small heart-shaped center can replace the traditional band.
Crochet Halloween Bow
For a Halloween accessory, use:
Black + orange
or
Purple + black
Attach the bow to a headband or crochet bag.
A small crochet spider or pumpkin can be added for a seasonal effect.
How to Make the Bow More Structured
If your bow is too floppy, there are several ways to improve its structure.
Use a Smaller Hook
A smaller hook creates tighter stitches.
Choose Cotton
Cotton naturally holds its shape well.
Add a Border
A single-crochet border can stabilize the edges.
Block the Rectangle
Light blocking can help straighten the fabric before assembly.
Add a Hidden Support
For some larger decorative bows, a small piece of fabric or felt can be placed behind the center.
Make sure it is securely attached and appropriate for the intended use.
How to Make a Softer Bow
For clothing accessories, you may prefer a softer appearance.
Try:
- Larger hook
- Acrylic yarn
- Half double crochet
- Lightweight yarn
- Fewer border rows
The finished bow will have more drape.
How to Adjust the Bow Size
The easiest way to resize the pattern is to think in two dimensions.
Wider Bow
Increase the foundation chain.
Taller Bow
Add more rows.
Smaller Bow
Reduce both.
Larger Bow
Increase both.
Keep the proportions balanced.
If the bow becomes extremely wide without becoming taller, it can look flat.
Crochet Bow Troubleshooting
My Bow Looks Flat
The rectangle may be too short vertically.
Add additional rows.
My Bow Won’t Hold Its Shape
Try tighter stitches or a smaller hook.
Cotton yarn can also provide more structure.
The Center Is Too Wide
Reduce the size of the center band.
The Loops Are Uneven
Adjust the folds before sewing.
Measure both sides visually.
The Edges Curl
Try adding a single-crochet border.
You can also lightly block the piece.
Blocking a Crochet Bow
Blocking is optional but can make a noticeable difference.
After crocheting the rectangle:
- Gently wet or steam according to the yarn’s care instructions.
- Lay the piece flat.
- Shape the corners.
- Straighten the edges.
- Allow it to dry completely.
- Assemble the bow afterward.
Don’t stretch the piece excessively.
The goal is to create a clean rectangle rather than enlarge it.
Making Multiple Bows
Once you’ve mastered the basic pattern, making several bows becomes very quick.
Create a small collection using different:
- Colors
- Sizes
- Textures
- Borders
- Center bands
This is an excellent way to use leftover yarn.
You can even create coordinated sets for:
- Mother and daughter
- Sisters
- Baby gifts
- Seasonal outfits
Crochet Bow Gift Set
For a beautiful handmade gift, combine:
- One large bow
- Two mini bows
- Matching crochet headband
- Small crochet flower
Use a consistent color palette.
Wrap everything in cream tissue paper or a small kraft box.
Selling Crochet Bows
Crochet bows can be excellent small handmade products because they use relatively little yarn.
Before pricing your bows, consider:
- Yarn
- Clips or attachment hardware
- Packaging
- Your time
- Marketplace fees
- Shipping materials
Offer different sizes and color combinations.
You can also sell coordinated sets rather than individual bows.
Frequently Asked Questions
Is this crochet bow pattern beginner-friendly?
Yes. The basic bow uses simple stitches and rectangular construction, making it an excellent beginner project.
What stitch is best for crochet bows?
Single crochet creates a firm, structured bow, while half double crochet gives a softer appearance. Back-loop-only stitches are excellent when you want visible ribbing.
How much yarn does a crochet bow use?
A small bow uses very little yarn, which makes it perfect for leftovers from other projects. The exact amount depends on the size and yarn weight.
Can I make a crochet bow without a pattern?
Yes. Once you understand the rectangular construction, you can easily customize the dimensions yourself.
Can I attach a crochet bow to a hair clip?
Yes. Sew the bow securely to the clip and inspect the attachment regularly.
Can I make this bow for children?
Yes, but children’s accessories require additional attention to safety. Avoid loose or detachable small components and make sure everything is securely attached.
Can I use bulky yarn?
Absolutely. Bulky yarn can create a beautiful oversized statement bow.
Can I sell finished crochet bows?
Generally, handmade finished items can be sold, but if you are using someone else’s specific pattern, check the pattern designer’s terms before selling items made from it.
Final Thoughts
This easy crochet bow pattern is a perfect example of how a simple crochet shape can become dozens of different accessories.
Once you’ve mastered the basic rectangle, you can experiment with ribbing, scalloped edges, contrasting colors, oversized proportions, tiny hair bows, gift decorations, and seasonal designs.
The project is quick, inexpensive, and ideal for using leftover yarn. Most importantly, it gives you a versatile handmade embellishment that can transform everything from a simple headband to a crochet dress.
Start with a small single-crochet bow in your favorite yarn, then experiment with different sizes and textures. Before long, you’ll have a collection of beautiful crochet bows ready to personalize your next project.