
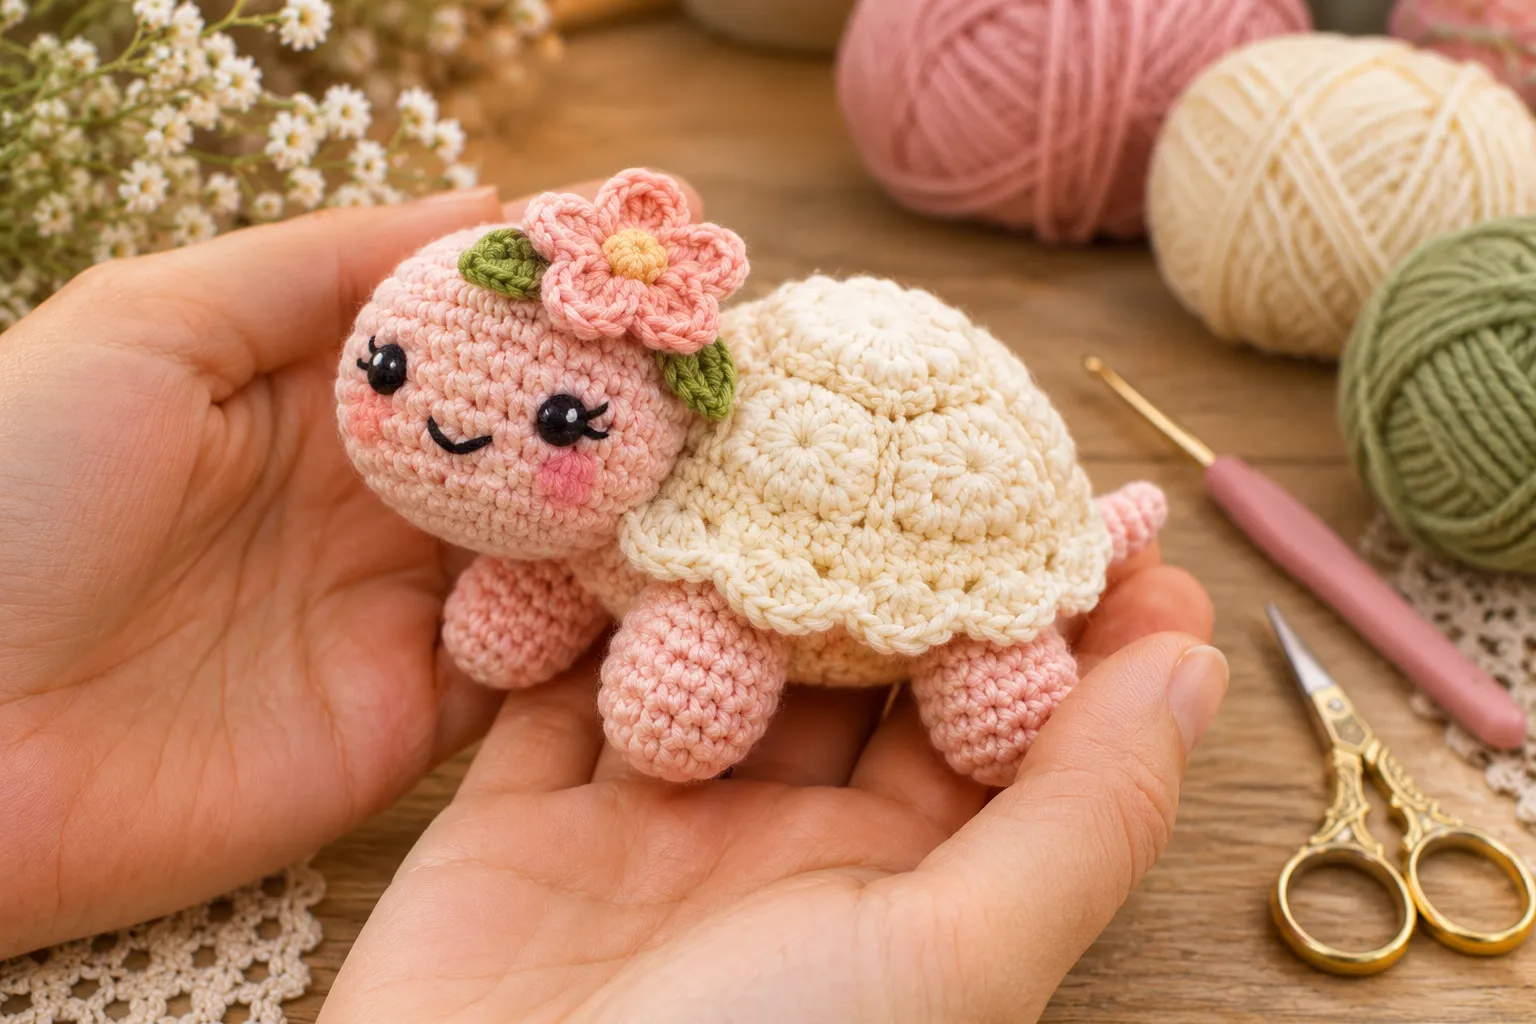
The cutest DIY crochet turtle you’ll see today!
There is something incredibly charming about turning a simple ball of yarn into a tiny handmade animal. Crochet turtles are especially adorable because their rounded bodies, little legs, textured shells, and sweet faces make them perfect for both beginners and experienced crocheters.
The turtle in the inspiration design has an especially lovely handmade character. Its soft blush-pink body, cream-colored shell, tiny black eyes, embroidered details, and little flower on the head create a delicate and playful amigurumi style.
A crochet turtle can be much more than a cute decoration. You can make it as a handmade gift, nursery accessory, bag charm, desk companion, shelf decoration, or part of a larger collection of crochet animals.
Why Crochet Turtles Are So Cute
Turtles are naturally perfect for crochet because their rounded shape translates beautifully into amigurumi.
A basic turtle can be created from a few simple components:
- A rounded body
- A shell
- Four little legs
- A small head
- A tail
- Simple facial details
Once you understand the basic construction, you can customize the turtle in countless ways.
You can change its:
- Shell color
- Body color
- Size
- Facial expression
- Accessories
- Flowers
- Patterns
- Texture
What You Need to Make a Crochet Turtle
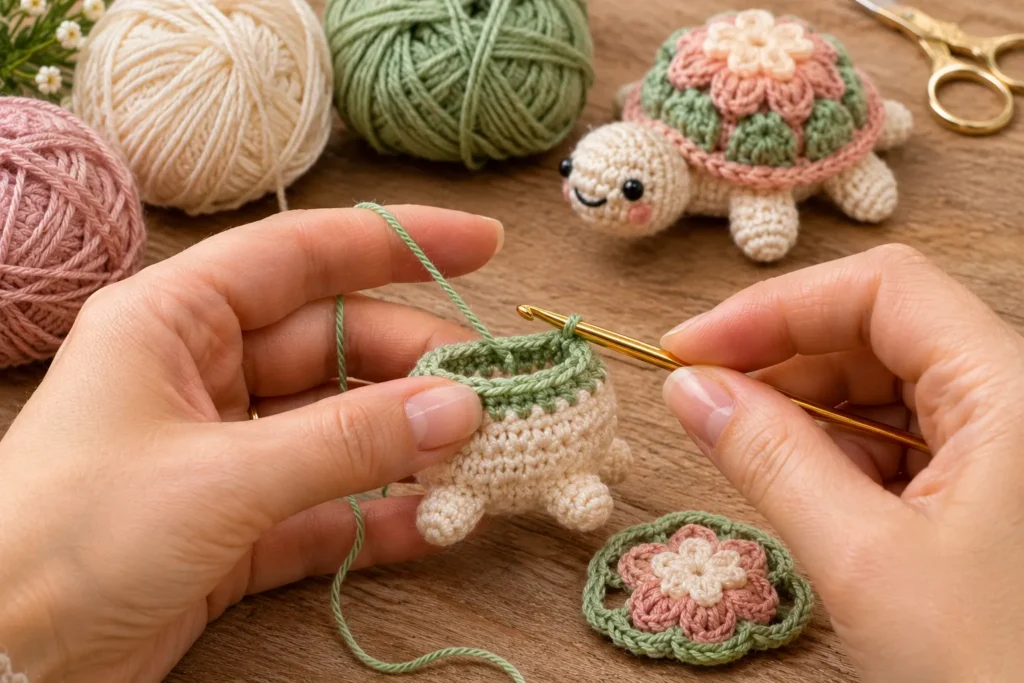
A small crochet turtle doesn’t require many supplies.
Basic Materials
- Crochet yarn
- Crochet hook
- Yarn needle
- Scissors
- Small amount of stuffing
- Embroidery thread
- Safety eyes or black embroidery thread
Optional materials include:
- Small crochet flowers
- Beads
- Ribbons
- Decorative buttons
- Keychain hardware
Cotton yarn is particularly suitable for amigurumi because it provides clear stitch definition and a neat finished appearance.
Choosing Yarn Colors
One of the most enjoyable parts of making a crochet turtle is choosing the colors.
The inspiration design uses a soft pastel palette, which gives the turtle a gentle and feminine appearance.
Classic Turtle
Try:
Green body + brown or green shell
for a traditional turtle-inspired design.
Pastel Turtle
Use:
Blush pink + cream + dusty rose
for a soft, cute aesthetic.
Ocean Turtle
Try:
Blue + turquoise + cream
for a sea-inspired character.
Garden Turtle
Combine:
Sage green + beige + pink
for a botanical-inspired turtle.
Rainbow Turtle
Use several pastel shades for the shell sections.
This is especially fun for children’s crochet projects.
Understanding the Crochet Turtle Structure
A small amigurumi turtle can be divided into several sections.
The Head
The head is usually a small rounded shape attached to the body.
The Body
The body creates the main base of the turtle.
The Shell
The shell is usually the largest part and sits on top of the body.
The Legs
Four small legs create the recognizable turtle silhouette.
The Tail
A tiny pointed tail completes the body.
Decorative Details
Eyes, cheeks, flowers, bows, or other embellishments give the turtle its personality.
Creating the Turtle Body
The body is usually crocheted in the round.
A firm crochet tension helps create a compact shape.
As you work, gradually increase the number of stitches to create the rounded form.
Once the body reaches the desired width, you can decrease the stitches to close the shape.
If the body will be stuffed, add small amounts of stuffing gradually rather than filling everything at once.
This helps you control the final shape.
Making the Crochet Turtle Shell
The shell is the most recognizable feature of the turtle.
You can make it:
- Round
- Oval
- Slightly domed
- Textured
- Striped
- Color-blocked
A slightly domed shell creates a particularly cute amigurumi appearance.
Simple Shell
A simple solid-colored shell is perfect for beginners.
Textured Shell
Use raised stitches to create a more detailed surface.
Patterned Shell
Experiment with different colors to create decorative sections.
The Cream Shell Look
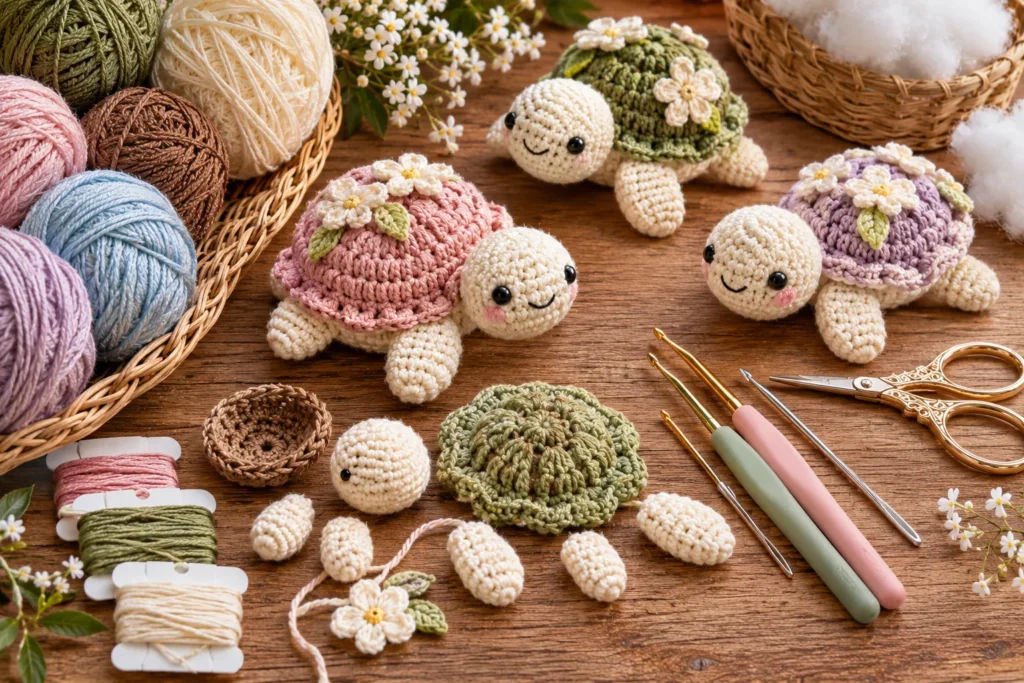
The inspiration turtle has a soft cream-colored shell that contrasts beautifully with its pink body.
This type of contrast makes the shell stand out without using very bright colors.
Try combinations such as:
Pink + cream
Sage + beige
Lavender + ivory
Blue + white
Coral + cream
Adding Texture to the Shell
A flat shell can be cute, but texture makes it even more interesting.
Try:
- Front-post stitches
- Raised crochet sections
- Color changes
- Small clusters
- Ribbed stitches
- Decorative embroidery
You can create subtle patterns without making the shell overly complicated.
Crochet Turtle Legs
The legs can be kept very simple.
Small rounded or slightly elongated crochet shapes are enough to create the effect.
The four legs should be attached securely to the underside of the body.
Try to position them evenly so the turtle sits naturally.
For a more playful turtle, make the front legs slightly larger than the back legs.
Adding a Tiny Tail
A turtle only needs a very small tail.
A short pointed crochet piece can be attached to the back of the body.
Keep it proportional to the rest of the turtle.
For a miniature amigurumi, even a few stitches can create a recognizable tail.
Creating the Turtle Face
The face is what gives your crochet turtle its personality.
The inspiration design uses:
- Small black eyes
- A simple mouth
- Subtle blush
You can embroider all of these details.
Embroidered Eyes
Black embroidery thread creates a soft handmade appearance.
Safety Eyes
Safety eyes can create a more traditional amigurumi look, but they should be securely installed and are not appropriate for every age group.
Rosy Cheeks
A few pink stitches can create an adorable blush effect.
Different Turtle Expressions
You can create an entire family of turtles simply by changing the facial expression.
Try:
- Happy
- Sleepy
- Shy
- Surprised
- Smiling
- Winking
Small changes can make each turtle look completely different.
Add a Crochet Flower
The little flower on the turtle’s head is one of the sweetest details in the inspiration design.
A tiny crochet flower can be made separately and sewn securely onto the turtle.
Try:
- Pink flower
- White flower
- Lavender flower
- Yellow flower
- Tiny daisy
A green leaf can be added underneath the flower for extra detail.
Crochet Turtle Accessories
Once you’ve made the basic turtle, you can experiment with accessories.
Try adding:
- A flower
- A bow
- A tiny hat
- A scarf
- A crown
- A small backpack
- A miniature shell decoration
This is an easy way to turn one basic pattern into many different characters.
Make a Mini Crochet Turtle
A miniature turtle can be made using thinner yarn and a smaller hook.
Mini turtles are perfect for:
- Keychains
- Bag charms
- Desk decorations
- Gifts
- Collectibles
Keep the design simple because very small crochet pieces can be more difficult to assemble.
Turn the Turtle Into a Keychain
A small crochet turtle can become an adorable keychain.
Attach a secure metal keyring to the top of the shell.
You can also add a small clasp to turn it into a bag charm.
Pastel turtles look particularly cute hanging from neutral handbags or backpacks.
Crochet Turtle Bag Charm
A larger turtle can work beautifully as a bag charm.
Attach a lobster clasp or sturdy metal ring.
Try creating a turtle with:
- Pink body
- Cream shell
- Tiny flower
for a soft feminine accessory.
Crochet Turtle Nursery Decor
Crochet turtles are perfect for children’s rooms and nurseries.
Create several turtles in coordinated colors and display them on:
- Shelves
- Baskets
- Bookcases
- Decorative trays
You can also combine turtles with crochet flowers, leaves, clouds, and stars.
Crochet Turtle for a Baby Gift
A handmade turtle can make a thoughtful baby shower or birthday gift.
For baby-related projects, keep the design simple and avoid loose small parts.
Embroidered eyes and facial details are preferable to detachable small pieces when appropriate.
Choose soft, washable yarn and follow the manufacturer’s care instructions.
Crochet Turtle as a Handmade Gift
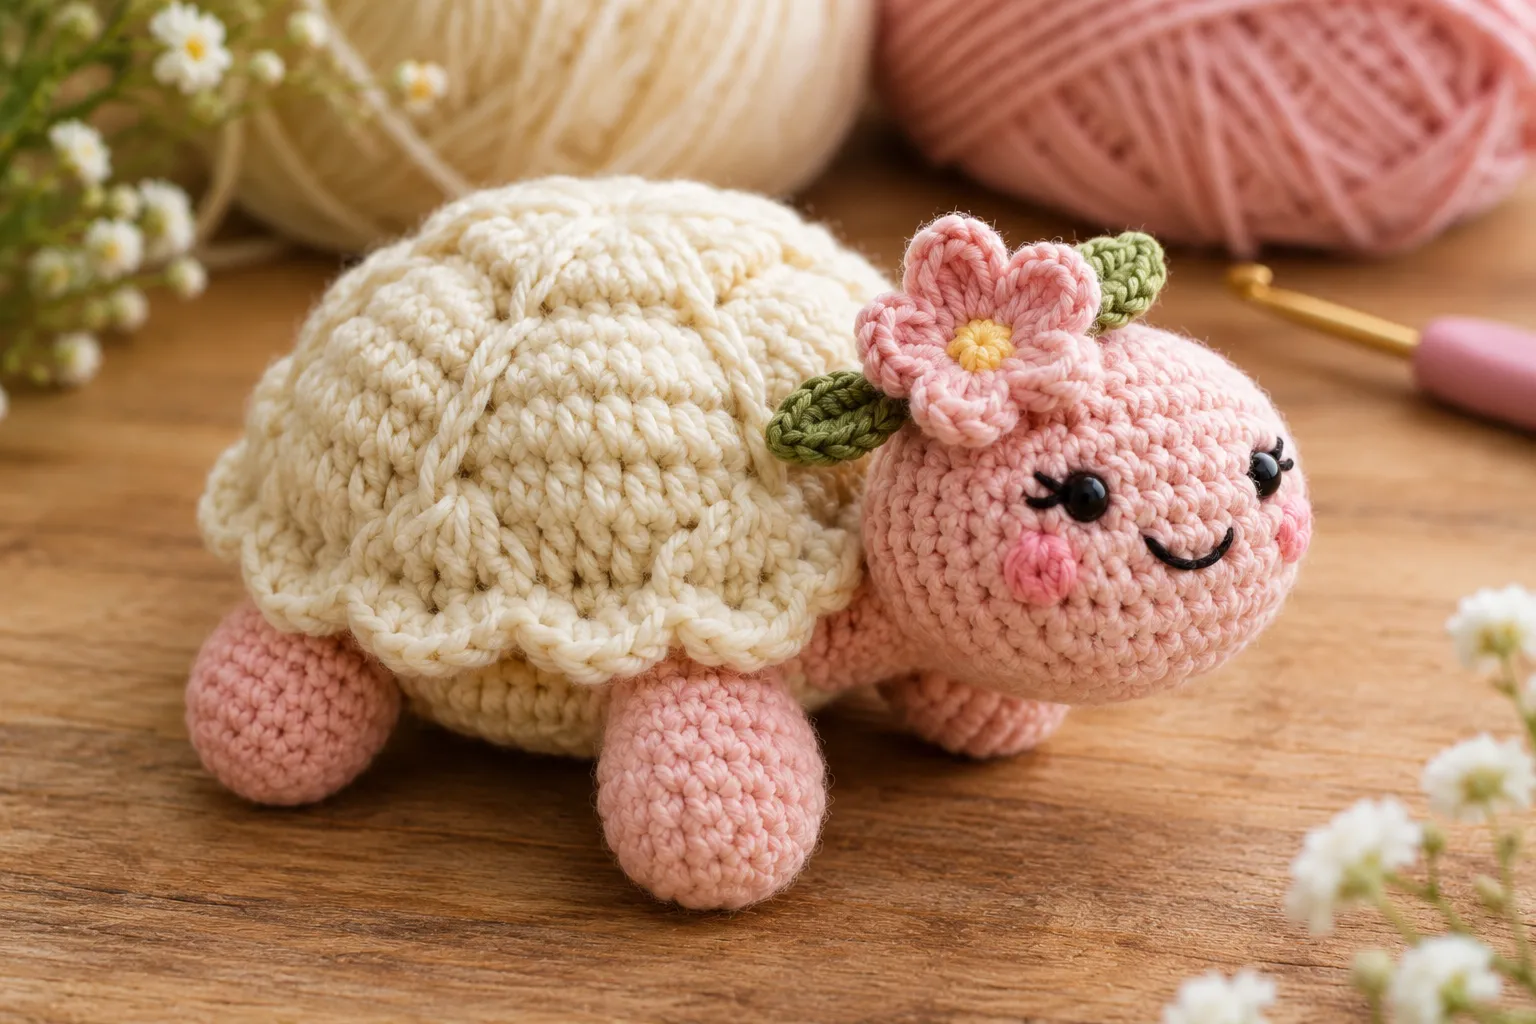
A crochet turtle doesn’t have to be for a child.
It can also make a charming handmade gift for:
- Friends
- Family
- Teachers
- Coworkers
- Crochet lovers
- Animal lovers
Personalize the colors to match the recipient’s favorite shades.
Create a Family of Crochet Turtles
Instead of making just one turtle, create several.
Give each turtle a unique combination of:
- Body color
- Shell pattern
- Flower
- Expression
- Accessory
For example:
Mama Turtle
Large cream shell and sage body.
Baby Turtle
Small pink body and ivory shell.
Garden Turtle
Green body with a flower on its head.
Ocean Turtle
Blue body with turquoise shell.
This can become a charming handmade collection.
Crochet Turtle Shell Color Ideas
The shell can completely change the personality of your turtle.
Try:
Cream and blush
Soft and feminine.
Sage and beige
Natural and botanical.
Brown and green
Traditional and earthy.
Lavender and purple
Dreamy and playful.
Blue and turquoise
Ocean-inspired.
Orange and mustard
Warm and cheerful.
Use Leftover Yarn
Small crochet turtles are excellent stash-busting projects.
You can use leftover yarn for:
- Feet
- Flowers
- Shell details
- Cheeks
- Tails
- Decorative accents
This makes the project economical and gives you a reason to experiment with unusual color combinations.
How to Make the Turtle Sit Properly
A well-balanced turtle should sit comfortably on a flat surface.
Check:
- Leg placement
- Body shape
- Shell position
- Stuffing distribution
If the turtle leans to one side, gently reposition the stuffing or adjust the legs.
Stuffing Your Crochet Turtle
Don’t overfill the body.
Too much stuffing can stretch the stitches and make the shape look uneven.
Instead, add small amounts at a time.
Use your fingers to distribute the stuffing evenly around the body.
The goal is a firm but soft shape.
How to Keep Amigurumi Stitches Tight
When making amigurumi, slightly tighter tension is usually helpful.
Tight stitches:
- Reduce visible gaps
- Help keep stuffing inside
- Create a cleaner surface
- Give the character more structure
Choose a crochet hook appropriate for the yarn but avoid using a hook so large that the stitches become loose.
Common Crochet Turtle Problems
The Shell Looks Too Flat
Add more shaping or use a slightly domed construction.
The Turtle Doesn’t Sit Straight
Check the position of the legs and redistribute the stuffing.
The Head Looks Too Large
Reduce the number of stitches or make the body slightly larger.
The Face Looks Uneven
Mark the center of the head before attaching or embroidering the eyes.
The Flower Falls Off
Sew it securely using several stitches rather than relying on a single attachment point.
How to Make Your Turtle More Durable
If the turtle is going to be handled frequently, reinforce the areas that receive the most stress.
Pay particular attention to:
- Legs
- Head
- Shell
- Flower
- Keychain attachment
Secure all yarn ends carefully.
For children’s toys, regularly inspect the finished piece for loose components or damaged stitching.
Crochet Turtle as Christmas Decor
A small turtle can even become a Christmas ornament.
Add:
- A hanging loop
- A tiny Santa hat
- A red scarf
- A Christmas flower
- A miniature wreath
Use festive colors such as red, green, cream, and gold.
Crochet Turtle for a Seasonal Collection
You can create turtles for different seasons.
Spring Turtle
Pink, lavender, cream, and flowers.
Summer Turtle
Turquoise, yellow, coral, and green.
Autumn Turtle
Rust, mustard, brown, and burgundy.
Winter Turtle
Cream, sage, red, and forest green.
This gives you a year-round crochet character collection.
How to Care for Your Crochet Turtle
Follow the washing instructions for your chosen yarn.
For general care:
- Keep the turtle away from excessive moisture.
- Remove dust gently.
- Avoid harsh cleaning products.
- Allow it to dry completely if washed.
- Store it somewhere clean and dry.
If the turtle contains embellishments, check them regularly to make sure they remain securely attached.
Final Thoughts
The cutest DIY crochet turtle really can start with just a little yarn and a crochet hook.
The combination of a soft rounded body, a textured shell, tiny legs, a sweet embroidered face, and a little flower creates a handmade character full of personality.
Start with a simple turtle, then experiment with pastel colors, patterned shells, flowers, bows, and different expressions.
Whether you make one as a gift, turn it into a bag charm, decorate a nursery shelf, or create an entire turtle family, this is the kind of small crochet project that is difficult not to love.