
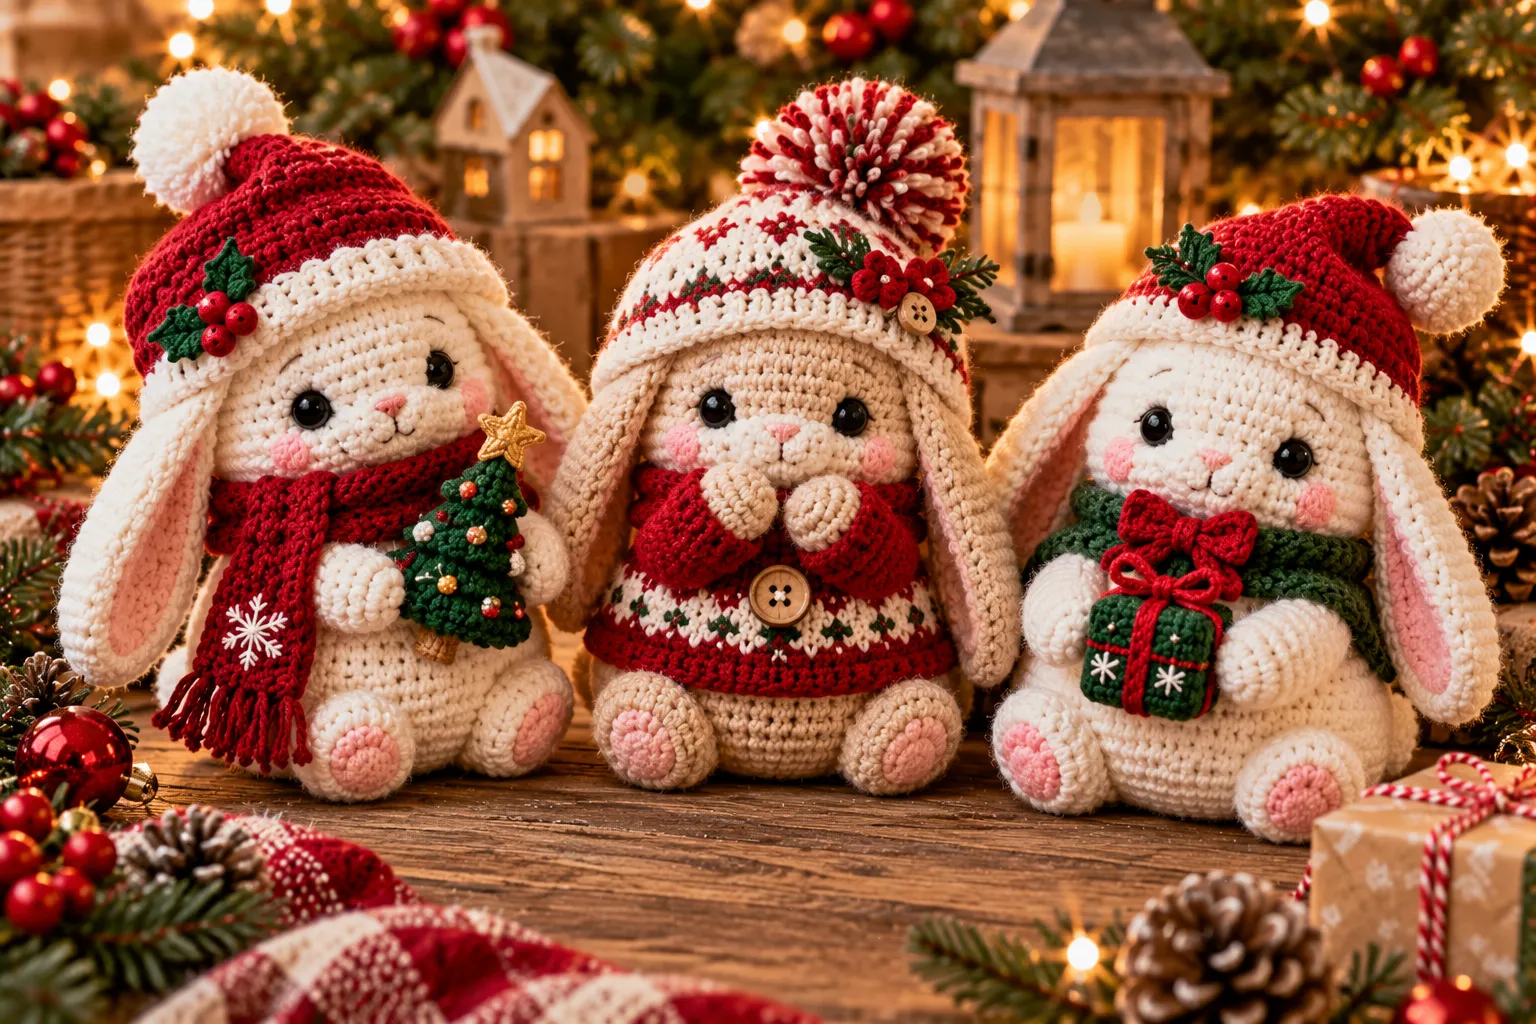
Add a little handmade sweetness to your holiday decorating with these Chubby Christmas Bunnies Crochet Amigurumi. With their rounded bodies, floppy ears, tiny faces, and festive Christmas details, these adorable crochet bunnies make wonderful seasonal decorations and handmade gifts.
Their compact amigurumi shape makes them ideal for Christmas shelves, mantels, tiered trays, gift baskets, nursery decor, and holiday displays. You can make them in traditional red and green, soft cream and beige, or playful pink and white combinations.
This guide covers the essential materials, amigurumi techniques, shaping, facial details, Christmas accessories, color combinations, finishing ideas, styling, safety, and care.
Why Make Chubby Christmas Bunnies?
Chubby crochet bunnies are especially appealing because their simple rounded shapes create a soft, plush appearance.
They can be customized with:
- Christmas hats
- Tiny scarves
- Bows
- Bells
- Embroidered details
- Festive sweaters
- Pom-poms
- Holiday color combinations
They are also excellent projects for using small quantities of leftover yarn.
Because the finished bunny is relatively small, you can make several in different colors and create a coordinated Christmas collection.
Materials You Will Need
Yarn
Choose a smooth yarn suitable for amigurumi.
Popular Christmas colors include:
- White
- Cream
- Red
- Forest green
- Burgundy
- Beige
- Brown
- Blush pink
- Dusty rose
Cotton or acrylic yarn can both work well for small stuffed crochet projects.
Crochet Hook
Use a crochet hook appropriate for your yarn.
For amigurumi, a slightly smaller hook is often useful because it creates a tighter fabric and helps prevent stuffing from showing through the stitches.
Stuffing
Use soft polyester toy stuffing.
Add the stuffing gradually as you crochet rather than filling the bunny only at the end.
Additional Supplies
You may also need:
- Yarn needle
- Scissors
- Stitch marker
- Black embroidery floss
- Pink embroidery thread
- Small amounts of contrasting yarn
- Ribbon
- Optional buttons
- Optional pom-pom materials
Crochet Abbreviations
| Abbreviation | Meaning |
|---|---|
| ch | Chain |
| sc | Single crochet |
| hdc | Half double crochet |
| dc | Double crochet |
| sl st | Slip stitch |
| st | Stitch |
| sts | Stitches |
| inc | Increase |
| dec | Decrease |
| rep | Repeat |
| FO | Fasten off |
If you use UK crochet terminology, remember that US single crochet is UK double crochet.
Understanding the Chubby Bunny Shape
The characteristic chubby appearance comes from creating a rounded body with controlled increases and decreases.
The general construction follows this sequence:
Start small → increase → work straight → decrease → stuff → close
This basic amigurumi technique creates the rounded body.
The head can be made separately and attached afterward, while the ears, arms, feet, and tail are crocheted as individual pieces.
Crochet Bunny Body
Begin with a small adjustable ring or magic ring.
Work single crochet stitches into the center and increase evenly around subsequent rounds.
Continue increasing until the body reaches its widest point.
Then work several rounds without increasing.
This creates the rounded middle of the bunny.
Begin decreasing toward the top or bottom depending on your construction method.
Add stuffing gradually as the opening becomes smaller.
Body Shaping Tips
For a plump, smooth bunny:
- Use firm but flexible stuffing.
- Add small amounts at a time.
- Push stuffing evenly into the sides.
- Avoid large lumps.
- Check the silhouette before closing.
The finished body should look rounded and substantial rather than flat or cylindrical.
Crochet Bunny Head
The head is another rounded amigurumi shape.
Start with a small ring and increase evenly.
Continue working rounds until the head reaches the desired width.
Work several rounds without increases to establish the rounded shape.
Then begin decreasing.
Before closing the final opening, add enough stuffing to create a firm but soft shape.
Do not overstuff the head because excessive stuffing can stretch the crochet stitches.
Attaching the Head
Position the head carefully on top of the body.
Check it from the front and side before sewing.
The head should be:
- Centered
- Secure
- Upright
- Proportional to the body
Use a yarn needle and matching yarn to sew around the base of the head.
Take several small stitches through both pieces for a strong connection.
Long Bunny Ears
The ears are one of the most recognizable features of a crochet bunny.
For a Christmas bunny, you can make the ears:
- Long and floppy
- Short and rounded
- Upright
- Slightly curved
A long ear can be crocheted as a narrow shape that gradually widens and then tapers.
Once finished, fold or shape the ear gently according to the desired look.
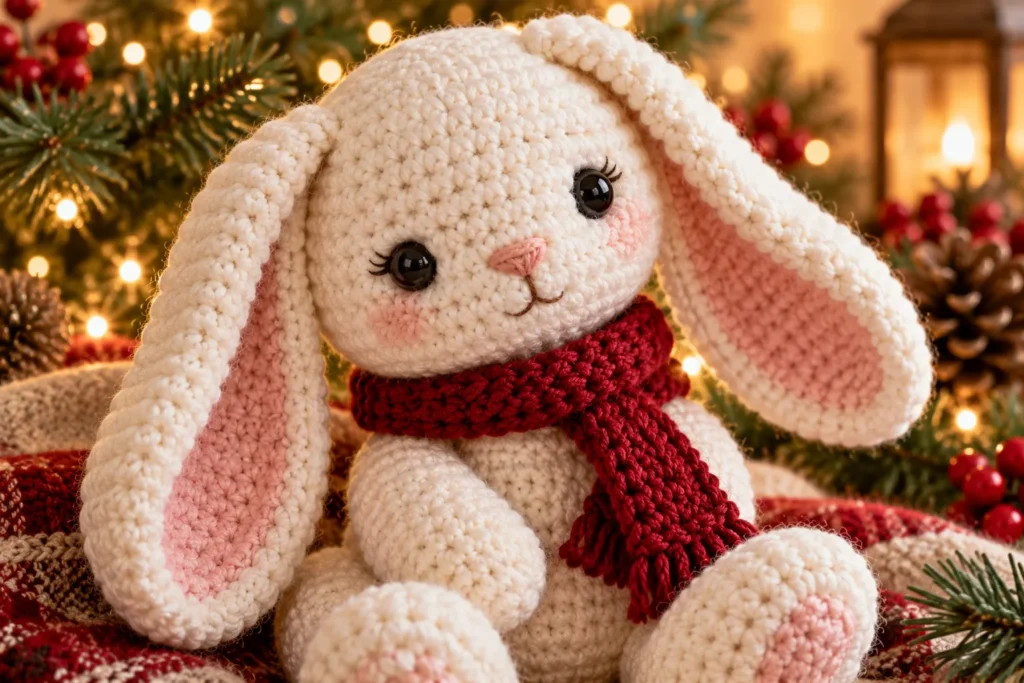
Floppy Ear Style
For a soft, cute appearance, leave the ears lightly structured so they naturally bend to the side.
Avoid stuffing them heavily.
A small amount of stuffing or no stuffing at all can help the ears remain flexible.
Bunny Arms
The arms are usually small cylindrical pieces.
Begin with a small ring and work several rounds of single crochet.
Add a little stuffing before closing.
Sew the arms onto the sides of the body.
Position both arms at the same height to keep the bunny balanced visually.
For a Christmas version, you can position one arm slightly forward as though the bunny is holding a tiny ornament or candy cane.
Bunny Feet
The feet help create the characteristic chubby silhouette.
Crochet two rounded feet separately.
Add a small amount of stuffing and sew them securely to the lower portion of the body.
For an especially cute appearance, position the feet slightly forward rather than directly underneath the body.
This gives the bunny a sitting pose.
Crochet Bunny Tail
A small round crocheted tail completes the bunny.
The tail can be made using a tiny sphere constructed with increases and decreases.
Use:
- White
- Cream
- Matching body color
For a white bunny, a cream or white tail blends naturally with the body.
For a colored bunny, a contrasting cream tail creates extra visual interest.
Attach the tail securely to the lower back.
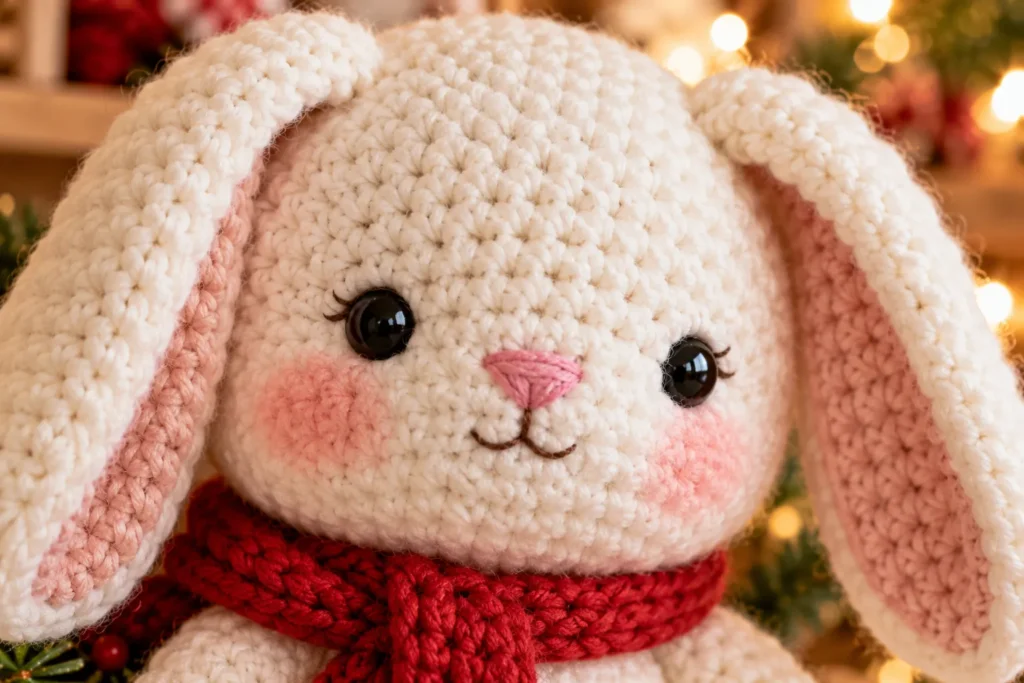
Creating the Bunny Face
The face is where your amigurumi really develops its personality.
Eyes
Use black embroidery floss for two small eyes.
Simple embroidered dots work beautifully.
Nose
A tiny embroidered triangle or small horizontal stitch can create the nose.
Pink works particularly well for soft pastel bunnies.
Mouth
Add a tiny vertical stitch below the nose followed by a small curved stitch if desired.
Keep the embroidery subtle.
Cheeks
Soft pink embroidery can create delicate rosy cheeks.
Avoid adding too much color because small details can quickly become visually dominant on a miniature figure.
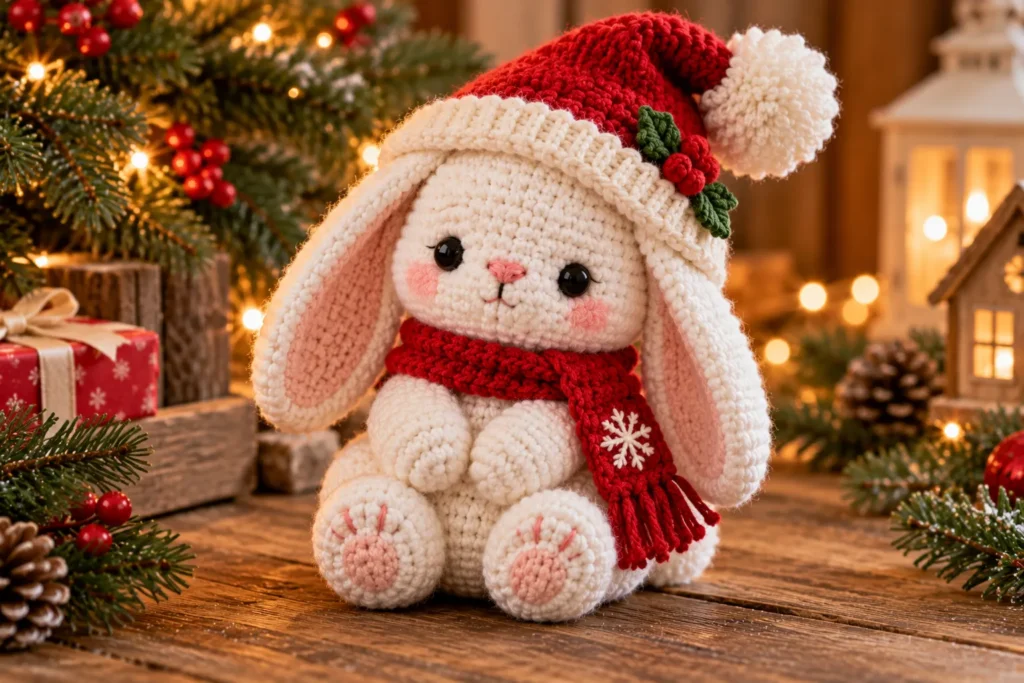
Christmas Bunny Hat
A festive hat transforms the ordinary bunny into a Christmas character.
Use:
- Red
- Green
- Burgundy
- Cream
A traditional Santa-style hat can be made as a small cone.
Start at the top and gradually increase toward the bottom.
Add a white or cream trim around the opening.
A small pom-pom at the tip completes the look.
Tiny Bunny Scarf
A miniature scarf is one of the easiest accessories to make.
Crochet a narrow strip using your preferred basic stitch.
Try:
- Red
- Green
- Burgundy
- Cream
Wrap it loosely around the bunny’s neck.
For additional texture, add small fringe to each end.
Christmas Bow
A crochet bow can be attached around the bunny’s neck, between the ears, or on one side of the head.
Traditional combinations include:
White bunny + red bow
or
Cream bunny + burgundy bow
For a softer Christmas aesthetic, try blush pink with cream.
Chubby Bunny Christmas Sweater
You can also dress the bunny in a tiny crocheted sweater.
Choose a simple rectangular or tubular construction and decorate it with:
- Stripes
- Snowflakes
- Christmas trees
- Tiny stars
- Fair Isle-inspired colorwork
A sweater makes the bunny look especially cozy and works beautifully as part of a winter display.
Christmas Color Combinations
Color selection can completely change the personality of your bunny.
Classic Christmas Bunny
- White
- Red
- Forest green
- Cream
Scandinavian Bunny
- Cream
- Beige
- Soft grey
- Dusty red
Pink Christmas Bunny
- White
- Blush pink
- Dusty rose
- Burgundy
- Cream
Woodland Christmas Bunny
- Cream
- Brown
- Forest green
- Burgundy
Elegant Christmas Bunny
- Ivory
- Burgundy
- Deep green
- Champagne-inspired beige
Creating a Bunny Family
One bunny is adorable, but a collection can make an even stronger Christmas display.
Try creating three different sizes:
- Large bunny
- Medium bunny
- Mini bunny
Use the same color palette but give each one a different accessory.
For example:
Large: red Christmas hat
Medium: green scarf
Small: burgundy bow
The matching colors make the collection look intentionally designed.
Mini Christmas Bunny Ornaments
Small versions of the bunny can be turned into Christmas tree ornaments.
Simply attach a secure hanging loop to the top of the head or hat.
Use sturdy yarn and reinforce the attachment point with several stitches.
Mini bunnies also make adorable gift toppers.
Christmas Mantel Styling
Place your crochet bunnies on a mantel alongside:
- Evergreen branches
- Pinecones
- Miniature Christmas trees
- Warm fairy lights
- Wooden houses
- Candles
- Red ribbon
Vary the heights of your decorations so that the bunnies remain visible.
A large bunny can serve as the main focal point while smaller bunnies are arranged around it.
Tiered Tray Styling
Chubby crochet bunnies work beautifully on tiered trays.
Combine them with:
- Mini trees
- Wooden stars
- Small mugs
- Pinecones
- Greenery
- Christmas signs
Use cream and natural wood tones for a neutral farmhouse-inspired display.
Christmas Tree Decor
Small bunnies can be placed directly on a Christmas tree.
Hang them among:
- Crochet stars
- Snowflakes
- Wooden ornaments
- Red ribbons
- Warm lights
For a coordinated handmade tree, use the same yarn colors across all your ornaments.
Handmade Gift Ideas
A crochet Christmas bunny makes a thoughtful handmade gift.
Create a small gift set containing:
- One bunny
- One mini Christmas tree
- One crochet star
- A handmade Christmas card
You can also place the bunny inside a holiday gift basket with chocolates, candles, or other seasonal items.
Beginner Tips
If you are new to amigurumi, start with the body before attempting decorative accessories.
Practice:
- Magic rings
- Single crochet
- Increases
- Decreases
- Working in continuous rounds
- Sewing pieces together
- Embroidering simple faces
Use a stitch marker to identify the first stitch of every round.
This makes counting much easier.
How to Keep the Bunny Chubby
The stuffing technique is just as important as the crochet technique.
Add stuffing in small pieces.
Push it into the edges before adding more to the center.
Rotate the piece regularly and check the shape from multiple angles.
The goal is an evenly filled body without visible lumps.
Common Mistakes
Loose Stitches
Loose stitches can allow stuffing to show.
Try using a smaller hook or maintaining firmer tension.
Overstuffing
Too much stuffing can stretch the fabric and make the bunny look distorted.
Add stuffing gradually.
Uneven Head
Make sure the head is centered before sewing.
Pin or hold it in place temporarily and view it from several angles.
Uneven Ears
Measure or count the rounds of both ears carefully so that they are similar in length.
Facial Features Are Misaligned
Before permanently embroidering the face, mark the positions of the eyes and nose lightly.
This makes it easier to create a symmetrical expression.
Finishing Your Crochet Bunny
Once all pieces have been crocheted:
- Check every seam.
- Secure loose yarn ends.
- Attach the head.
- Sew on the ears.
- Attach the arms.
- Position the feet.
- Add the tail.
- Embroider the face.
- Add the Christmas accessories.
- Shape the finished bunny.
Take your time during assembly.
Even small adjustments to the position of the ears or face can dramatically change the finished character.
Safety Considerations
If the bunny is intended purely as Christmas decor, you have more freedom with decorative details.
If it will be given to a child, avoid unsecured small pieces such as:
- Loose buttons
- Beads
- Bells
- Plastic eyes
- Small decorative ornaments
Embroidered eyes and facial details are generally preferable for young children.
Always make sure attachments are secure.
Caring for Crochet Christmas Bunnies
Keep your handmade bunnies looking their best by storing them properly after the holidays.
Dusting
Use a soft brush or gentle air to remove dust.
Washing
Follow the care instructions for your yarn.
If the bunny contains delicate embellishments or stuffing, avoid aggressive washing.
Storage
Store the bunny in a clean, dry container.
Avoid placing heavy objects on top of it.
For bunnies with tall hats or delicate ears, loosely wrap them in acid-free tissue paper to help preserve their shape.
Frequently Asked Questions
Are chubby crochet bunnies suitable for beginners?
Yes. The basic construction uses common amigurumi techniques, including single crochet, increases, decreases, stuffing, and sewing.
What yarn is best for crochet bunnies?
Smooth cotton or acrylic yarn works well because it makes stitches easy to see and creates a neat stuffed shape.
How do I make the bunny look extra chubby?
Use controlled increases to create a rounded body and stuff it evenly. Avoid overstuffing because it can distort the stitches.
Should the ears be stuffed?
They do not need to be heavily stuffed. Leaving them lightly stuffed or unstuffed helps create soft floppy ears.
Can I use safety eyes?
Yes for appropriate decorative or toy applications, but embroidered eyes are a good alternative, especially when the bunny may be handled by young children.
Can I change the Christmas colors?
Absolutely. The bunny works beautifully in traditional red and green, neutral Scandinavian palettes, pink Christmas colors, or rustic woodland shades.
Can I turn the bunny into a Christmas ornament?
Yes. Make a smaller version and attach a secure hanging loop.
Can I sell handmade crochet bunnies?
Handmade seasonal amigurumi can be suitable for craft fairs and handmade shops. If you are working from a specific designer’s pattern, make sure your use of the pattern complies with its licensing and selling terms.
Final Thoughts
These Chubby Christmas Bunnies are a sweet way to combine amigurumi with festive holiday decorating. Their rounded bodies, floppy ears, tiny faces, and Christmas accessories make them especially charming as handmade seasonal decorations.
Experiment with traditional red and green, soft cream and beige, or playful pink Christmas colors. Add a tiny hat, scarf, bow, or sweater to give each bunny its own personality.
Whether displayed on a mantel, placed beneath the Christmas tree, added to a tiered tray, or given as a handmade gift, these little crochet bunnies can become memorable holiday keepsakes that return to your home every Christmas.