
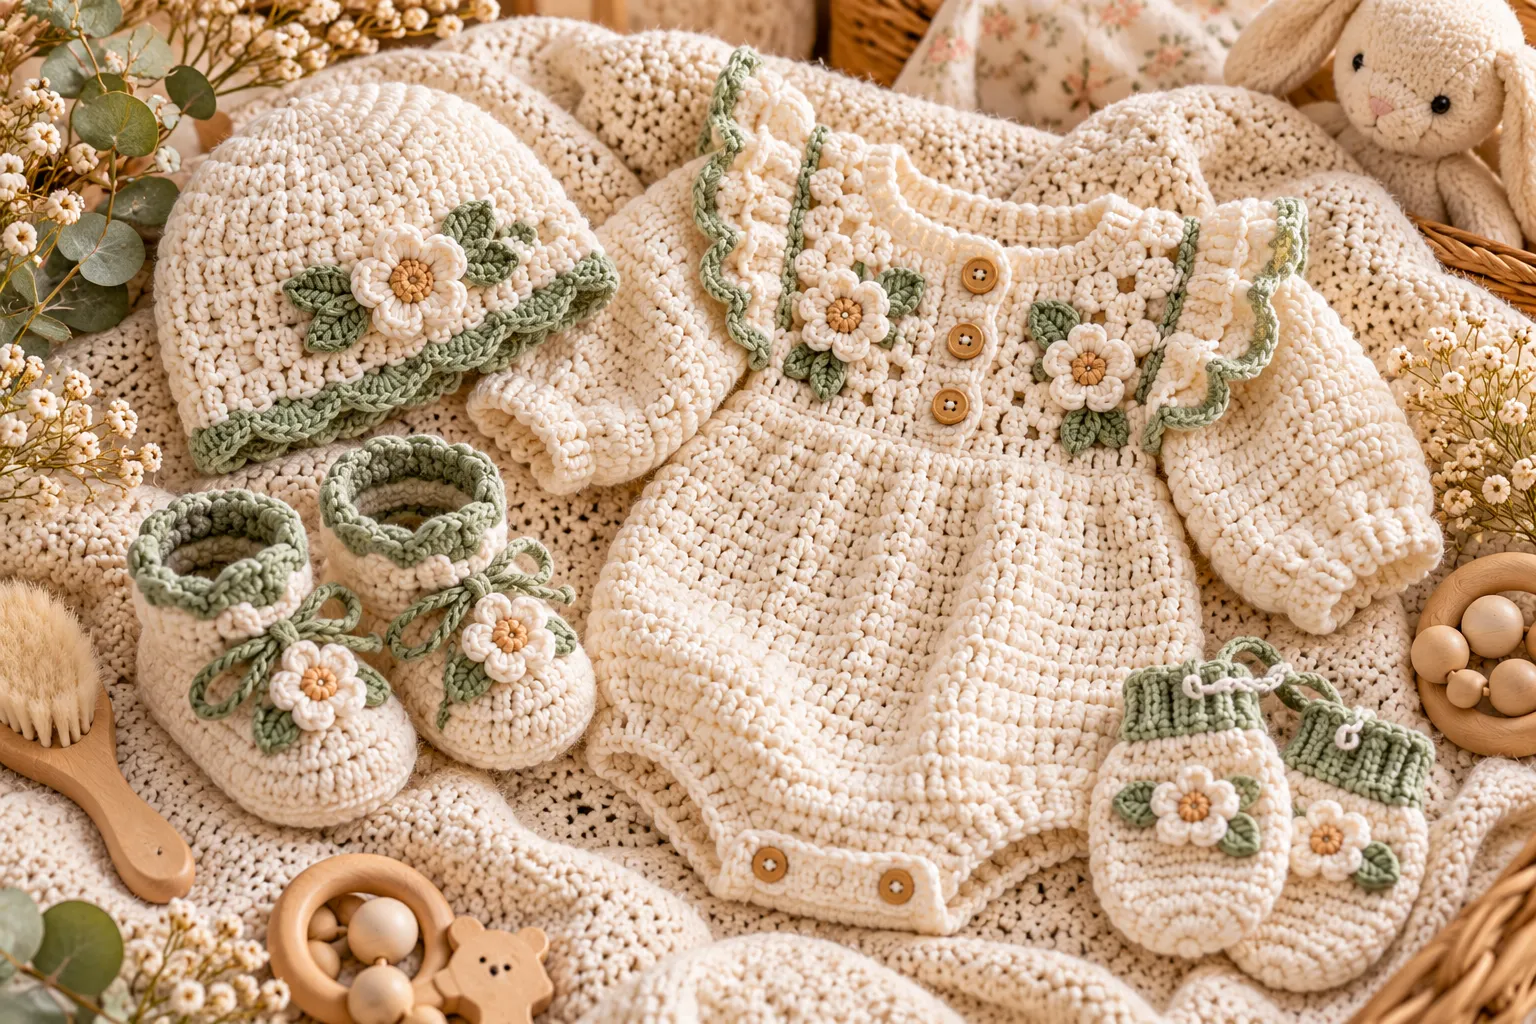
A handmade crochet baby set is one of those projects that feels special from the very first stitch. A tiny romper paired with a matching hat, mittens, and booties creates a complete outfit that is practical, adorable, and perfect for gifting.
This crochet baby set pattern is designed as a coordinated collection rather than four unrelated accessories. The pieces use complementary construction methods, simple stitches, and soft baby-friendly yarn so they can be made in matching colors or customized into your own palette.
Whether you’re preparing a handmade baby shower gift, creating a newborn photo outfit, or simply looking for a beautiful crochet project, this set gives you a complete starting point.
Important: Always choose soft, washable yarn intended for babies, and avoid loose decorative elements, long ties, or detachable pieces around sleeping babies. Handmade clothing and accessories should be used with appropriate adult supervision.
What You’ll Make
This crochet baby set includes four coordinated pieces:
| Piece | Main Features | Skill Level |
|---|---|---|
| Baby Romper | Sleeveless body, button closure, easy shaping | Intermediate |
| Baby Hat | Simple rounded crown and comfortable brim | Beginner |
| Baby Mittens | Small cuff and enclosed hand section | Beginner |
| Baby Booties | Shaped sole, upper and ankle cuff | Beginner–Intermediate |
The construction can be adjusted for newborns and several larger baby sizes.
The set works especially well in one main color with small contrasting details, but you can also use different colors for each piece.
Materials You’ll Need
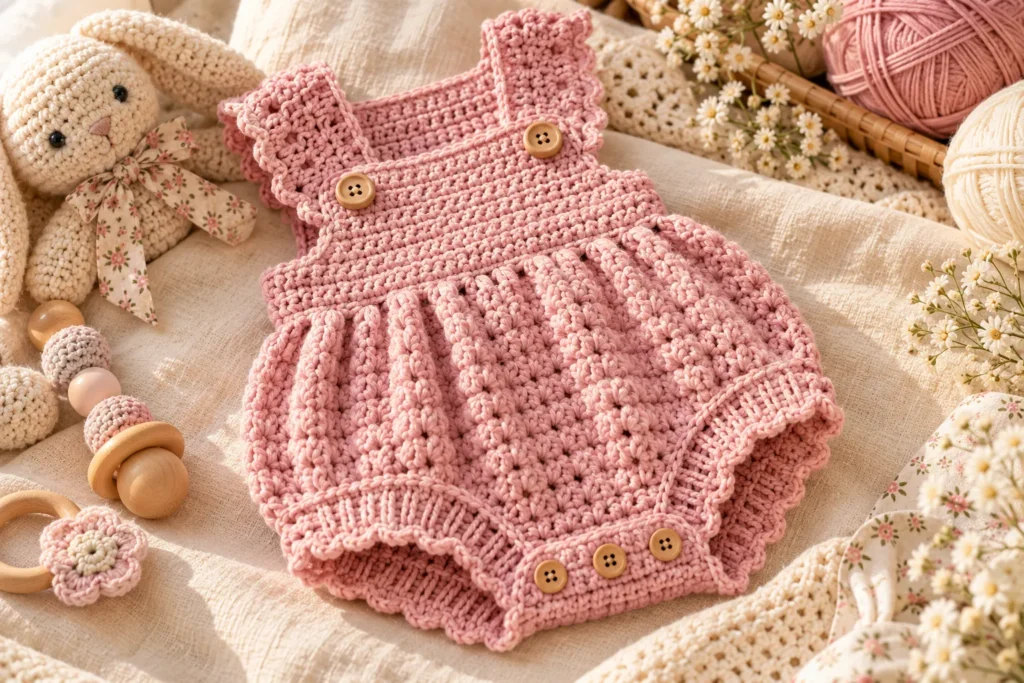
Yarn
Choose a soft, lightweight baby yarn.
Good options include:
- Baby acrylic
- Cotton-acrylic blends
- Soft cotton
- Bamboo blends
- Fine merino blends designed for babies
For a coordinated set, approximately 250–400 g of yarn may be enough depending on size, stitch tension, yarn weight, and the amount used for the romper.
A practical color combination could be:
- Cream + dusty pink
- Ivory + sage green
- Oatmeal + beige
- White + soft blue
- Lavender + cream
- Sand + terracotta
- Pale yellow + ivory
For newborn clothing, avoid scratchy fibers and yarns that shed heavily.
Crochet Hook
Start with approximately:
3.0–3.5 mm crochet hook
The exact hook should be selected according to your yarn and gauge.
For a smaller, firmer fabric, use a smaller hook.
For a softer drape, you may need a slightly larger hook.
Other Supplies
You’ll also need:
- Yarn needle
- Scissors
- Stitch markers
- Measuring tape
- Baby-safe buttons
- Optional stitch counter
- Blocking mat or clean towel
For the romper, choose buttons that are securely attached and appropriate for baby clothing.
Crochet Stitches Used
This pattern uses basic stitches so the project remains approachable.
Chain — ch
Make a slip knot, yarn over, and pull the yarn through the loop.
Single Crochet — sc
Insert your hook into the stitch, yarn over and pull up a loop, yarn over again, then pull through both loops.
Half Double Crochet — hdc
Yarn over, insert the hook, yarn over and pull up a loop, yarn over again and pull through all three loops.
Double Crochet — dc
Yarn over, insert the hook, yarn over and pull up a loop, yarn over and pull through two loops, then yarn over and pull through the remaining two loops.
Slip Stitch — sl st
Insert your hook into the stitch, yarn over, and pull directly through the stitch and the loop on your hook.
Baby Set Size Guide
Because babies grow at very different rates, measurements are more reliable than age alone.
| Size | Approx. Chest | Approx. Head Circumference | Foot Length |
|---|---|---|---|
| Newborn | 36–40 cm | 34–36 cm | 8–9 cm |
| 0–3 months | 40–43 cm | 36–39 cm | 9–10 cm |
| 3–6 months | 43–46 cm | 39–42 cm | 10–11 cm |
| 6–12 months | 46–48 cm | 42–45 cm | 11–12 cm |
Use these measurements as a starting point rather than strict rules.
Gauge Matters
Before beginning the romper, crochet a small gauge swatch.
For example, with your selected yarn and hook, you might aim for approximately:
18–20 stitches × 12–14 rows = 10 × 10 cm
Your actual gauge will depend on your yarn.
If your swatch is too large, use a smaller hook.
If your swatch is too small, move to a larger hook.
This is especially important for the romper because an incorrect gauge can make the finished garment uncomfortable.
Part 1: Crochet Baby Romper
The romper is the main piece of this set.
Instead of constructing it as a complicated shaped garment, this beginner-friendly version uses simple panels and strategic shaping.
Romper Construction
The basic structure consists of:
- Front body
- Back body
- Shoulder sections
- Leg openings
- Armhole finishing
- Neckline
- Bottom/button opening
- Optional edging
The construction can be modified according to the size you’re making.
Step 1: Make the Foundation Chain
Begin with a foundation chain corresponding to approximately half the baby’s chest measurement.
The exact stitch count depends on your gauge.
Work your first row in single crochet or half double crochet.
Keep your stitches relaxed.
A foundation that is pulled too tightly can make the fabric stiff and reduce the final width.
Step 2: Work the Body
Continue working rows in your chosen stitch.
Half double crochet is particularly useful because it creates:
- Soft texture
- Good coverage
- Moderate stretch
- Faster progress than single crochet
Work evenly until the body reaches the desired length.
For a classic romper, the body should extend from the upper chest toward the diaper area.
Step 3: Shape the Armholes
Once the main body reaches the correct length, begin shaping the armholes.
You can decrease gradually near both sides.
For example:
Row 1: Work across the row, leaving the required stitches unworked at each side.
Row 2: Continue across the remaining stitches.
Following rows: Make small decreases near the armhole edges.
The goal is to create a smooth curve rather than a sharp corner.
Step 4: Shape the Neckline
When the armholes are established, divide the upper section into:
- Left shoulder
- Neck opening
- Right shoulder
Work each shoulder separately.
Keep the neckline comfortable rather than too tight.
Baby garments should allow enough space for easy dressing.
Step 5: Create the Back
The back can follow the same general construction as the front.
However, adding a small opening at the upper back makes the romper much easier to put on.
A simple buttoned opening can be created by leaving a section open and adding a short button band.
Step 6: Add the Leg Openings
The lower portion of the romper needs comfortable openings around both legs.
Work a round of single crochet around each opening.
This creates a neat edge and helps prevent the fabric from stretching excessively.
For additional structure, add one more round of single crochet or slip stitch.
Step 7: Create the Closure
A button closure can be added between the legs or at the back neckline.
For a bottom closure:
- Crochet a narrow button band.
- Add evenly spaced buttonholes.
- Sew the buttons securely.
- Check that the finished closure lies flat.
Avoid overly large buttons or decorative pieces that could become loose.
Step 8: Finish the Armholes
Join your yarn around the armhole.
Work one or two rounds of single crochet.
Do not make the edging too tight.
The armhole should remain soft and flexible.
Step 9: Finish the Neckline
Work a neat single-crochet border around the neckline.
For a decorative finish, you can use a simple:
sc, ch 1, skip 1 stitch
pattern around the edge.
However, keep the neckline smooth and comfortable.
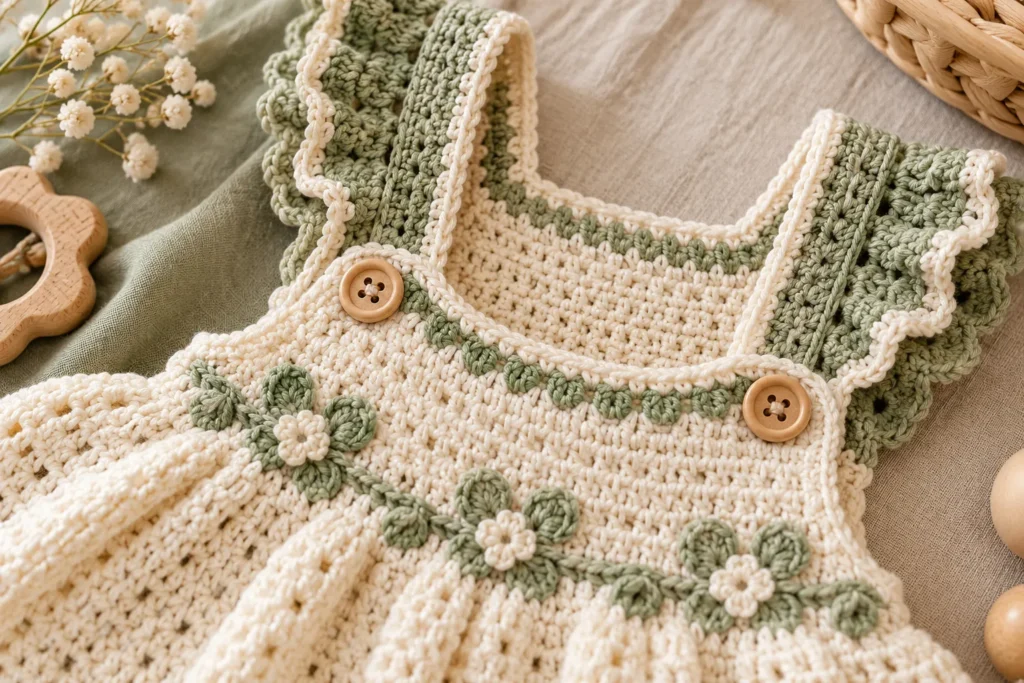
Optional Romper Detail: Contrast Edging
For an elegant handmade look, use a contrasting color for:
- Neckline
- Armholes
- Leg openings
- Button bands
For example:
Ivory romper + sage edging
or
Dusty pink romper + cream edging
This small detail can make the entire set look professionally coordinated.
Part 2: Crochet Baby Hat
The matching hat is one of the easiest pieces in the collection.
A simple beanie construction works beautifully with the romper.
Step 1: Create the Crown
Begin with a magic ring.
Work several double crochet or half double crochet stitches into the ring.
Close the round.
For the next rounds, increase evenly around the crown.
The crown should gradually expand rather than becoming ruffled.
If the edge begins to ripple, you may have added too many increases.
If the crown curls upward like a bowl, you probably need additional increases.
Step 2: Build the Sides
Once the crown reaches approximately the required head circumference, stop increasing.
Continue working evenly around.
This creates the vertical sides of the hat.
Continue until the hat reaches the desired depth.
Step 3: Add the Brim
For a simple baby hat, work one or two rounds of single crochet.
For a slightly more structured brim, alternate:
- Front-loop-only single crochet
- Back-loop-only single crochet
This creates a subtle ribbed effect.
Optional Pom-Pom
You can add a small pom-pom to the top.
However, because the set is designed for babies, make sure decorative components are firmly attached and follow appropriate baby-safety practices.
For a newborn photo session, a small decorative top can create an adorable finished look, but the hat should always be used appropriately and supervised.
Part 3: Crochet Baby Mittens
Tiny mittens complete the outfit and can be made surprisingly quickly.
The simplest version can be worked in continuous rounds.
Step 1: Make the Cuff
Begin with a chain long enough to comfortably fit around the baby’s wrist.
Join to form a ring.
Work several rounds of single crochet.
For a ribbed cuff, work through the back loop only.
Step 2: Build the Hand
Continue working single crochet around the cuff.
Keep the tension soft.
The mitten should have enough room for the baby’s hand without being excessively loose.
Step 3: Close the Top
When the mitten reaches the desired length, begin decreasing.
For example:
sc 2 together
Repeat evenly around.
Continue until only a small opening remains.
Cut the yarn and pull it through the remaining stitches.
Weave in the end securely.
Optional Contrast Cuff
A contrasting cuff can coordinate the mittens with the romper.
For example:
Cream mitten + dusty pink cuff
or
Sage mitten + ivory cuff
This gives the set a boutique-style appearance.
Part 4: Crochet Baby Booties
The booties are the finishing touch.
A simple oval sole makes them easy to customize.
Step 1: Crochet the Sole
Start with a foundation chain.
Work single crochet or half double crochet around both sides of the chain to create an oval.
At each end, place several stitches into the same area to create the rounded shape.
Continue around the opposite side.
The result should look like a small crochet shoe sole.
Step 2: Build the Upper
Work one or two rounds around the sole without increasing.
This makes the sides begin to rise.
Continue working around until the bootie reaches the desired height.
Step 3: Shape the Toe
The toe can be shaped by reducing stitches across the front.
For example:
sc, sc2tog, repeat
Work decreases evenly across the toe area.
This creates a rounded front.
Step 4: Add the Ankle Cuff
Finish with several rounds of single crochet.
For a ribbed effect, use back-loop-only stitches.
You can also add a small contrast stripe.
Optional Bootie Strap
For a Mary Jane-inspired design, crochet a small strap across the front.
Create a short chain, attach it to one side, and add a buttonhole at the opposite end.
Make sure the closure is securely sewn.
How to Coordinate the Entire Baby Set
The easiest way to make the finished set look professionally designed is to limit the color palette.
Instead of using four completely different colors, choose:
1 main color + 1 accent color + optional neutral
For example:
| Style | Main Color | Accent | Neutral |
|---|---|---|---|
| Soft Girl | Dusty pink | Cream | Beige |
| Botanical | Sage | Ivory | Oatmeal |
| Classic | Cream | Camel | White |
| Dreamy | Lavender | Ivory | Blush |
| Coastal | Powder blue | White | Sand |
| Warm Neutral | Beige | Terracotta | Cream |
This approach creates visual consistency across the romper, hat, mittens, and booties.
Three Beautiful Color Palettes
Sage & Cream
Use sage green for the romper and cream for the accessories.
Add small sage details to the hat and booties.
This palette has a soft botanical feel.
Dusty Pink & Ivory
Create the romper in dusty pink.
Use ivory for:
- Hat
- Mittens
- Booties
- Edging
Add small pink accents throughout the accessories.
Oatmeal & Caramel
For a gender-neutral set, combine oatmeal with warm caramel.
This works beautifully for minimalist baby photography.
How to Customize the Romper
One of the best things about making your own baby clothes is the ability to change the design.
Add Sleeves
Although this tutorial focuses on a sleeveless romper, you can easily add short sleeves.
Attach the yarn around the armhole and work several rounds of half double crochet.
Increase slightly if additional room is needed.
Make a Long-Sleeve Version
For cooler months, extend the sleeves.
Use the same stitch pattern as the body.
A ribbed cuff creates a polished finish.
Add a Skirt
Turn the romper into a dress-style outfit by attaching a small crochet skirt around the waist.
Work increases evenly around the waistline.
Continue until the skirt reaches the desired length.
This creates a beautiful baby crochet dress-and-romper hybrid.
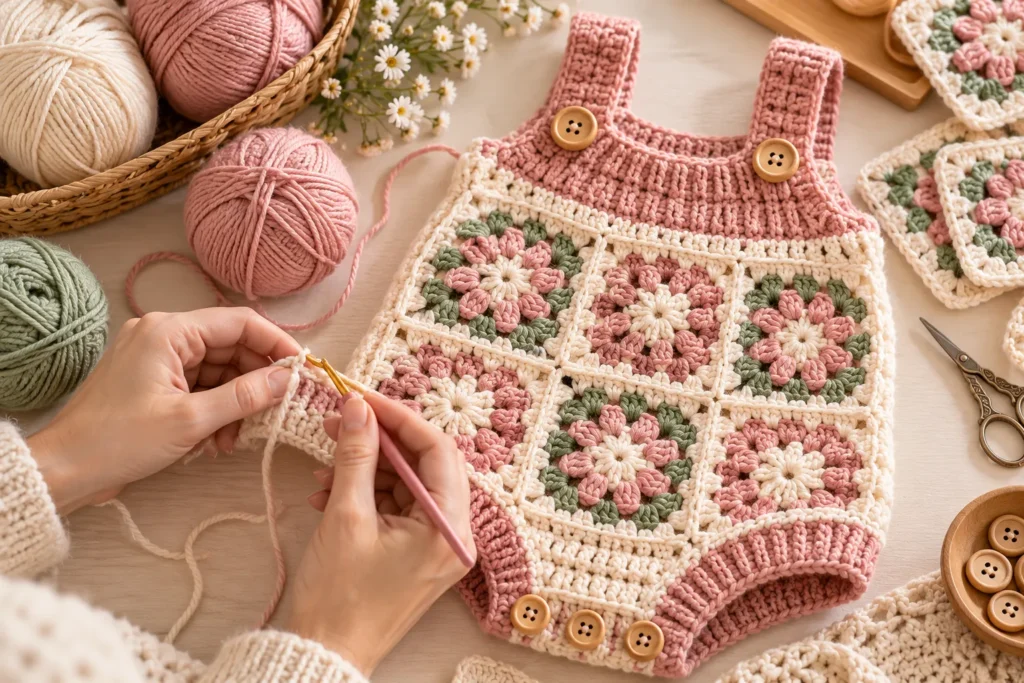
Add a Granny Square Detail
For a more decorative design, crochet a small granny square panel.
It can be placed:
- On the chest
- Near the pocket
- At the back
- As a small decorative patch
Use soft colors that coordinate with the rest of the set.
Beginner Tips for a Better Finish
Count Your Stitches
Small mistakes become much more noticeable on baby garments.
Count your stitches at the end of important rows.
Use Stitch Markers
Stitch markers are especially useful when:
- Working in rounds
- Creating booties
- Shaping the hat
- Making decreases
Keep Your Tension Consistent
Uneven tension can make one accessory larger than another.
Try to maintain the same hand position throughout the project.
Make a Gauge Swatch
Don’t skip this step for the romper.
A few minutes spent checking gauge can prevent hours of resizing later.
Weave Ends Carefully
Baby clothing experiences repeated washing and movement.
Secure yarn tails thoroughly.
Avoid leaving long loose ends inside the garment.
Common Problems and How to Fix Them
The Romper Is Too Small
If your finished garment is smaller than expected, your gauge is probably tighter than the pattern gauge.
Try using a larger crochet hook.
For the next piece, make another gauge swatch before continuing.
The Hat Is Too Loose
If the hat slides over the baby’s head, reduce the number of crown increases or use a slightly smaller hook.
Always prioritize a comfortable but secure fit.
The Bootie Sole Curls
A curled sole can happen when there are too few increases.
Try adding additional stitches around the rounded ends.
The Hat Looks Wavy
Too many increases can cause the crown to ripple.
Reduce the number of increases in the next round.
The Romper Looks Stiff
A very tight tension or unsuitable yarn can create a rigid fabric.
Choose a softer baby yarn and loosen your tension slightly.
Finishing and Blocking
Once all four pieces are finished, weave in every end carefully.
Wash the pieces according to the yarn manufacturer’s instructions.
For cotton or suitable natural fibers, gentle blocking can help improve the shape.
Lay each piece flat on a clean towel.
Gently adjust:
- Edges
- Neckline
- Hat shape
- Bootie soles
- Mittens
Allow everything to dry completely.
Blocking is especially useful for making a handmade set look polished and consistent.
How to Style a Crochet Baby Set
A coordinated crochet set can be styled beautifully for everyday wear or photography.
For a simple look, pair the set with:
- A white cotton bodysuit
- Neutral socks
- A soft muslin blanket
- Minimal baby accessories
For a newborn photo session, neutral backgrounds work particularly well with pastel crochet colors.
A cream romper with sage accessories, for example, looks beautiful against natural wood and linen textures.
Making the Set as a Baby Shower Gift
This project makes an especially thoughtful handmade gift.
Instead of giving the pieces separately, arrange them together in a shallow gift box.
Fold the romper neatly and place:
- Hat on top
- Mittens beside it
- Booties near the bottom
Add soft tissue paper and a handwritten card.
You can also make a small matching crochet blanket or baby lovey if you want to create a larger gift collection.
Baby-Safe Crochet Considerations
Baby crochet requires more attention to finishing than adult accessories.
Avoid:
- Loose buttons
- Long cords
- Easily detached decorations
- Sharp embellishments
- Rough yarn
- Loose loops
- Excessively tight neck openings
Check every button and decorative element before use.
Crochet accessories should never be treated as safe sleepwear simply because they are handmade.
For sleeping, follow current infant safe-sleep recommendations and remove hats and loose accessories as appropriate.
Care Instructions
Baby clothing needs frequent washing, so washable yarn is usually the most practical choice.
Always follow the yarn label first.
Generally:
- Wash gently.
- Use a mild detergent.
- Avoid excessive heat.
- Reshape while damp.
- Dry flat when recommended.
Never assume that two yarns with the same fiber content have identical washing instructions.
Frequently Asked Questions
Is this crochet baby set suitable for beginners?
The hat, mittens, and basic booties are approachable for beginners familiar with single crochet, increases, decreases, and working in rounds. The romper requires more experience because it involves shaping and garment construction.
What yarn is best for a crochet baby set?
A soft, washable baby yarn is generally the most practical choice. Baby acrylic, cotton blends, and other yarns specifically designed for baby garments are good starting points.
Can I make this set for a newborn?
Yes. Use the newborn measurements as a starting point and check the baby’s actual measurements whenever possible.
Can I change the colors?
Absolutely. One of the easiest ways to personalize this project is through color.
A two-color palette often gives the most coordinated result.
Can I sell finished baby sets made from this pattern?
If you’re using your own original pattern and design, you can generally sell finished handmade items, but always check the terms of any specific pattern source or designer if you’re adapting someone else’s instructions.
How long does the set take to crochet?
The time varies significantly depending on experience, yarn weight, hook size, and complexity. The hat, mittens, and booties can usually be completed faster than the romper.
Can I make the romper with long sleeves?
Yes. Extend the sleeves from the armholes and finish them with a ribbed cuff for a warmer version.
Final Thoughts
A crochet baby set with a romper, hat, mittens, and booties is more than just a collection of small projects. When the colors, stitches, and finishing details are coordinated, the result looks like a thoughtfully designed boutique baby outfit.
Start with the romper if you want a more challenging garment project, or begin with the hat and booties if you’re still developing your crochet skills. Once you’ve established your gauge and color palette, the remaining pieces become much easier to coordinate.
Most importantly, don’t be afraid to make the design your own. Change the colors, add contrasting borders, experiment with textured stitches, or create seasonal versions. A handmade crochet baby set becomes truly special when it reflects your own creativity.