
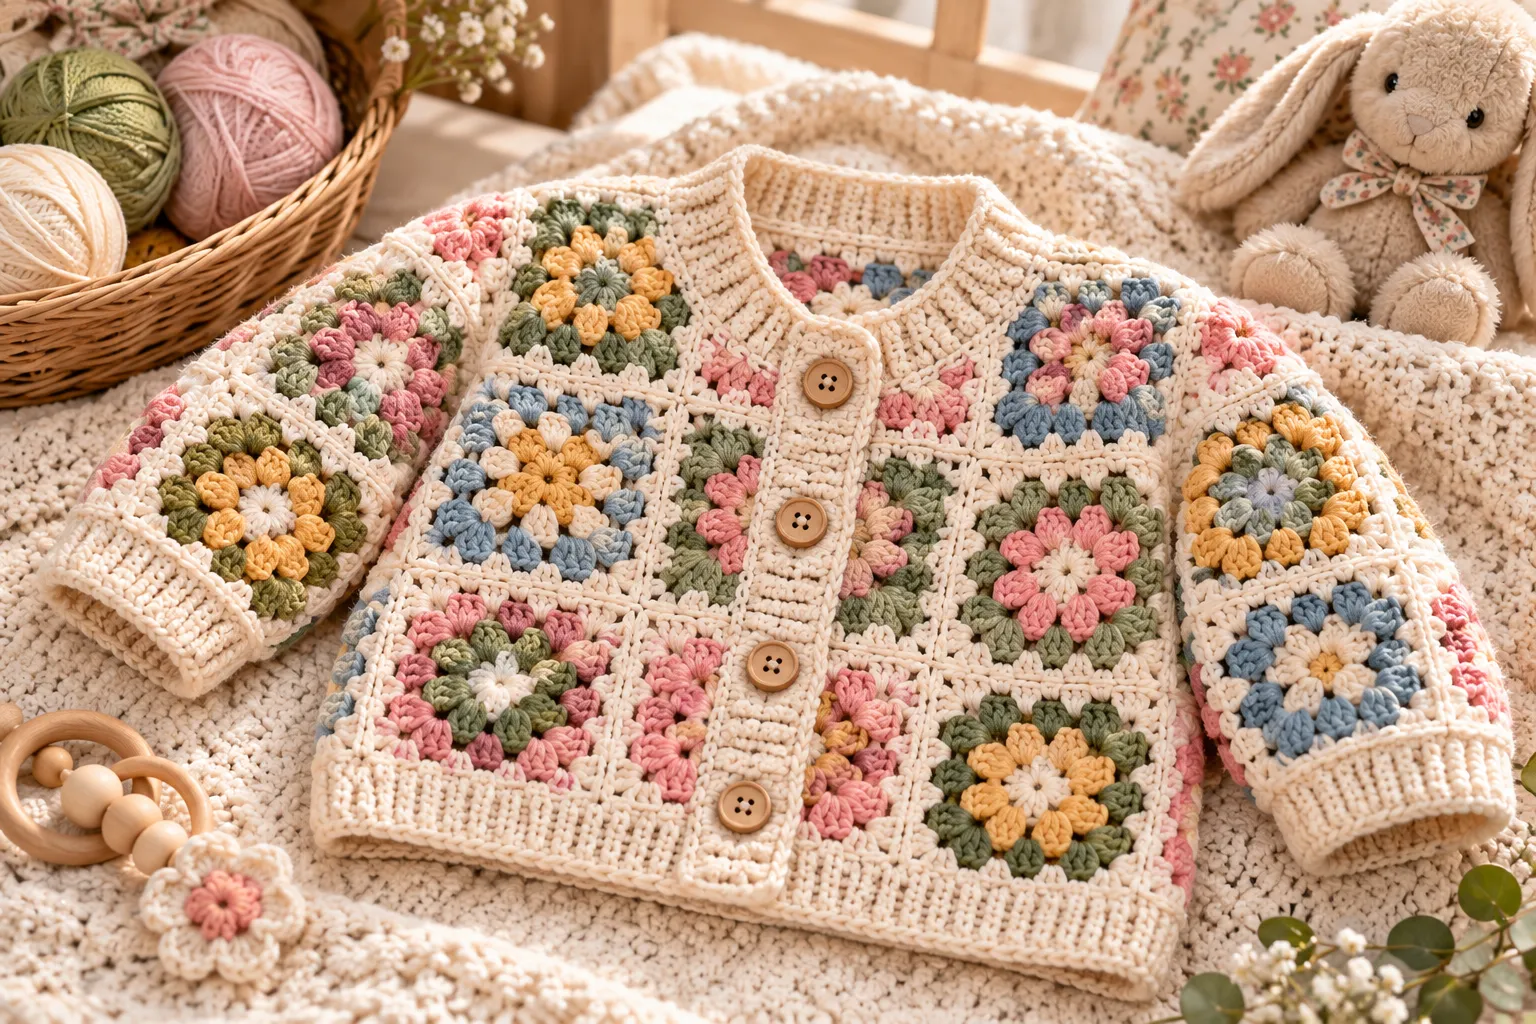
A handmade baby cardigan is one of the sweetest crochet projects you can make. Combining classic granny squares with a simple cardigan construction creates a timeless piece that can be customized in countless colors and sizes.
This crochet baby vest pattern is designed as a versatile granny-square baby cardigan that can be made sleeveless as a vest or adapted with sleeves for cooler weather. It is suitable for baby showers, birthdays, newborn photography, everyday layering, and handmade gifts.
The best part is that granny squares allow you to experiment with colors while keeping the construction relatively simple. You can create soft pastel squares, colorful rainbow combinations, neutral designs, or earthy seasonal palettes.
Why Make a Granny Square Baby Cardigan?
Granny squares have remained popular for generations because they are easy to customize and can create beautiful garments from relatively simple crochet techniques.
A granny-square baby cardigan is especially useful because it can be:
- Made in many different sizes
- Customized with any color palette
- Made sleeveless or with sleeves
- Adjusted for different lengths
- Created from leftover yarn
- Finished with buttons or a simple open front
- Decorated with flowers, hearts, or other motifs
It also makes a meaningful handmade gift because every color combination can be completely unique.
Materials You’ll Need
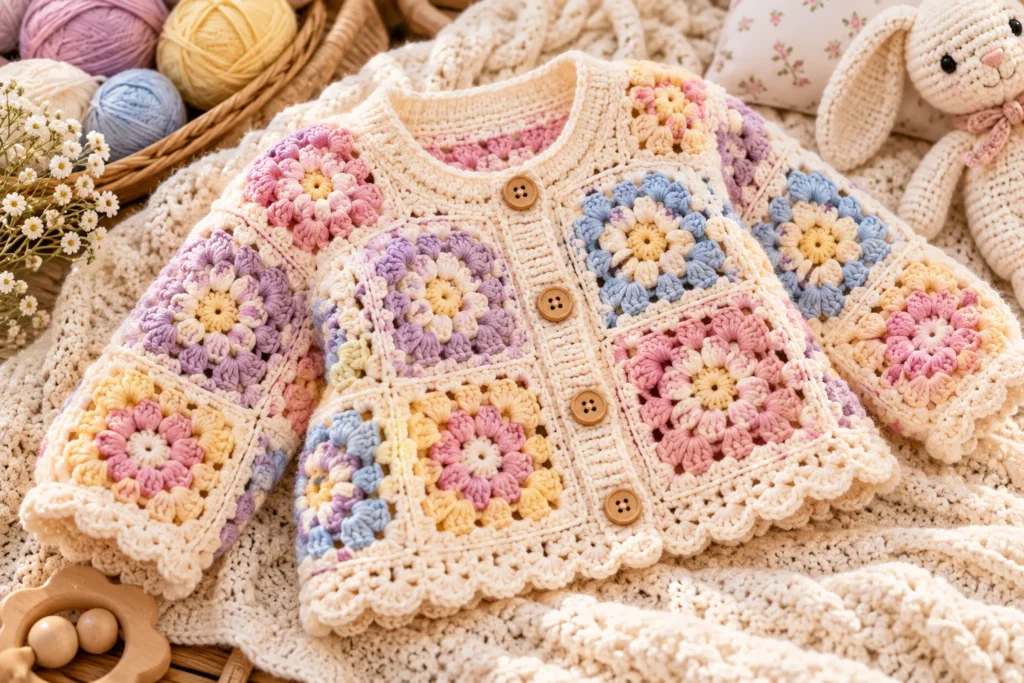
| Material | Recommended Choice |
|---|---|
| Baby yarn | Soft DK or light worsted yarn |
| Crochet hook | Size recommended on yarn label |
| Tapestry needle | For sewing and weaving ends |
| Scissors | Sharp yarn scissors |
| Stitch markers | Useful for construction |
| Measuring tape | For sizing |
| Buttons | Optional |
| Blocking mat | Recommended |
Choosing Yarn for Baby Clothing
The yarn should be soft enough for delicate skin and practical enough to withstand washing.
Good choices include soft acrylic, cotton, cotton blends, and yarns specifically manufactured for baby garments.
Look for yarn that is:
- Soft
- Lightweight
- Washable
- Durable
- Comfortable against skin
- Easy to maintain
Avoid scratchy or heavily textured yarn around the neckline and armholes.
Choosing Your Color Palette
The colors are what give a granny-square cardigan its personality.
Soft Pastel Palette
Try:
- Cream
- Blush pink
- Lavender
- Baby blue
- Pale yellow
This combination creates a delicate and traditional baby aesthetic.
Modern Neutral Palette
For a minimalist cardigan, combine:
- Cream
- Oatmeal
- Beige
- Taupe
- Soft mocha
A neutral cardigan can easily be paired with almost any baby outfit.
Rainbow Palette
For a cheerful design, combine several bright or muted colors with cream or white.
Using the same border color around every square helps the different shades look cohesive.
Earthy Palette
Try:
- Sage green
- Terracotta
- Mustard
- Cream
- Warm brown
This gives the cardigan a beautiful modern handmade look.
Understanding the Cardigan Construction
Before crocheting, it helps to understand the basic structure.
The cardigan can be divided into:
- Back panel
- Two front panels
- Shoulder sections
- Side seams
- Armholes
- Front opening
- Neckline
- Bottom border
- Optional sleeves
The granny squares create the main visual pattern, while the borders and joining give the garment its final shape.
Basic Granny Square Pattern
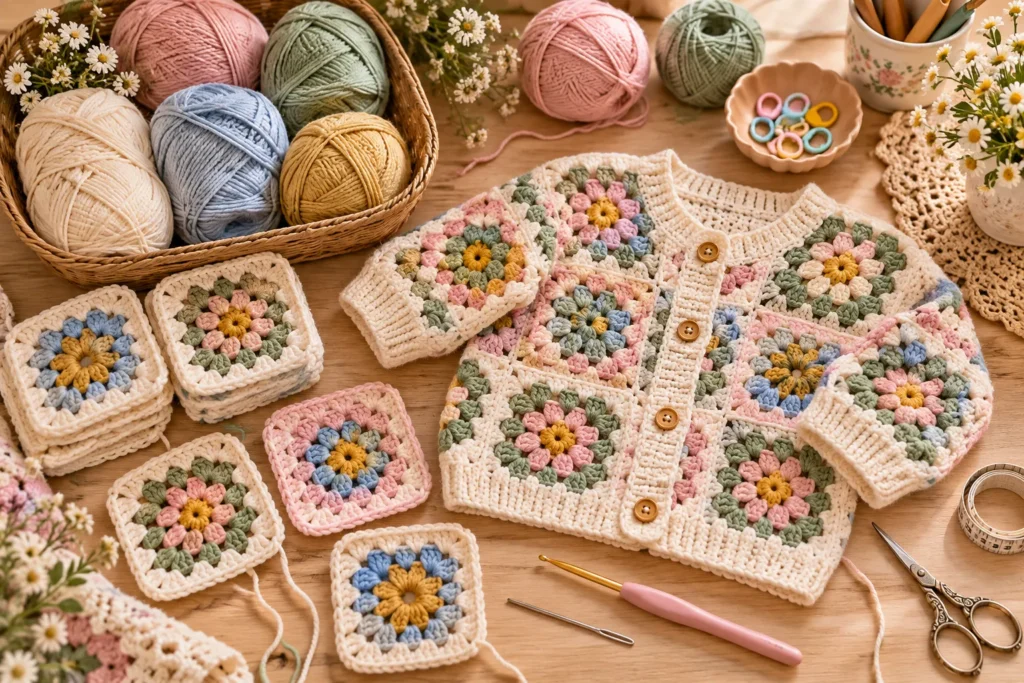
The following construction uses the traditional granny-square concept.
Round 1
Start with a magic ring or create a small chain ring.
Work groups of double crochet stitches into the center, separating the groups with chain spaces.
Join the round.
Round 2
Slip stitch into the appropriate corner space.
Work a group of double crochet stitches into the corner, followed by the required chain space.
Continue around the square, creating groups in the corners.
Round 3
Work additional groups of double crochet stitches into the spaces between the groups from the previous round.
At each corner, create the larger corner space.
Additional Rounds
Continue in the same manner until the square reaches the desired dimensions.
The exact number of rounds will depend on your yarn, hook, tension, and intended garment size.
Granny Square Gauge
Gauge is particularly important when making baby clothing.
Make one complete test square before crocheting all the remaining pieces.
Measure:
- Width
- Height
- Number of stitches per section
- Number of rounds
If your square is too large, try a smaller hook.
If it is too small, try a larger hook.
Keeping all squares consistent will make assembly much easier.
How Many Squares Do You Need?
There is no single number that works for every baby cardigan.
The number depends on:
- The child’s chest measurement
- Desired cardigan length
- Granny-square size
- Yarn weight
- Hook size
- Desired fit
A practical approach is to make your first few squares and arrange them into the approximate back and front dimensions before continuing.
This lets you adjust the design before investing time in the entire garment.
Measuring the Baby
Whenever possible, use the child’s actual measurements rather than relying only on age.
Important measurements include:
Chest
Measure around the fullest part of the chest.
Cardigan Length
Measure from the shoulder down to your preferred hem length.
Shoulder Width
Measure across the shoulders.
Armhole Depth
Measure from the shoulder toward the underarm.
Sleeve Length
If adding sleeves, measure from the shoulder or underarm down to the desired cuff.
Allow enough ease for comfortable movement.
Granny Square Baby Cardigan Size Planning
| Approximate Size | Main Consideration |
|---|---|
| Newborn | Lightweight fabric and comfortable armholes |
| 0–3 months | Short body and sleeve dimensions |
| 3–6 months | Allow some growing room |
| 6–12 months | Check chest and length carefully |
| 12–18 months | Increase body dimensions |
| 18–24 months | Measure child rather than relying on age |
These are planning categories rather than exact measurements because babies and toddlers have different proportions.
Arranging the Granny Squares
Before joining, place all your completed squares on a flat surface.
This is one of the most important stages of the project.
Check:
- Color distribution
- Square orientation
- Back-panel width
- Front-panel width
- Overall length
- Symmetry
Take a photograph of the arrangement before joining. This is particularly helpful when working with many different colors.
Joining the Granny Squares
There are several joining methods you can use.
Whip Stitch
Use a tapestry needle and yarn to sew the squares together.
This creates a flexible seam and is relatively easy for beginners.
Slip-Stitch Join
A crochet hook is used to join the squares with slip stitches.
This creates a visible seam that can become a decorative part of the cardigan.
Single Crochet Join
Crochet the squares together using single crochet stitches.
This creates a raised ridge along the seam.
Flat Join
A flat crochet join gives the garment a cleaner appearance and minimizes the raised seam.
Choose the method that best matches your desired style.
Building the Back Panel
Arrange enough squares to create the desired back width and length.
Join the squares in horizontal rows first if that makes your construction easier.
Then connect the rows.
Lay the completed panel flat and measure it before continuing.
Creating the Front Panels
The front is divided into two sections so the cardigan can remain open.
Make each front panel approximately half the width of the back, allowing for the desired center opening.
The two panels should be similar in size.
You can keep the front completely open or later add a button closure.
Joining the Shoulders
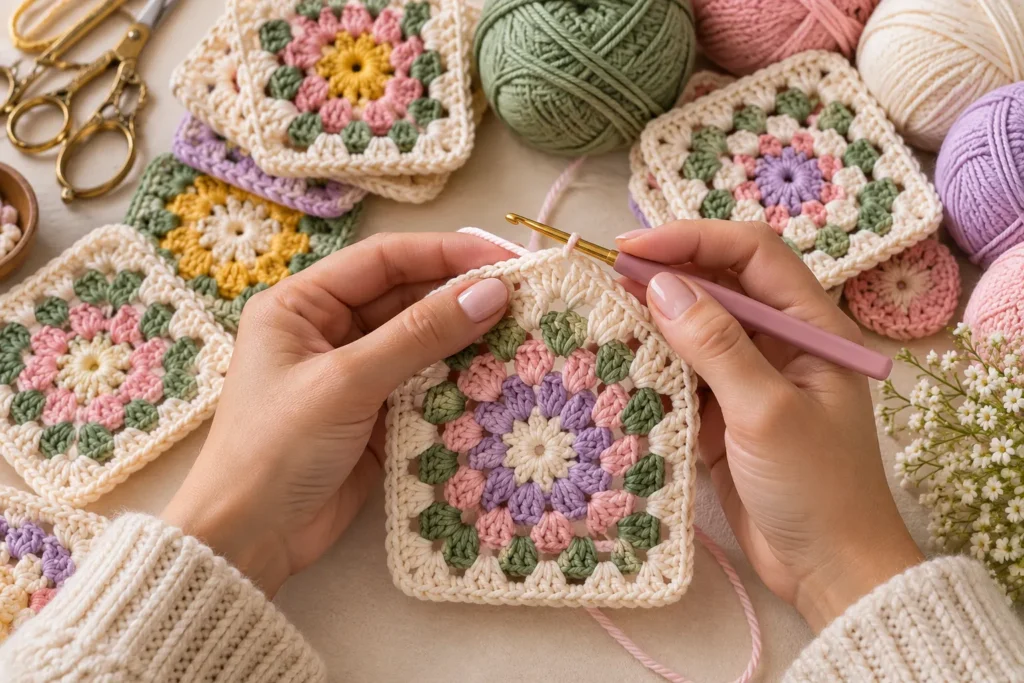
Place the front panels and back panel together.
Join the shoulder sections while leaving enough space for the neckline.
Try the garment flat before permanently securing the seams.
The neckline should be comfortable rather than tight.
Creating the Armholes
Leave appropriate openings for the arms when joining the side seams.
The armhole should provide enough room for movement.
Once the side seams are complete, finish the armhole edges with a simple crochet border.
A round of single crochet is an easy and clean option.
Making the Vest Version
If you want a sleeveless baby vest, stop after completing the body and finish the armholes.
This version is particularly useful for layering over:
- Long-sleeve bodysuits
- Dresses
- T-shirts
- Rompers
- Button-up shirts
A sleeveless granny-square vest is lightweight and versatile.
Adding Sleeves
For a traditional cardigan, you can add sleeves after completing the body.
Short Sleeves
Work several rounds around the armhole for a lightweight spring or summer cardigan.
Long Sleeves
Continue crocheting downward from the armhole.
You can gradually reduce the circumference toward the wrist for a tapered sleeve.
Simple Straight Sleeves
For beginners, maintain approximately the same stitch count for several rounds before finishing with a cuff.
Adding a Cuff
A simple cuff can be created using single crochet, half double crochet, or ribbed crochet stitches.
For a more structured cuff, use front-loop-only stitches to create a subtle ribbed texture.
Creating the Neckline
A neat neckline can make the entire cardigan look more professional.
Work a simple round of single crochet around the neck.
For additional detail, try:
- Scalloped edging
- Picot edging
- Contrasting color
- Half-double crochet border
Keep the neckline comfortable and avoid overly bulky edging.
Creating the Front Border
The front opening can be finished with several rounds of crochet.
Work evenly along:
- Left front
- Neckline
- Right front
A contrasting border can visually frame the granny squares and make the colors stand out.
Adding Buttons
Buttons are optional but can make the cardigan more functional.
Place the buttons evenly along one front edge and create corresponding crochet loops on the opposite edge.
For baby garments, all buttons and decorative pieces should be attached extremely securely. Avoid loose small components that could become a choking hazard.
Blocking the Granny Squares
Blocking can make a dramatic difference in the final appearance.
Gently shape each square so that:
- Corners are defined
- Edges are straight
- Squares are uniform
- Dimensions are consistent
Follow the care recommendations for your yarn when choosing wet or steam blocking.
How to Prevent Uneven Squares
If your squares aren’t matching, check your tension.
Common causes include:
- Changing hook sizes
- Tightening your stitches unintentionally
- Working too loosely
- Using different yarn weights
- Missing stitches
- Adding extra stitches
Try to use the same hook and yarn throughout the project.
Easy Ways to Customize the Cardigan
Add Crochet Flowers
Small flowers can be attached to selected squares.
Add Pockets
Make two small granny-square pockets and attach them to the front.
Add a Contrasting Border
A dark or bright border can frame a pastel cardigan beautifully.
Change the Length
Add more squares or additional crochet rounds to create a longer cardigan.
Create a Cropped Vest
Use fewer rows for a shorter, modern vest.
Add Embroidery
Small embroidered hearts, stars, initials, or flowers can personalize the garment.
Beautiful Color Combinations
| Style | Color Palette |
|---|---|
| Soft Pastel | Blush, lavender, cream, baby blue |
| Rainbow | Pink, yellow, blue, green, lavender |
| Modern Neutral | Oatmeal, beige, cream, mocha |
| Woodland | Sage, brown, cream, muted orange |
| Autumn | Rust, mustard, olive, cream |
| Classic Blue | Cream, sky blue, navy, soft gray |
| Romantic | Dusty pink, cream, mauve, sage |
How to Style a Granny Square Baby Cardigan
A handmade cardigan can be used as a beautiful layering piece.
Everyday Outfit
Pair it with:
- Soft leggings
- Cotton bodysuit
- Baby sneakers
- Simple hat
Special Occasion
Layer it over a baby dress with:
- Mary Jane-style shoes
- A delicate headband
- Matching crochet accessories
Autumn Outfit
Combine the cardigan with:
- Long-sleeve bodysuit
- Leggings
- Soft boots
- Knitted hat
Spring Outfit
Wear the cardigan over a lightweight romper or cotton dress.
Matching Crochet Accessories
You can turn the cardigan into a complete handmade set by adding:
- Crochet baby booties
- Matching bonnet
- Headband
- Baby blanket
- Small crochet bag
- Matching lovey
Using the same color palette across each item creates a coordinated handmade look.
How to Care for the Finished Cardigan
Always check the yarn label before washing.
For many washable yarns:
- Wash gently
- Use a mild detergent
- Avoid aggressive wringing
- Reshape while damp
- Dry according to the yarn instructions
- Store clean and completely dry
If the cardigan becomes stretched, gentle reshaping while damp can help restore its proportions.
Common Mistakes to Avoid
Skipping the Gauge
A small difference in tension can significantly change the final size.
Joining Without Measuring
Always check the assembled panels before permanently joining the garment.
Making Armholes Too Small
Babies need enough space to move their arms comfortably.
Using Scratchy Yarn
The garment will be worn close to delicate skin, so softness matters.
Forgetting to Weave in Ends
Secure every yarn tail carefully before the garment is worn or washed.
Making the Garment Too Heavy
Large squares, thick yarn, and excessive decorative elements can make a baby cardigan unnecessarily heavy.
Frequently Asked Questions
Is a granny-square baby cardigan beginner-friendly?
Yes. Granny squares themselves are beginner-friendly, although assembling and sizing a complete garment requires more planning.
What yarn is best for a baby cardigan?
Soft washable acrylic, cotton, or cotton-blend yarn can work well. Choose a yarn that feels comfortable against the skin and suits the intended season.
Can I make this cardigan sleeveless?
Absolutely. Simply finish the armholes with a neat crochet border to create a lightweight vest.
Can I make it in one color?
Yes. A monochromatic granny-square cardigan can look surprisingly modern, especially with a contrasting border.
How can I make the cardigan larger?
Increase the size or number of granny squares and adjust the body dimensions according to the child’s measurements.
Can I add sleeves later?
Yes. Sleeves can be crocheted directly around the finished armholes, making it possible to turn a vest into a cardigan.
Final Thoughts
A crochet baby vest pattern made with granny squares is a wonderful combination of classic crochet and practical children’s clothing. The construction gives you plenty of freedom to experiment with colors, square arrangements, borders, sleeves, buttons, and decorative details.
For a lightweight summer layer, keep it sleeveless with soft cotton yarn. For cooler weather, add long sleeves and a cozy border. Pastel colors create a traditional baby aesthetic, while earthy or neutral combinations give the cardigan a more modern handmade look.
The most important steps are to choose a soft yarn, maintain consistent tension, measure carefully, arrange your squares before joining, and finish every edge neatly. With those details taken care of, you can create a beautiful handmade cardigan that is practical, customizable, and genuinely special.