
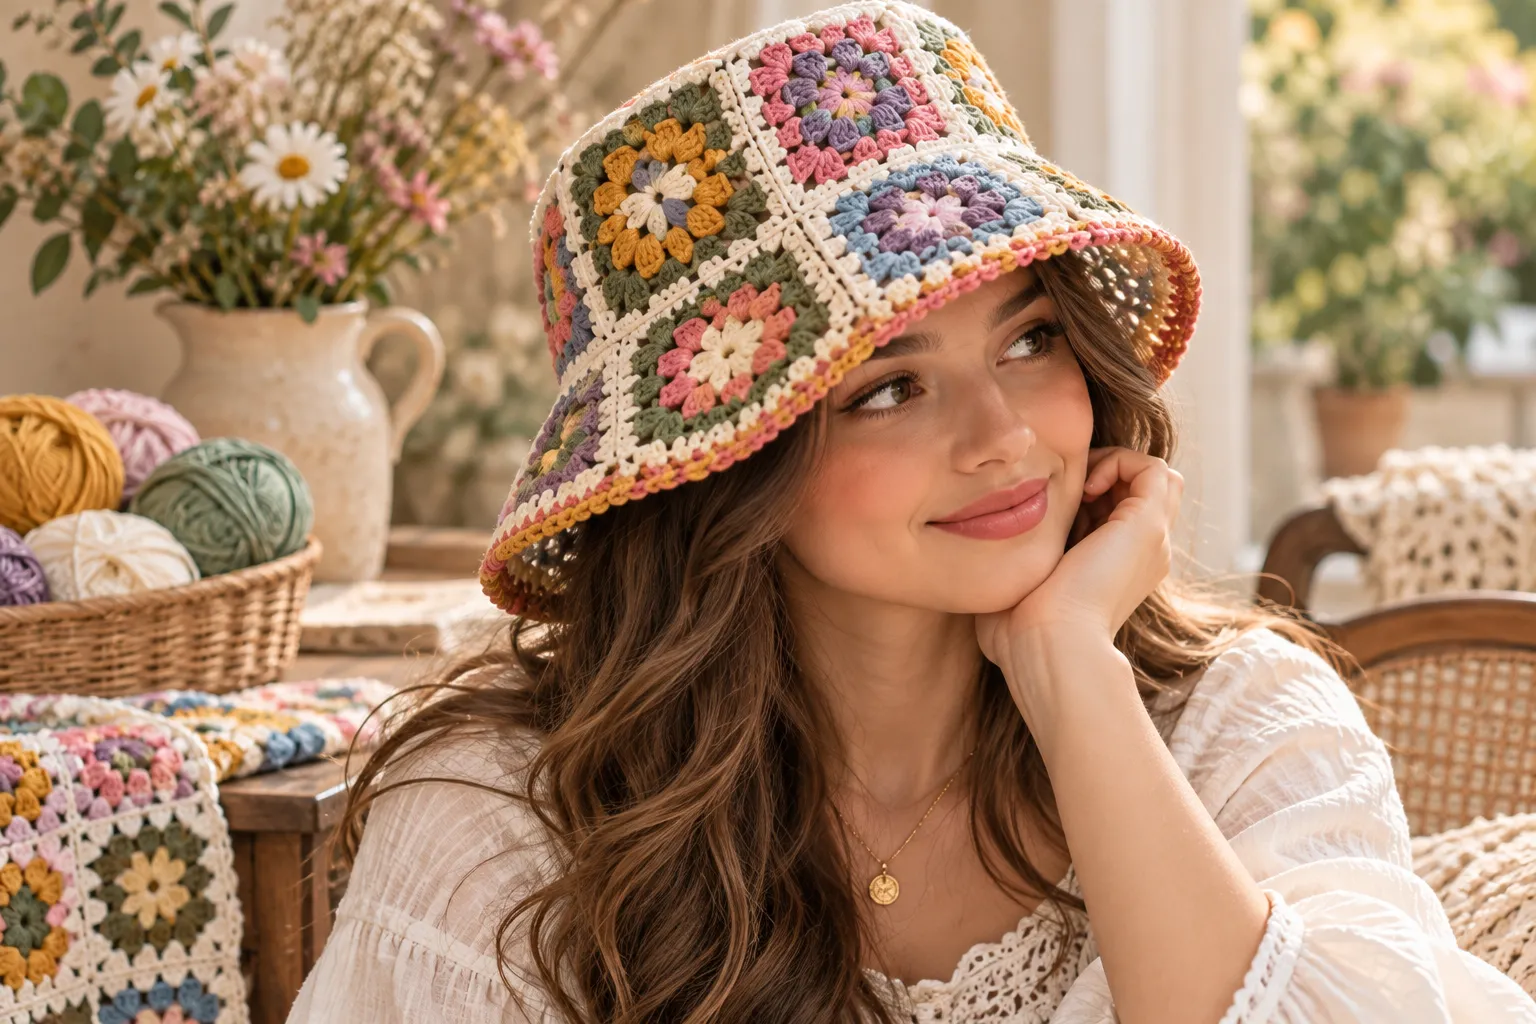
A granny square crochet bucket hat is one of those projects that combines classic crochet with a modern fashion accessory. It’s colorful, customizable, relatively portable to make, and perfect for using up small amounts of yarn.
This free granny square crochet bucket hat pattern is designed around traditional granny-square motifs joined together to create a wearable bucket-hat shape. You can make it colorful and playful, keep it neutral and minimalist, or coordinate the colors with your wardrobe.
Whether you’re an experienced crocheter or learning how granny squares work, this project gives you plenty of opportunities to experiment with color, construction, and finishing.
Why Crochet a Granny Square Bucket Hat?
Granny-square bucket hats have become a favorite handmade accessory because they combine nostalgic crochet techniques with a contemporary silhouette.
They’re also practical projects because each square can be crocheted separately before assembly.
You can make the hat:
- In bright rainbow colors
- With soft pastel shades
- In neutral tones
- With one dominant color
- From leftover yarn
- With contrasting borders
- With a narrow or wider brim
A handmade bucket hat also makes a thoughtful gift for birthdays, holidays, and craft-loving friends.
Materials You’ll Need
| Material | Suggested Choice |
|---|---|
| Yarn | Cotton or cotton-blend yarn |
| Crochet hook | Size recommended for your yarn |
| Tapestry needle | For joining and weaving ends |
| Scissors | For trimming yarn |
| Stitch markers | Helpful during construction |
| Measuring tape | For checking head circumference |
| Blocking mat | Optional but useful |
Choosing the Right Yarn
Cotton is particularly well suited to bucket hats because it provides structure while remaining breathable.
A cotton blend can create a softer, slightly more flexible fabric.
Look for yarn that is:
- Comfortable
- Breathable
- Durable
- Easy to wash
- Consistent in thickness
Avoid extremely stretchy yarn if you want the finished hat to hold its bucket shape.
Choosing Your Colors
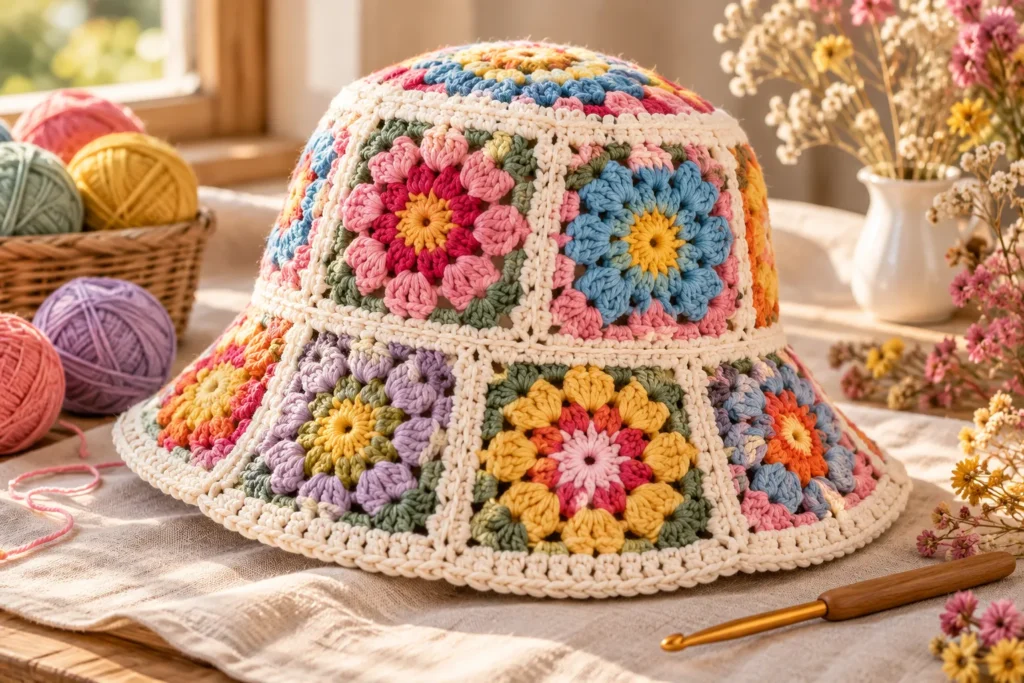
Color selection can completely transform this project.
Classic Rainbow
Try:
- Red
- Orange
- Yellow
- Green
- Blue
- Purple
A neutral joining color can help all the shades work together.
Soft Pastels
Use:
- Blush pink
- Lavender
- Baby blue
- Butter yellow
- Sage
- Cream
This creates a delicate spring and summer aesthetic.
Earthy Neutrals
For a sophisticated everyday hat, combine:
- Cream
- Beige
- Taupe
- Brown
- Terracotta
- Olive
Monochromatic
You can also use several shades of one color, such as cream, beige, caramel, and chocolate brown.
This creates a more subtle and fashion-forward result.
Understanding the Construction
A granny-square bucket hat is generally made from several components:
- Granny squares or motifs
- Crown
- Side section
- Brim
- Final edging
The squares create the decorative upper portion while the brim gives the hat its recognizable bucket-hat silhouette.
The exact number and size of squares depend on your yarn, tension, desired head circumference, and construction method.
Basic Granny Square Pattern
The traditional granny square is built from groups of double crochet stitches worked into spaces.
Round 1
Create a magic ring or chain a small number of stitches and join to form a ring.
Work groups of double crochet stitches into the center, separated by chain spaces.
Join the round.
Round 2
Move into a corner space.
Work a group of double crochet stitches, followed by the appropriate chain space.
Continue around the square, creating groups in each corner.
Round 3 and Beyond
Continue working groups of double crochet stitches into the spaces between groups from the previous round.
At each corner, create a larger chain space so the square can continue expanding evenly.
Continue until each square reaches your desired size.
Keeping Your Squares Consistent
One of the most important parts of this project is making sure all your squares are approximately the same size.
Use:
- The same yarn weight
- The same crochet hook
- Consistent tension
- The same number of rounds
Measure your first finished square and use it as your reference.
If your later squares are noticeably larger or smaller, adjust your tension before making more.
How Many Granny Squares Do You Need?
There isn’t one universal number because the required quantity depends on:
- Head circumference
- Square dimensions
- Yarn thickness
- Desired hat height
- Construction method
- Brim width
Instead of relying solely on a fixed number, measure your squares and compare the combined dimensions with the intended head circumference.
This makes the hat much easier to customize.
Measuring for the Perfect Fit
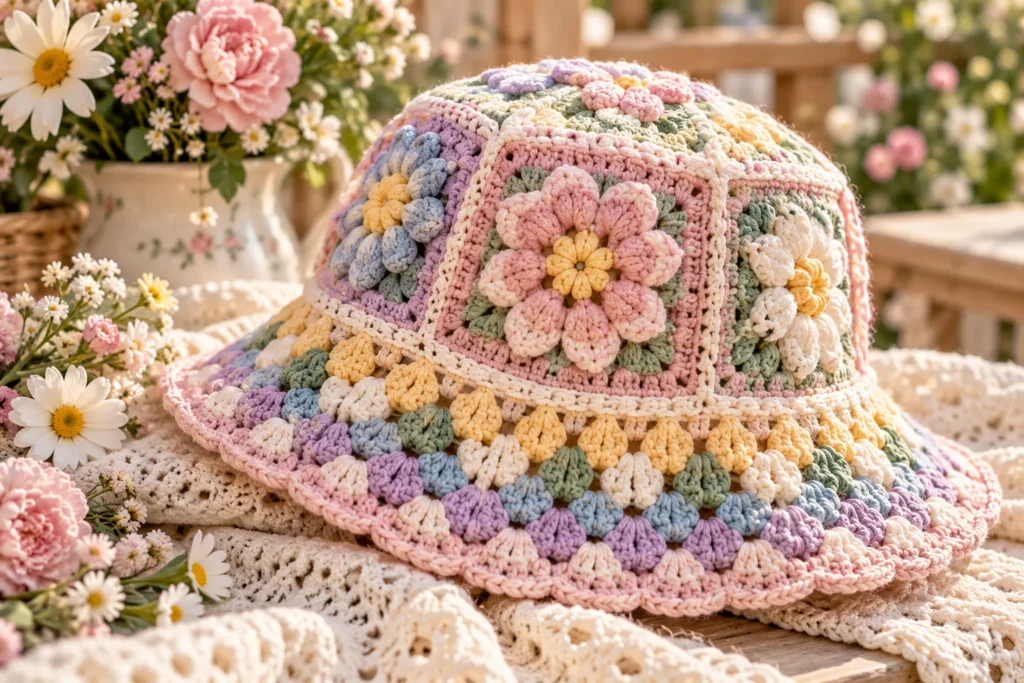
Measure around the fullest part of the head, keeping the measuring tape comfortably snug.
Record the measurement before beginning the hat.
You should also measure:
Hat height: From the crown toward the bottom edge.
Brim width: How far you want the brim to extend beyond the crown.
A little ease is useful because crochet fabric can have some flexibility.
Joining the Granny Squares
Once you’ve crocheted all your squares, arrange them on a flat surface.
This is your opportunity to experiment with the color placement.
Take a photo before joining so you can reproduce the arrangement if necessary.
Slip-Stitch Join
A slip-stitch join creates a visible crochet seam and is relatively quick.
Whip Stitch
Using a tapestry needle, sew the squares together from the wrong side.
This creates a flexible and relatively discreet seam.
Single Crochet Join
Crochet the squares together using single crochet stitches.
This produces a raised decorative seam that can become part of the design.
Flat Join
A flat join creates a cleaner connection and can give the finished hat a more polished appearance.
Building the Crown
The crown is the top portion of the hat.
Depending on your construction, the granny squares can be arranged around a central section or integrated into the crown.
The goal is to create a shape that gradually transitions from the top of the head into the vertical sides.
Try the crown against the intended head measurement before moving forward.
Creating the Sides
Once the crown reaches the correct width, work downward to create the sides of the bucket hat.
Keep your stitch tension consistent.
If the sides flare too dramatically, reduce increases.
If the hat narrows too much, you may need additional increases.
The sides should sit comfortably around the head without feeling tight.
Creating the Bucket Hat Brim
The brim is one of the most important parts of the design.
Begin increasing gradually around the lower edge.
The frequency of your increases determines how much the brim spreads outward.
For a subtle brim, use fewer increases.
For a classic bucket-hat silhouette, increase more consistently.
For a dramatic sun hat, create a wider brim.
Making a Structured Brim
If you want the brim to hold its shape, consider:
- Using firm cotton yarn
- Working tightly
- Adding an extra round
- Using a slightly smaller hook
- Adding a reinforcing round around the edge
A very flexible yarn may create a floppy brim, which can still look attractive but will produce a softer silhouette.
Finishing the Edge
The final round can completely change the appearance of the hat.
Try:
- Single crochet
- Half double crochet
- Slip stitch
- Scallops
- Picots
- Contrasting color
- Crab stitch
A simple contrasting single-crochet border is one of the easiest ways to make the granny-square colors stand out.
Blocking Your Bucket Hat
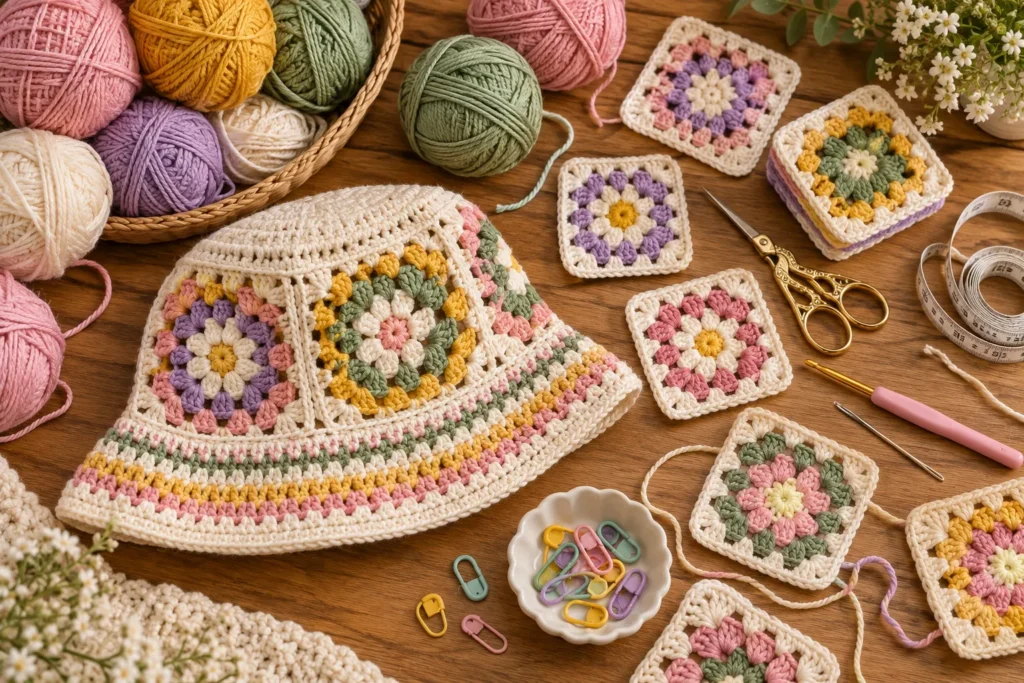
Blocking can help your squares become more uniform and improve the overall shape.
For cotton, wet blocking can be particularly useful.
Gently shape the hat into its intended form and allow it to dry completely.
Do not stretch it excessively because this can distort the granny-square stitches.
Always consider the care instructions for your particular yarn.
How to Customize the Hat
One of the best things about this project is how easy it is to personalize.
Change the Square Size
Larger squares create a bolder graphic effect.
Smaller squares create a more detailed patchwork appearance.
Change the Brim
Make the brim narrow for a fashion-forward bucket hat or wider for additional sun coverage.
Add Flowers
Attach small crochet flowers to selected squares.
Add Embroidery
Embroider tiny hearts, stars, initials, or leaves onto individual squares.
Add a Decorative Band
Crochet a narrow band around the base of the crown using a contrasting color.
Granny Square Bucket Hat Color Ideas
| Style | Main Colors | Overall Look |
|---|---|---|
| Rainbow | Bright multicolor | Playful |
| Pastel | Pink, lavender, blue, yellow | Soft |
| Neutral | Cream, beige, taupe | Minimal |
| Earthy | Olive, rust, brown | Bohemian |
| Coastal | Blue, cream, sage | Fresh |
| Retro | Mustard, orange, brown | Vintage |
| Monochrome | Multiple shades of one color | Modern |
Beginner Tips
If this is your first granny-square hat, don’t rush the construction.
Start by making one perfect square.
Check:
- Stitch count
- Corner placement
- Tension
- Square dimensions
Once you’re happy with it, repeat the exact process.
It’s much easier to fix your technique on one square than after you’ve crocheted an entire hat.
Common Problems and How to Fix Them
The Squares Are Different Sizes
Your tension may be changing.
Try using the same hook and consciously maintaining consistent yarn tension.
The Hat Is Too Small
Check your head measurement and compare it with the assembled crown.
You may need larger squares or additional rounds.
The Brim Is Curling
You may need additional increases.
Try increasing more evenly around the next round.
The Brim Is Too Wavy
Too many increases can create excess fabric.
Reduce the number of increases in the next round.
The Hat Looks Uneven
Blocking can help correct minor inconsistencies.
For more serious differences, check your square dimensions and joining technique.
Styling a Granny Square Bucket Hat
This handmade accessory can work with surprisingly many outfits.
Casual Summer Outfit
Pair it with:
- White T-shirt
- Denim shorts
- Canvas sneakers
- Granny-square bucket hat
Bohemian Look
Try:
- Flowy maxi dress
- Woven sandals
- Crochet bag
- Earth-tone bucket hat
Beach Outfit
Pair a lightweight cotton hat with:
- Linen shirt
- Swimsuit
- Wide-leg trousers
- Woven beach bag
Everyday Street Style
Use a neutral granny-square hat with:
- Jeans
- Oversized shirt
- Sneakers
- Simple jewelry
Matching Crochet Accessories
You can create a coordinated handmade set by making:
- Granny-square tote bag
- Crochet shoulder bag
- Bucket hat
- Small pouch
- Headband
- Phone case
- Scrunchie
Using the same color palette across several pieces creates a cohesive handmade collection.
How to Care for Your Crochet Hat
Always follow the yarn manufacturer’s washing instructions.
For many cotton crochet hats:
- Wash gently
- Avoid harsh detergents
- Do not aggressively wring
- Reshape while damp
- Allow to dry completely
- Store flat when possible
Proper care will help maintain the hat’s shape and color.
Frequently Asked Questions
Is a granny-square bucket hat beginner-friendly?
Yes. If you know basic crochet stitches, granny squares are a good starting point. The most challenging part is usually assembly and shaping rather than the square itself.
What yarn is best for a crochet bucket hat?
Cotton and cotton-blend yarns are excellent choices because they are breathable and can provide enough structure for the hat.
Can I make the hat with leftover yarn?
Absolutely. Granny squares are ideal for using small quantities of leftover yarn.
How do I make the hat bigger?
You can increase the dimensions of your granny squares, add additional rounds, or modify the crown and brim measurements.
Can I make the brim wider?
Yes. Continue adding increase rounds around the lower edge until you reach the desired brim width.
Can I wash a crochet bucket hat?
Usually, yes, depending on the yarn. Always follow the yarn label’s specific care instructions.
Final Thoughts
A granny square crochet bucket hat is a fun way to transform a traditional crochet motif into a modern wearable accessory. The project is customizable from beginning to end, allowing you to experiment with colors, square sizes, joining techniques, brim widths, and decorative details.
Whether you choose a bright rainbow palette, soft pastels, earthy autumn shades, or elegant neutrals, the finished hat can become a unique handmade accessory that works with your personal style.
The key to a polished result is consistent granny squares, accurate measurements, careful joining, and a well-shaped brim. Once you’ve mastered the basic construction, you can create endless variations from the same pattern idea.