
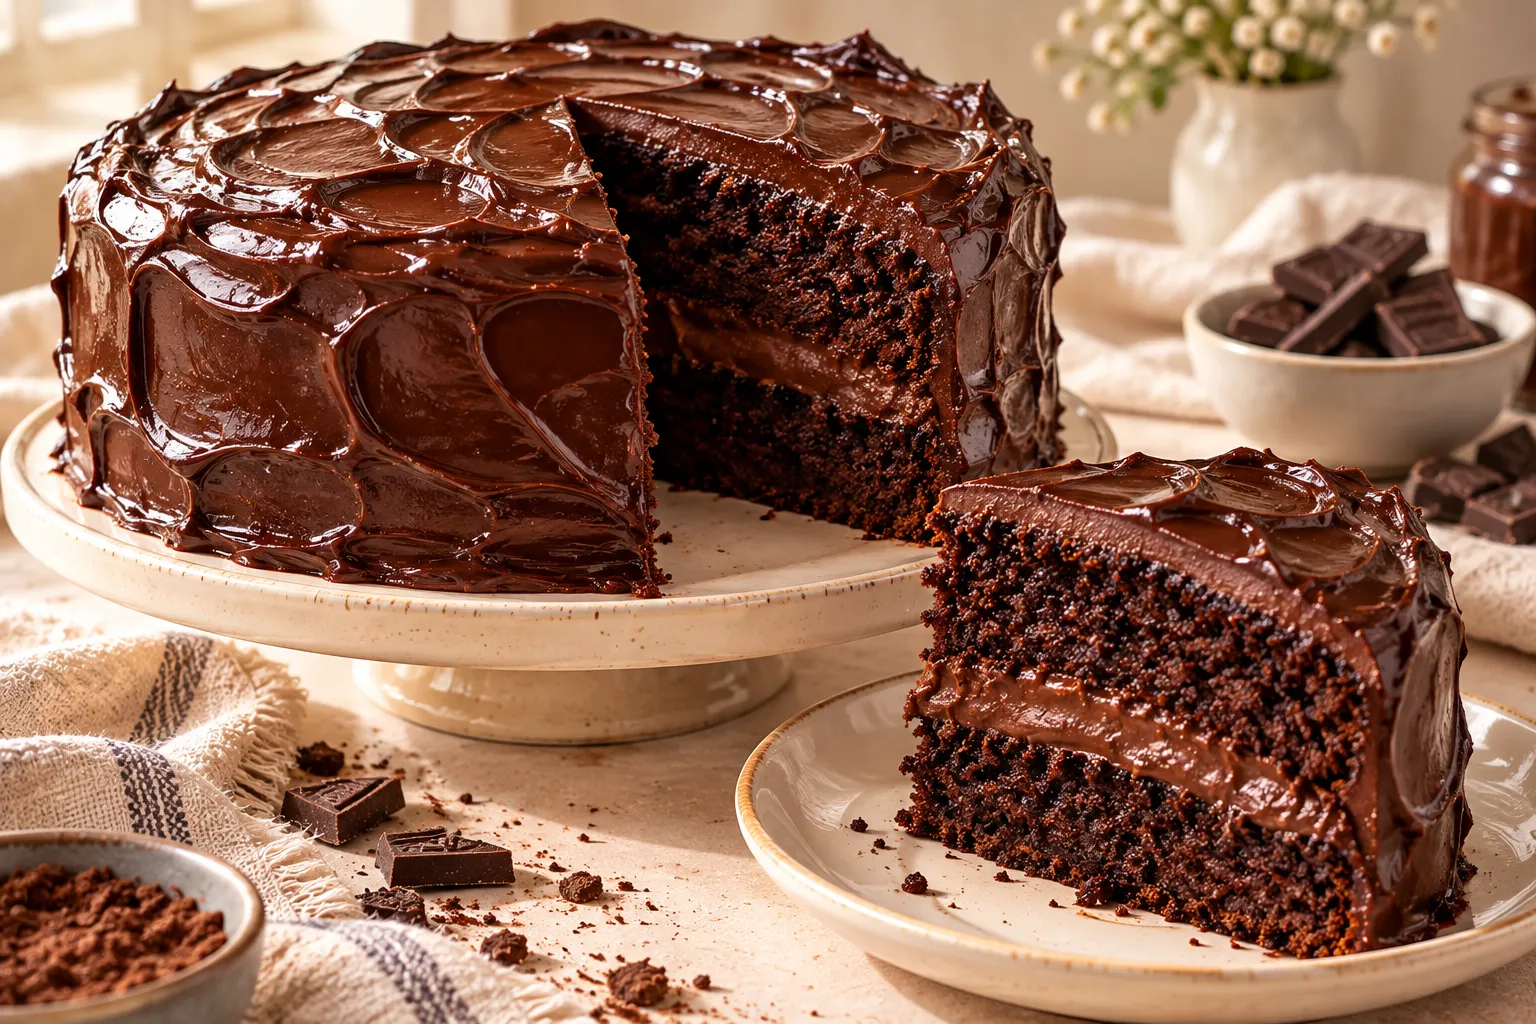
If you love intensely chocolatey desserts, this homemade Matilda Chocolate Cake is a must-try. Inspired by the famous oversized chocolate cake, this version features a soft, moist chocolate sponge, a sweet sugar syrup that keeps every layer tender, and a generous coating of silky chocolate ganache.
It is the kind of cake made for true chocolate lovers: rich, decadent, beautifully dark, and covered in thick chocolate frosting. Whether you are preparing it for a birthday, a family gathering, or simply a weekend baking project, this homemade Matilda cake makes an unforgettable dessert.
The best part? You can prepare it with everyday baking ingredients and a simple round cake pan. Follow the instructions below for a delicious chocolate cake with a moist crumb and plenty of ganache in every bite.
Why You’ll Love This Matilda Chocolate Cake
- Extra moist texture: Vegetable oil and milk help create a tender chocolate sponge.
- Deep chocolate flavor: Unsweetened cocoa powder gives the cake its rich chocolate taste.
- Generous chocolate ganache: A smooth mixture of semi-sweet chocolate and cream creates a luscious coating.
- Simple ingredients: You do not need expensive or hard-to-find ingredients.
- Perfect for celebrations: Its rich appearance makes it ideal for birthdays, parties, and special occasions.
- Make-ahead friendly: The cake can be baked in advance and assembled when you are ready.
Ingredients for Homemade Matilda Cake
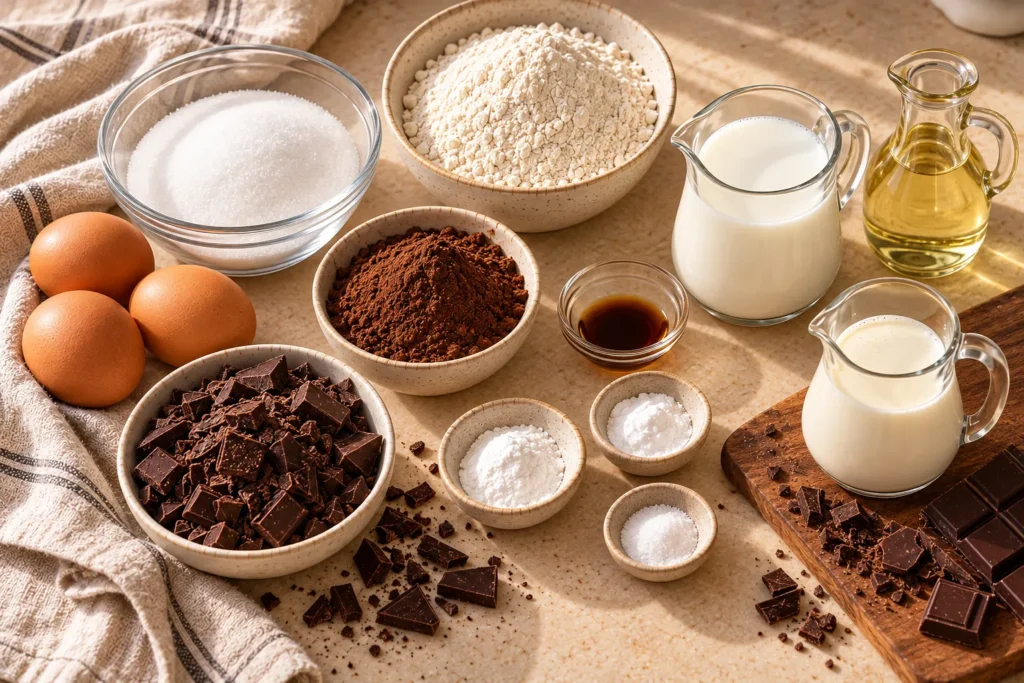
This recipe is designed for a round cake pan measuring approximately 22 cm (8.5 inches).
For the Chocolate Cake
- 3 eggs
- 200 g granulated sugar
- 120 ml vegetable oil
- 240 ml milk
- 200 g all-purpose flour
- 50 g unsweetened cocoa powder
- 1 tablespoon baking powder
- 1 teaspoon baking soda
- A pinch of salt
- 1 teaspoon vanilla extract
Ingredient notes: Use unsweetened cocoa powder rather than sweetened drinking chocolate. Room-temperature eggs and milk can help the batter combine more evenly. Measure the flour carefully to avoid a dry or heavy cake.
For the Chocolate Ganache
- 300 g semi-sweet chocolate, chopped
- 300 ml heavy cream
Choose good-quality chocolate that melts smoothly. Semi-sweet chocolate provides a balanced flavor without making the ganache excessively sweet.
For the Sugar Syrup
- 1 cup water
- 1/2 cup granulated sugar
The syrup helps keep the cake moist and adds a little extra sweetness. Apply it gradually rather than soaking the cake until it becomes soggy.
How to Make Matilda Chocolate Cake
Step 1: Prepare the Cake Pan
Preheat your oven to 170°C (340°F). Grease a 22 cm round cake pan and line the bottom with parchment paper.
Prepare the pan before mixing the batter so you can transfer it to the oven promptly. If your pan is relatively shallow, make sure there is enough room for the cake to rise.
Step 2: Mix the Eggs and Sugar
Place the eggs and sugar in a large mixing bowl. Whisk until the mixture is smooth and the sugar begins to dissolve.
Add the vegetable oil and vanilla extract, then whisk again until combined. The oil contributes to the cake’s moist texture and helps it remain tender after cooling.
Step 3: Add the Milk
Pour the milk into the egg mixture and whisk until everything is evenly combined.
The mixture may look thin at this stage, but the flour and cocoa powder will thicken it in the next step.
Step 4: Combine the Dry Ingredients
In a separate bowl, sift together the all-purpose flour, cocoa powder, baking powder, baking soda, and salt.
Sifting helps break up cocoa lumps and distributes the leavening ingredients more evenly throughout the batter.
Step 5: Make the Chocolate Batter
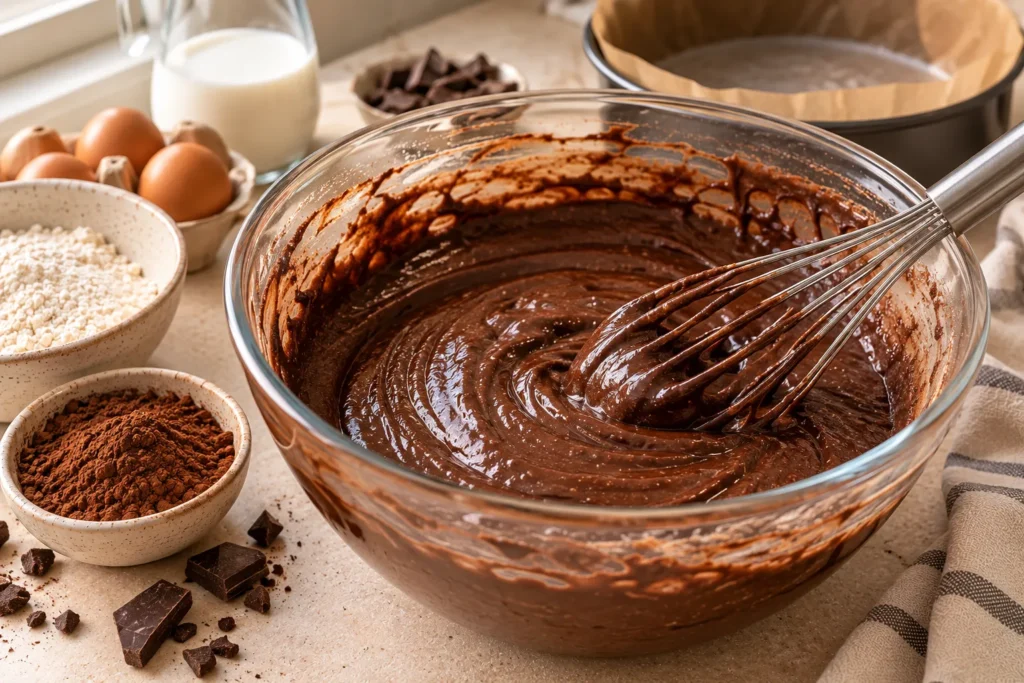
Gradually add the dry ingredients to the wet mixture. Whisk gently or fold with a spatula until no large streaks of flour remain.
Avoid overmixing. Excessive mixing can develop gluten and produce a tougher cake. The finished batter should be smooth and pourable.
Step 6: Bake the Cake
Pour the batter into the prepared cake pan and gently level the surface.
Bake for approximately 30–40 minutes, checking the cake toward the end of the baking time. The exact time will depend on your oven and the depth of the pan.
Insert a toothpick into the center. It should come out without wet batter, although a few moist crumbs are fine.
If the top is browning too quickly while the center remains underbaked, loosely cover it with foil and continue baking until done.
Step 7: Cool the Cake
Remove the cake from the oven and let it rest in the pan for around 10–15 minutes.
Carefully turn it out onto a wire rack and allow it to cool completely before adding the syrup and ganache. Warm cake can cause the ganache to melt and slide off.
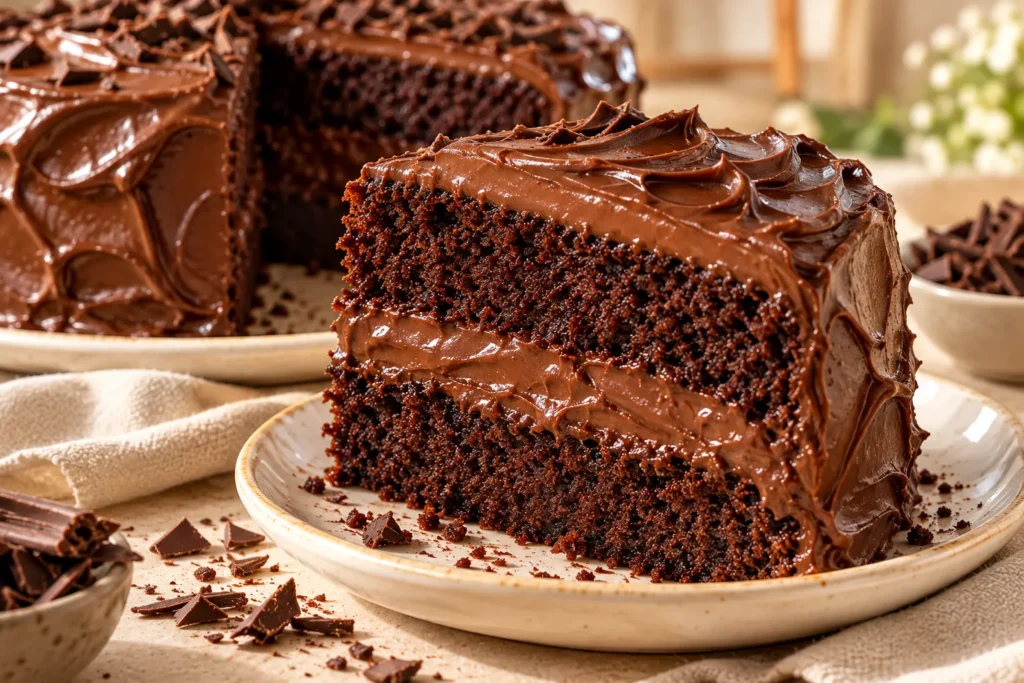
For a taller, layered presentation, you can divide the cooled cake horizontally into two layers using a long serrated knife. If the cake is relatively thin, keep it whole and focus on the rich ganache coating instead.
How to Make the Sugar Syrup
Step 8: Heat the Water and Sugar
Place the water and sugar in a small saucepan. Heat over medium heat, stirring until the sugar dissolves.
Bring the mixture to a gentle simmer, then remove it from the heat. Allow it to cool slightly before using.
Step 9: Moisten the Cake
If you divided the cake into layers, place the first layer on a serving plate or cake board.
Brush or spoon a small amount of syrup over the surface, distributing it evenly. Repeat with the second layer if using one.
Do not pour all the syrup onto the cake at once. Use only enough to moisten the crumb without making it wet or unstable.
How to Make the Chocolate Ganache
Step 10: Heat the Cream
Chop the semi-sweet chocolate into small, even pieces and place it in a heatproof bowl.
Heat the heavy cream in a saucepan until it is steaming and small bubbles appear around the edges. Do not let it boil vigorously.
Step 11: Melt the Chocolate
Pour the hot cream over the chopped chocolate, making sure the chocolate is mostly covered.
Leave the mixture undisturbed for 2–3 minutes. Then stir slowly from the center outward until the chocolate melts and the ganache becomes smooth and glossy.
If a few pieces remain unmelted, place the bowl over a saucepan of gently simmering water for a short time, stirring carefully.
Step 12: Let the Ganache Thicken
Allow the ganache to cool at room temperature, stirring occasionally.
When freshly made, it may be too fluid to spread thickly. As it cools, it becomes thicker and easier to use as filling and frosting.
For a thicker filling, let it cool longer. If it becomes too firm, warm it gently until it reaches a spreadable consistency.
How to Assemble and Decorate the Cake
Step 13: Add the Ganache Filling
If you have cut the cake into layers, place the bottom layer on your serving plate.
Spread a generous amount of ganache over the surface, reaching close to the edges. Place the second layer on top and press very gently to secure it.
For a single-layer cake, skip this step and proceed directly to coating the top.
Step 14: Cover the Cake
Spread the remaining ganache over the top and sides using an offset spatula or the back of a spoon.
For the signature homemade Matilda-cake appearance, keep the coating thick and generous rather than trying to create an extremely thin, polished finish.
You can create soft swirls and textured peaks with your spatula for a rustic bakery-style look.
Step 15: Allow the Ganache to Set
Let the cake stand at room temperature until the ganache is firm enough to slice neatly. If your kitchen is warm, refrigerate it briefly.
For the best texture, remove refrigerated cake from the refrigerator about 20–30 minutes before serving, depending on the room temperature.
Tips for the Best Matilda Chocolate Cake
1. Measure the ingredients accurately. Too much flour can make the cake dry, while incorrect amounts of leavening agents can affect the rise and texture.
2. Use unsweetened cocoa powder. This gives the sponge a deeper chocolate flavor and balances the sweetness of the sugar and ganache.
3. Do not overbake. Start checking the cake near the end of the estimated baking time. Removing it once the center is set helps prevent dryness.
4. Cool the cake completely. Ganache spreads much more easily over a cooled cake. Applying it while the cake is hot may cause it to run off.
5. Let the ganache thicken naturally. Cooling allows it to develop a richer, more spreadable consistency without needing additional ingredients.
6. Apply the syrup sparingly. A little syrup can improve moisture, but too much may make the cake difficult to assemble.
7. Use a sharp knife for clean slices. Dip the knife in warm water, wipe it dry, and cut each slice with a clean blade.
Common Mistakes to Avoid
Adding Ganache to a Warm Cake
A warm cake can melt the ganache and cause it to slide down the sides. Wait until the sponge is completely cool.
Overmixing the Batter
Once the flour has been added, mix only until the ingredients are incorporated. This helps preserve a tender crumb.
Using Boiling Cream
Cream that boils vigorously can make the ganache more difficult to handle. Heat it until steaming, then pour it over the chocolate.
Pouring on Too Much Syrup
The syrup should enhance the cake’s moisture, not saturate it. Apply it gradually and stop when the surface is lightly moistened.
Cutting the Cake Before It Sets
Freshly spread ganache may smear when cut. Give it time to firm up for cleaner slices and a more attractive presentation.
Variations You Can Try
Extra Dark Chocolate Cake
Use a darker semi-sweet chocolate or bittersweet chocolate for the ganache. This creates a less sweet dessert with a more intense cocoa flavor.
Chocolate Cake with Strawberries
Arrange thin slices of fresh strawberries between the cake layers, keeping them away from the very edge so they do not release excess moisture onto the sides.
Chocolate and Coffee Cake
Add a small amount of instant espresso powder to the dry ingredients. Coffee can deepen the chocolate flavor without making the cake taste strongly of coffee.
A Simple One-Layer Version
If you prefer an easier dessert, leave the cake whole and spread the ganache generously over the top and sides. You will still have a rich chocolate cake without the extra step of slicing it into layers.
Birthday Matilda Cake
Decorate the top with chocolate shavings, chocolate curls, or a few carefully placed chocolate pieces. Keep the decoration simple so the ganache remains the main feature.
How to Store Matilda Chocolate Cake
At room temperature: If your kitchen is cool, the cake can generally be kept covered for a short period, but because the ganache contains cream, refrigeration is the safer choice for longer storage.
In the refrigerator: Store the cake in an airtight container for approximately 3–4 days. The ganache will firm up when chilled, so let each portion sit at room temperature briefly before serving.
In the freezer: Individual slices can be wrapped well and frozen for around 1–2 months for best quality. Thaw them overnight in the refrigerator, then allow them to soften slightly before eating. Texture may vary depending on the chocolate and cream used.
Avoid leaving the cake at room temperature for extended periods, especially in a warm kitchen.
Frequently Asked Questions
Why is it called Matilda Chocolate Cake?
The name is inspired by the famously oversized chocolate cake associated with the film Matilda. Modern Matilda-style cakes are known for their rich chocolate sponge and generous chocolate frosting.
Can I make this cake without a mixer?
Yes. A whisk and a few mixing bowls are sufficient. Mix the wet ingredients until combined, then gently incorporate the dry ingredients.
Can I prepare the cake a day ahead?
Yes. Bake the sponge, allow it to cool completely, and store it covered. You can prepare the ganache and assemble the cake later, or assemble it in advance and refrigerate it.
Why is my chocolate cake dry?
The most common causes are overbaking, measuring too much flour, or using an oven that runs hotter than expected. Check the cake before the end of the suggested baking time and measure ingredients carefully.
Why is my ganache too runny?
It may still be warm, or the chocolate-to-cream ratio may not suit the chocolate you used. Allow it to cool before deciding whether it needs adjustment. For a thicker ganache, additional melted chocolate can help, but add it gradually.
Why did my ganache become grainy?
The chocolate may have overheated, or the cream and chocolate may not have emulsified properly. Stir slowly from the center outward. If necessary, gently warm the mixture and stir again; avoid exposing it to direct high heat.
Can I use milk chocolate instead of semi-sweet chocolate?
Yes, but milk chocolate is sweeter and often softer. The ganache may have a different consistency, so allow it to cool fully before spreading and adjust the chocolate-to-cream ratio if necessary.
Can I make the cake without the sugar syrup?
Yes. The syrup is optional. The vegetable oil and milk already help create a moist sponge, so you can skip the syrup if you prefer a less sweet cake or want to simplify the recipe.
What size cake pan should I use?
This recipe is designed for a round pan approximately 22 cm (8.5 inches) in diameter. A different pan size may change the cake’s height and baking time.
Final Thoughts
This homemade Matilda Chocolate Cake is a wonderful choice when you want a dessert that looks impressive and delivers plenty of chocolate flavor. The moist cocoa sponge, optional sugar syrup, and smooth semi-sweet chocolate ganache work together to create a rich, satisfying cake.
Serve it at birthdays, celebrations, or whenever you are craving a decadent homemade chocolate dessert. For the best results, measure carefully, avoid overbaking, and allow the ganache to cool until thick and spreadable before assembling the cake.
Recipe Card
Recipe Name: Homemade Matilda Chocolate Cake
Preparation Time: 25 minutes
Baking Time: 30–40 minutes
Cooling and Assembly: 45–60 minutes
Total Time: Approximately 1 hour 40 minutes to 2 hours 5 minutes
Servings: 8–10 slices
Pan Size: 22 cm (8.5 inches) round cake pan
Ingredients
Chocolate sponge
- 3 eggs
- 200 g granulated sugar
- 120 ml vegetable oil
- 240 ml milk
- 200 g all-purpose flour
- 50 g unsweetened cocoa powder
- 1 tablespoon baking powder
- 1 teaspoon baking soda
- A pinch of salt
- 1 teaspoon vanilla extract
Chocolate ganache
- 300 g semi-sweet chocolate
- 300 ml heavy cream
Sugar syrup
- 1 cup water
- 1/2 cup granulated sugar
Instructions
- Preheat the oven to 170°C (340°F). Grease and line a 22 cm round cake pan.
- Whisk the eggs and sugar. Add the oil and vanilla, followed by the milk.
- Sift the flour, cocoa powder, baking powder, baking soda, and salt into a separate bowl.
- Add the dry ingredients to the wet ingredients and mix just until smooth.
- Pour the batter into the pan and bake for approximately 30–40 minutes, or until a toothpick inserted in the center comes out without wet batter.
- Cool the cake in the pan for 10–15 minutes, then transfer it to a wire rack to cool completely.
- For the syrup, heat the water and sugar until the sugar dissolves. Cool slightly and apply sparingly to the cake.
- Heat the cream until steaming. Pour it over the chopped chocolate and leave for 2–3 minutes.
- Stir until smooth, then cool the ganache until thick enough to spread.
- Slice the cake into layers if desired. Add ganache between the layers, then cover the top and sides.
- Let the ganache set before slicing and serving.
Storage: Refrigerate in an airtight container for approximately 3–4 days.