
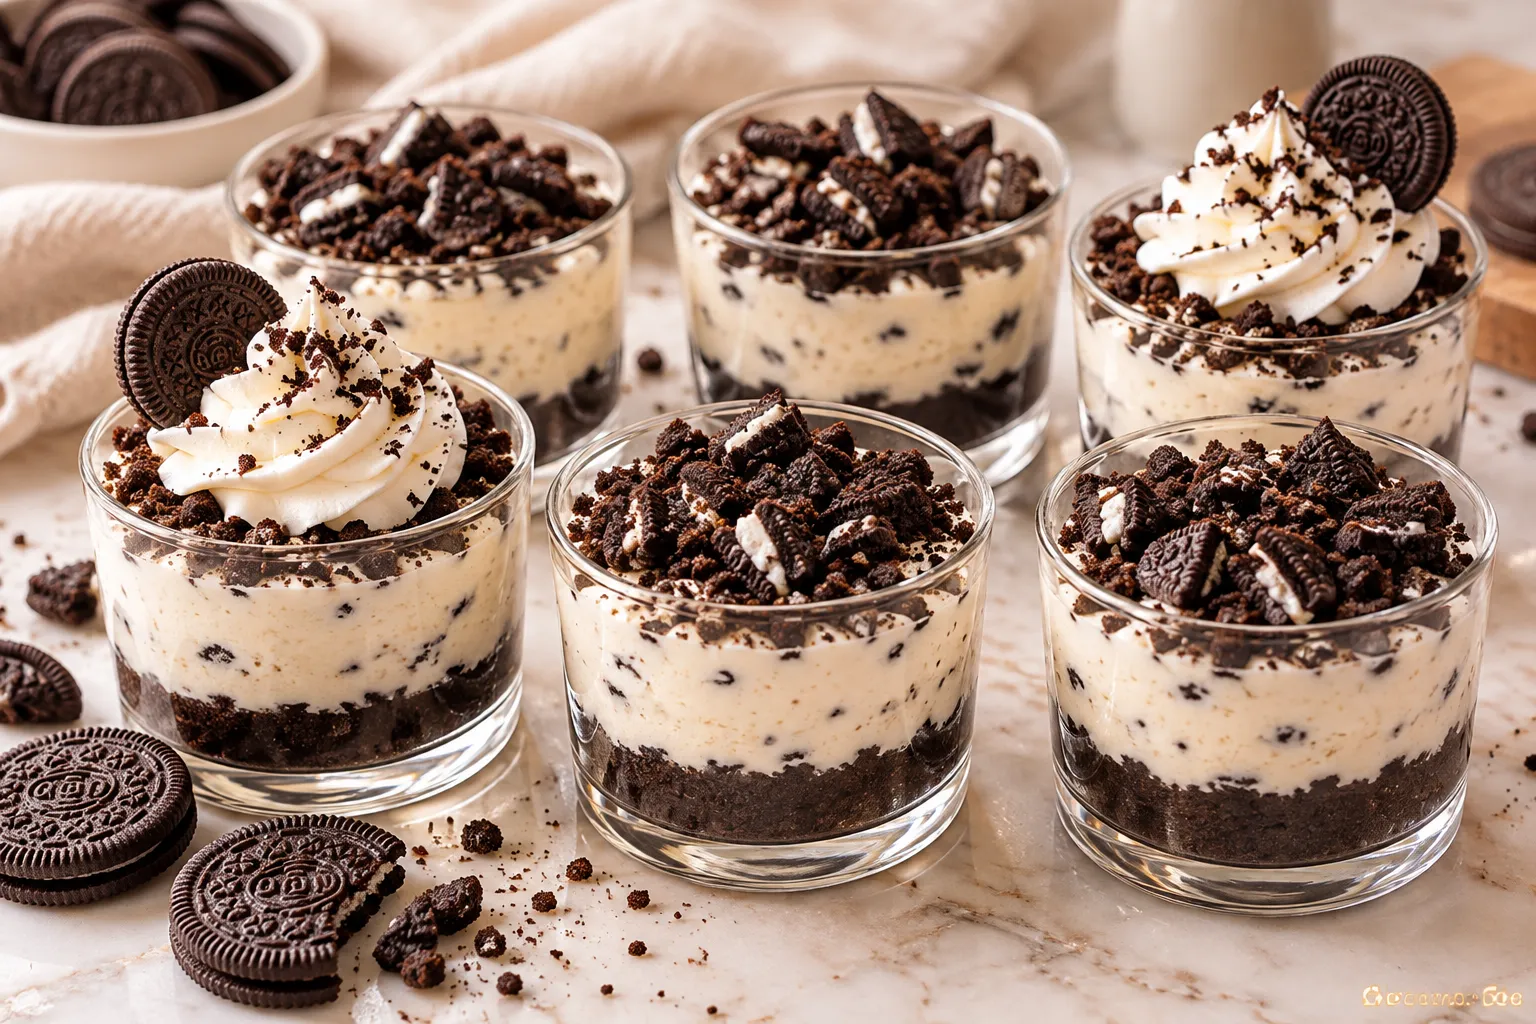
If you love Oreo cookies and creamy cheesecake, these No-Bake Mini Oreo Cheesecake Cups are the perfect little dessert. Made with a crunchy Oreo cookie base, a smooth cream cheese filling, and plenty of chocolate cookie pieces, these individual cheesecake cups deliver all the flavor of a classic Oreo cheesecake without turning on the oven.
They’re ideal for parties, birthdays, family gatherings, holidays, or whenever you’re craving a simple homemade dessert. Because each cheesecake is served in its own cup, there’s no need to worry about slicing a whole cheesecake or making a complicated crust.
The best part? These mini Oreo cheesecake cups require just a handful of ingredients and a little preparation time. Once assembled, they chill in the refrigerator until the filling becomes firm, creamy, and delicious.
Whether you serve them in small dessert glasses, clear plastic cups, or mini jars, these no-bake cheesecake cups are guaranteed to look as tempting as they taste.
Why You’ll Love These No-Bake Mini Oreo Cheesecake Cups
- No oven required: The cheesecake filling sets in the refrigerator, making this recipe especially convenient on warm days.
- Creamy and crunchy: A buttery Oreo crust contrasts beautifully with the smooth cheesecake filling.
- Perfect individual portions: Each cup is easy to serve, share, and enjoy.
- Simple ingredients: Oreo cookies, cream cheese, whipping cream, butter, sugar, and vanilla create a delicious dessert.
- Easy to prepare ahead: Make them in advance and chill until you’re ready to serve.
- Customizable: Add extra Oreo crumbs, chocolate sauce, whipped cream, or mini cookies for decoration.
- Great for entertaining: The individual presentation makes these mini desserts suitable for parties and special occasions.
Ingredients You’ll Need
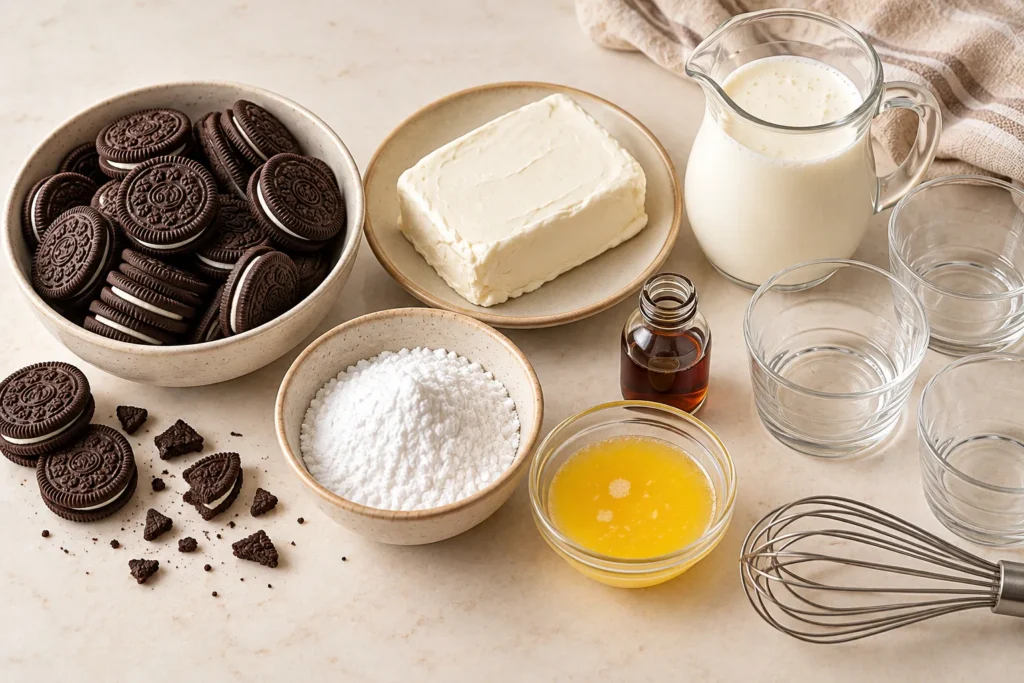
This recipe makes approximately 8 small cheesecake cups, depending on the size of your serving glasses.
For the Oreo Cookie Crust
- 16 Oreo cookies
- 3 tablespoons unsalted butter, melted
For the Cheesecake Filling
- 225 g (8 oz) full-fat cream cheese, softened
- 240 ml (1 cup) cold heavy whipping cream, with approximately 30–35% fat
- 60 g (½ cup) powdered sugar, adjusted to taste
- 1 teaspoon vanilla extract
- 8 Oreo cookies, roughly crushed
For the Topping
- 4–6 Oreo cookies, crushed or broken into pieces
- Whipped cream, optional
- Mini Oreo cookies, optional
- Chocolate sauce, optional
Ingredient Notes
Oreo cookies: Regular Oreo cookies work well for both the crust and the filling. Keep the cream inside the cookies when crushing them; it contributes sweetness and flavor.
Cream cheese: Full-fat block cream cheese generally produces a richer, firmer filling. Let it soften at room temperature before mixing to reduce lumps.
Heavy whipping cream: Use cold cream with enough fat to whip into stiff peaks. This gives the cheesecake filling a light, airy texture.
Powdered sugar: Powdered sugar dissolves easily and helps create a smooth filling. Start with the recommended amount and adjust according to your taste.
Butter: Melted butter binds the Oreo crumbs together to form a compact crust.
Vanilla extract: Vanilla enhances the creamy filling and balances the chocolate cookie flavor.
How to Make No-Bake Mini Oreo Cheesecake Cups
Step 1: Crush the Oreo Cookies
Place 16 Oreo cookies in a food processor and pulse until they become fine crumbs. If you don’t have a food processor, put the cookies in a sealed food bag and crush them with a rolling pin.
Transfer the crumbs to a bowl.
For the best crust, aim for fairly fine crumbs rather than large pieces. This helps the base hold together when you spoon into the finished cheesecake cups.
Step 2: Prepare the Oreo Crust
Pour the melted butter over the Oreo crumbs and stir until the mixture resembles damp sand.
Divide the mixture evenly among eight small dessert cups. Use the back of a spoon to press the crumbs firmly into the bottom of each cup.
Place the cups in the refrigerator while you prepare the filling. Chilling the crust helps the butter firm up and makes the base more compact.
Step 3: Beat the Cream Cheese
Place the softened cream cheese in a large mixing bowl. Beat it with an electric mixer until smooth and creamy.
Add the powdered sugar and vanilla extract. Continue mixing until everything is fully incorporated.
Scrape down the sides of the bowl as needed. The mixture should be smooth, without visible lumps of cream cheese.
Avoid adding the whipping cream before the cream cheese has become smooth, as doing so can make it harder to eliminate lumps.
Step 4: Whip the Heavy Cream
In a separate, clean bowl, beat the cold heavy whipping cream until stiff peaks form.
Start at a medium speed and increase gradually. Stop when the cream holds its shape when you lift the beaters.
Be careful not to overwhip it, as excessive beating can cause the cream to become grainy and eventually separate.
For the best results, keep the bowl and beaters cool.
Step 5: Combine the Cheesecake Filling
Add the whipped cream to the cream cheese mixture in two or three additions.
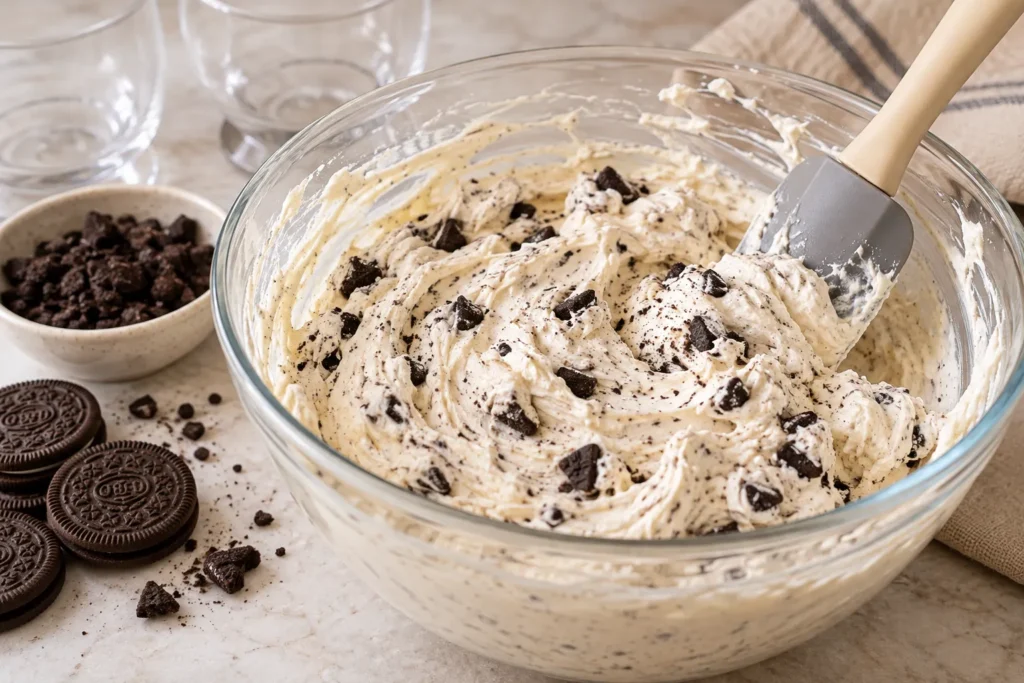
Use a spatula to fold gently until the filling is smooth, fluffy, and evenly combined. Avoid stirring too aggressively because this can deflate the whipped cream.
Next, fold in the eight roughly crushed Oreo cookies. Leave some small cookie pieces for texture rather than crushing all of them into fine powder.
The finished filling should be thick enough to spoon or pipe into the cups.
Step 6: Fill the Cheesecake Cups
Remove the chilled Oreo crusts from the refrigerator.
Spoon the cheesecake filling evenly into each cup. For a neater presentation, transfer the filling to a piping bag and pipe it over the crust.
Smooth the tops with the back of a spoon or leave attractive swirls if piping.
Leave a little space at the top of each cup for the Oreo topping and any optional decorations.
Step 7: Chill Until Firm
Cover the cups and refrigerate them for at least 4 hours, or preferably overnight.
This resting time allows the filling to become firmer and gives the flavors time to develop.
Because this recipe contains no gelatin or other dedicated setting agent, chilling time and ingredient temperature are important. The cheesecake filling should be thick and creamy rather than completely rigid.
Step 8: Decorate and Serve
Just before serving, sprinkle crushed Oreo cookies over each cheesecake cup.
For an extra-special finish, add a swirl of whipped cream, a mini Oreo cookie, or a drizzle of chocolate sauce.
Serve the cups chilled and enjoy the combination of crunchy chocolate cookie crumbs and smooth cheesecake filling.
Tips for the Best Mini Oreo Cheesecake Cups
Use Full-Fat Cream Cheese
Full-fat cream cheese gives the filling a richer flavor and a more stable texture. Reduced-fat varieties may produce a softer filling.
Make Sure the Cream Is Cold
Cold whipping cream whips more effectively and helps create a fluffy cheesecake filling. Keep it refrigerated until you’re ready to use it.
Don’t Skip the Chilling Time
The filling needs enough time to firm up. Four hours is a useful minimum, but overnight chilling generally produces a better texture and makes the cups easier to serve.
Fold the Whipped Cream Gently
Use a spatula and gentle folding motions when combining the whipped cream with the cream cheese mixture. This preserves the air that makes the filling light.
Press the Crust Firmly
A compact crust creates a better contrast with the soft filling. Press the crumbs down evenly without making the base excessively thick.
Add the Final Topping Before Serving
Oreo crumbs can soften as they sit in the refrigerator. For the best contrast in texture, add the decorative cookie crumbs shortly before serving.
Use Clear Dessert Cups
Transparent cups showcase the layers of dark Oreo crust and pale cheesecake filling. Small jars or individual dessert glasses also work beautifully.
Delicious Variations
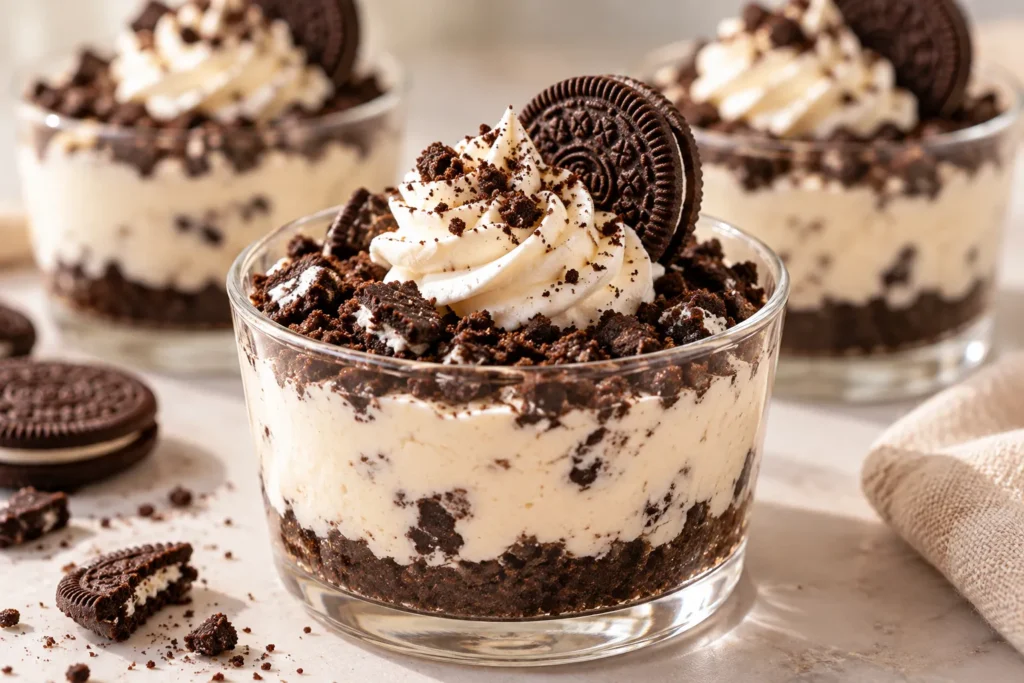
One of the advantages of these mini cheesecake cups is how easy they are to customize.
1. Chocolate Oreo Cheesecake Cups
Add one or two tablespoons of unsweetened cocoa powder to the cream cheese mixture, adjusting the powdered sugar to taste. Finish with chocolate sauce and extra Oreo crumbs.
This variation is ideal for anyone who prefers a deeper chocolate flavor.
2. White Chocolate Oreo Cheesecake Cups
Fold a small amount of melted white chocolate into the cream cheese mixture after allowing it to cool until lukewarm. Mix until smooth before gently folding in the whipped cream.
White chocolate adds sweetness and richness. Because it firms as it cools, the filling may become more structured.
3. Peanut Butter Oreo Cheesecake Cups
Mix two tablespoons of smooth peanut butter into the cream cheese mixture before adding the whipped cream.
Top with crushed Oreo cookies and a light drizzle of melted chocolate for a chocolate-and-peanut-butter combination.
4. Strawberry Oreo Cheesecake Cups
Add small pieces of fresh strawberry between the crust and filling or use them as a topping.
Pat washed strawberries dry before using them to avoid adding excess moisture. For the neatest presentation, decorate just before serving.
5. Double Chocolate Mini Cheesecake Cups
Use a chocolate-cookie crust, add a few chocolate chips to the filling, and finish with chocolate ganache.
This creates a more indulgent dessert with several layers of chocolate flavor.
6. Mini Oreo Cheesecake Jars
Instead of dessert cups, assemble the recipe in small glass jars with lids.
The jars are convenient for parties, picnics, and transporting desserts. Keep them chilled during storage and transport.
How to Store No-Bake Mini Oreo Cheesecake Cups
Because these desserts contain cream cheese and whipped cream, they should be kept refrigerated.
In the refrigerator: Store the covered cheesecake cups at 4°C (40°F) or below and consume them within approximately 3 days for the best quality.
For make-ahead preparation: Assemble the cups the day before serving, then add the decorative Oreo crumbs and whipped cream shortly before serving.
For transport: Keep the cups in an insulated cooler with ice packs if they will be outside the refrigerator for any length of time. Avoid leaving them at room temperature for more than 2 hours, or 1 hour when temperatures exceed 32°C (90°F).
Can you freeze them? Freezing is possible, although the texture of the cream cheese filling may change slightly after thawing. Freeze without delicate toppings in freezer-safe containers, thaw overnight in the refrigerator, and decorate before serving.
Frequently Asked Questions
Can I make mini Oreo cheesecake cups without gelatin?
Yes. This recipe does not require gelatin. The combination of cream cheese and properly whipped heavy cream helps the filling hold its shape after sufficient refrigeration.
The result is a creamy, spoonable cheesecake rather than a very firm, sliceable filling.
How long do no-bake Oreo cheesecake cups need to chill?
Refrigerate them for at least 4 hours. Chilling overnight is even better if you want the filling to become more stable before serving.
Can I use store-bought whipped topping instead of heavy cream?
Yes. You can substitute a suitable ready-made whipped topping, but the texture and sweetness may differ. Adjust the powdered sugar to taste, and fold the topping gently into the cream cheese mixture.
Can I use reduced-fat cream cheese?
You can, but the filling may be softer and less rich. Full-fat cream cheese is generally the better choice when you want a creamy, stable no-bake cheesecake.
Why is my cheesecake filling too soft?
Common causes include cream that wasn’t whipped sufficiently, cream cheese that was too warm, or insufficient chilling time.
Make sure the cream reaches stiff peaks, use softened but not warm cream cheese, and refrigerate the cups for long enough before serving.
Can I prepare these cheesecake cups the day before?
Absolutely. Preparing them the previous evening is an excellent way to save time when entertaining. Keep them covered in the refrigerator and add the final decorations just before serving.
How many servings does this recipe make?
The recipe makes approximately eight small cups. The exact number depends on the capacity of your dessert glasses and how much crust and filling you place in each one.
Can I make the Oreo crust without butter?
Butter helps bind the crumbs into a compact base. Without it, the crust will be looser and may not hold together as well. For the most reliable texture, keep the butter in the recipe.
Serving Ideas for Parties and Special Occasions
These mini Oreo cheesecake cups are easy to dress up for different occasions.
- Birthday parties: Add colorful sprinkles or a small chocolate decoration.
- Holiday gatherings: Use seasonal decorations while keeping the Oreo crust and cheesecake filling unchanged.
- Dessert tables: Arrange the cups on a tiered stand for an attractive display.
- Dinner parties: Serve them in small glasses with a swirl of whipped cream.
- Family treats: Keep the decoration simple with crushed Oreos and chocolate sauce.
For an elegant presentation, use identical transparent glasses and create even layers of crust and filling. A small piping tip can also help you produce clean, professional-looking swirls.
Final Thoughts
These No-Bake Mini Oreo Cheesecake Cups are an easy, crowd-pleasing dessert that combines everything people love about Oreo cookies and cheesecake. The buttery cookie crust, fluffy cream cheese filling, and crunchy Oreo topping create a delicious contrast in every spoonful.
They’re simple enough for an everyday treat yet attractive enough for parties, birthdays, and special occasions. Prepare them ahead of time, chill until firm, and add your favorite toppings just before serving.
If you’re looking for a creamy chocolate-cookie dessert without the work of baking a full cheesecake, these individual Oreo cheesecake cups are a wonderful recipe to keep on hand.
Recipe tip: For the best results, use full-fat cream cheese, cold heavy whipping cream, and enough refrigeration time to help the filling set.